


I do not know why I have always liked Japanese ships but I have. Perhaps it is because I am 25% Japanese. Maybe it is just the fact the Japanese ships look cool to me. What ever it is when my friend Dave Manley (Owner of Small World Models) told me he was going to build himself a 1/96 Hatsuzuki, an Akizuki class Destroyer, I jumped at the chance to beg him to pull a hull from his mold for me. Dave did just that and a little more.
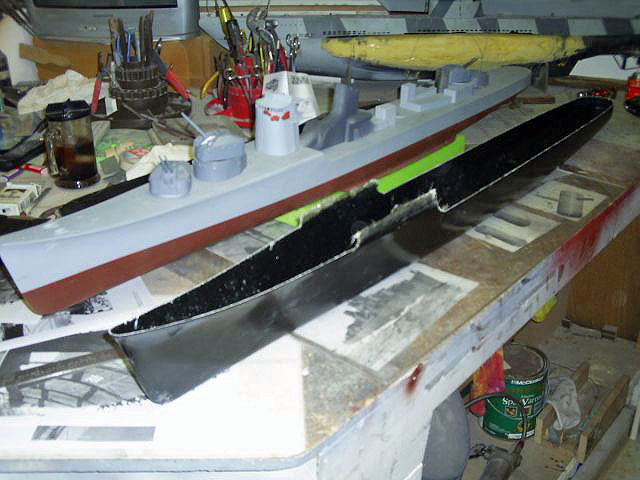
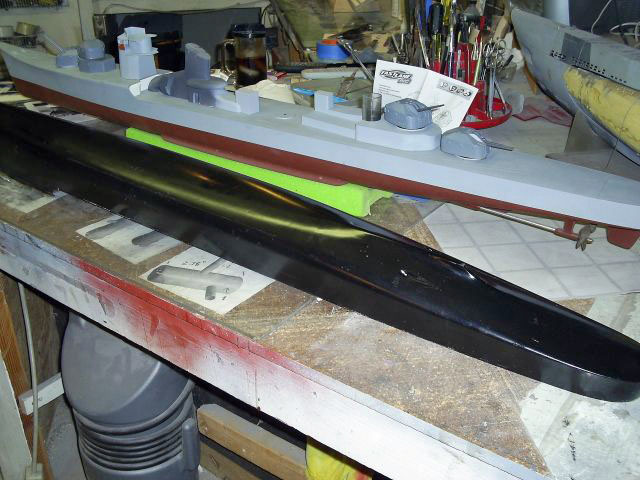

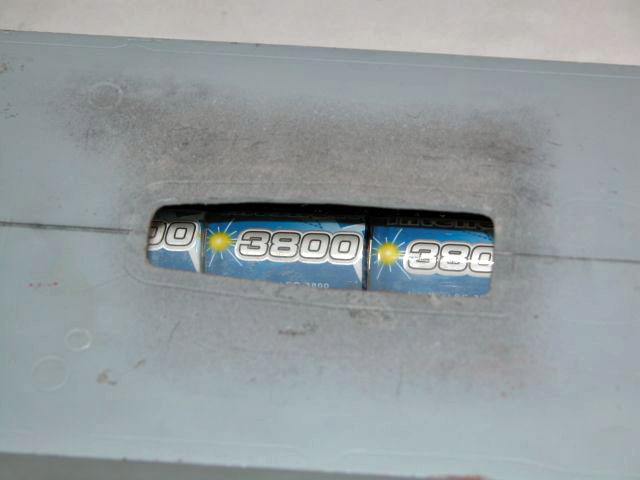
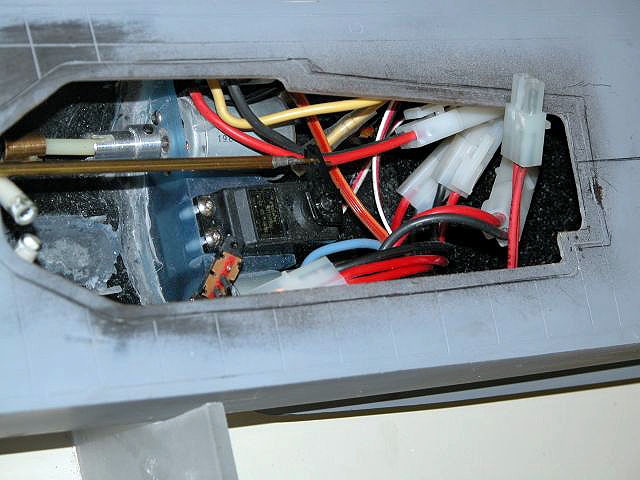
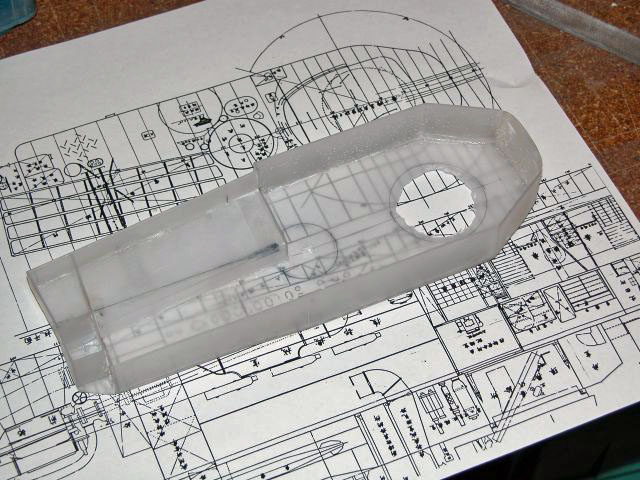
You can see Dave's Hatsuzuki coming along in the photos. Dave supplied me with a hull that had struts and shafts installed and fiberglass deck in place. He had also installed the rudder and a nice two motor set up. In addition, he supplied the four Type 98 100 mm high angle AA naval gun mounts. All I really had to do is install the batteries, receiver and servo for the rudder. I chose two 3800 mha battery packs for a nice 7.6 amps. This should run the destroyer all day.
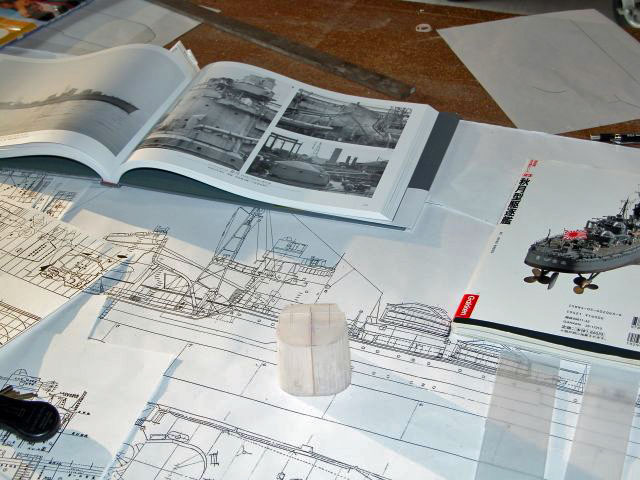
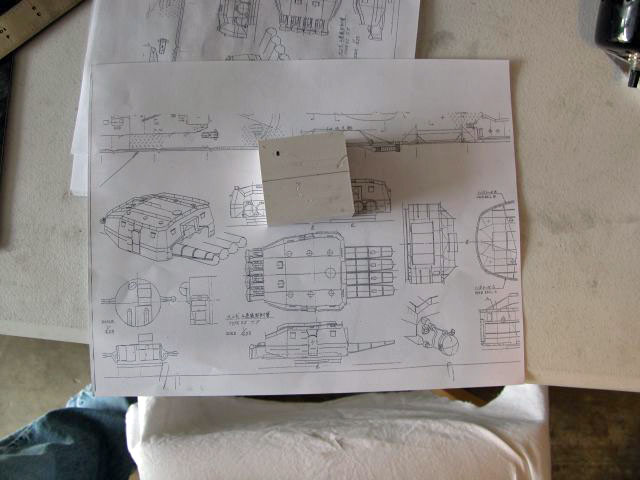
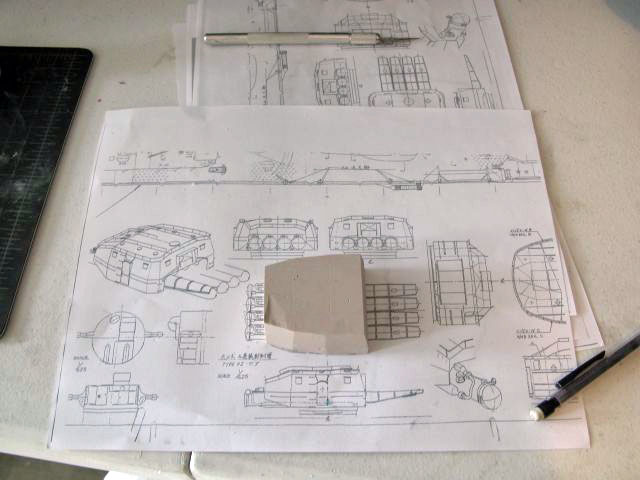
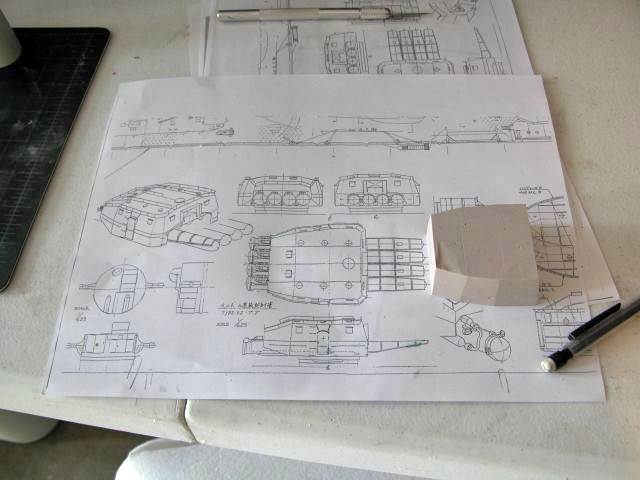
With the running gear installed I now needed to go look for information on the detail of this ship. I know; very backwards but what can I say. I had the chance at an IJN warship and jumped at it. I bought plans from Japan published by Miyuki-Kai . I then searched the web for some expert help and found this forum on Japanese ships. I signed up on the forum and asked for information on the Akizuki class DD. Quickly, I was flooded with information and ended up with a book, Gakken 23. If you do not know the Gakken line, they are soft covered books covering a topics such as ships or planes from Japan. Gakken 23 has decent pictures of the actual Akizuki class but a wonderful series of photos covering a 1/100 scale model of the Akizuki in the same time frame I am building mine. I was also lucky to find Ed Low who did this very neat 3D drawing. Now the information was in hand, and the project ready to start. One last thing about this build: I was going to do it in secret and really wanted to have all the major superstructures done for my club's December 7 memorial run in 2007. My skill level is not yet up to being able to turn out scratch stuff the way I want, so I had to find a willing partner to help me, and yet keep my secret when I hit a tough part. This accomplice came in my good friend James. It is always nice to have someone who builds with the same drive and energy you do.
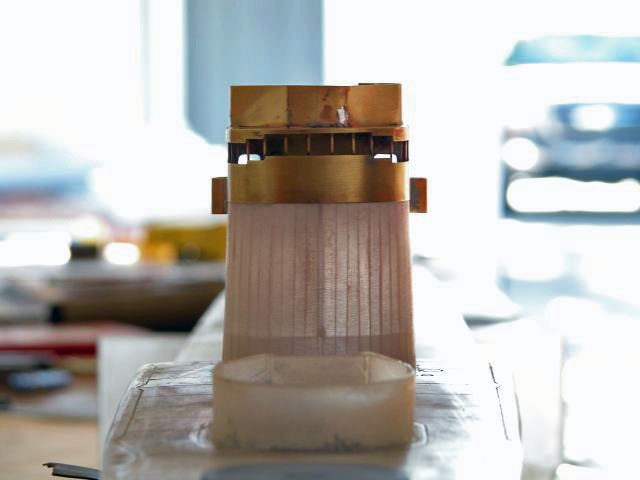
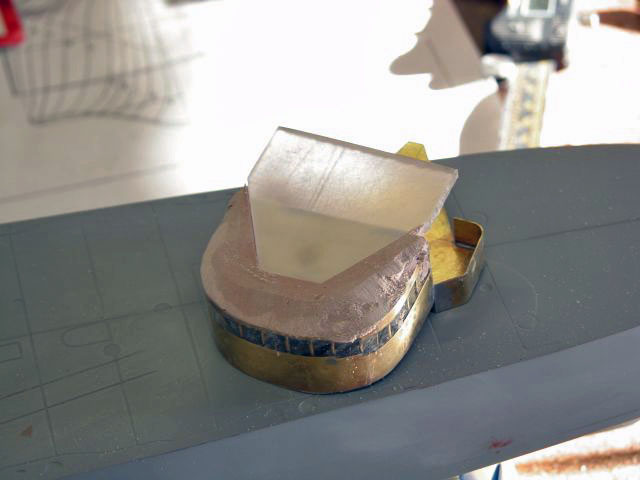
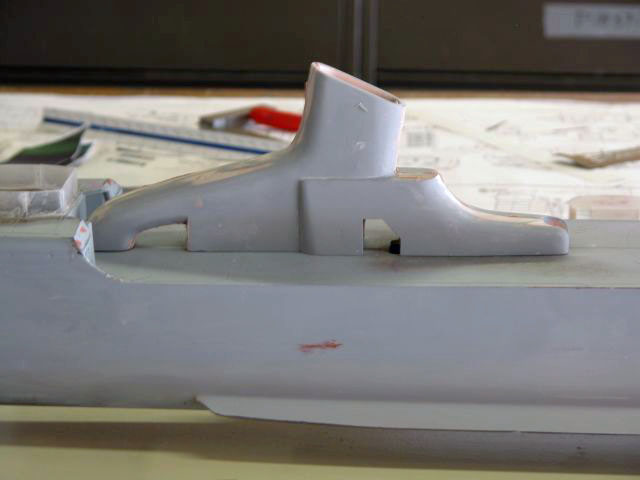
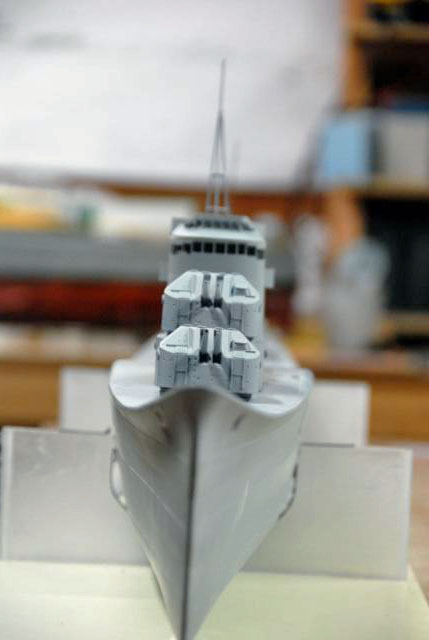
Looking at the model we decided the first part that needed to be done was to turn out the bridge structure and then the after superstructure. The lower part of the bridge was cut out of .040 polycarbonate. Then vertical kerf cuts were made into the polycarbonate so it could take on the correct shape. Next the polycarbonate was covered in bondo and sanded smooth.
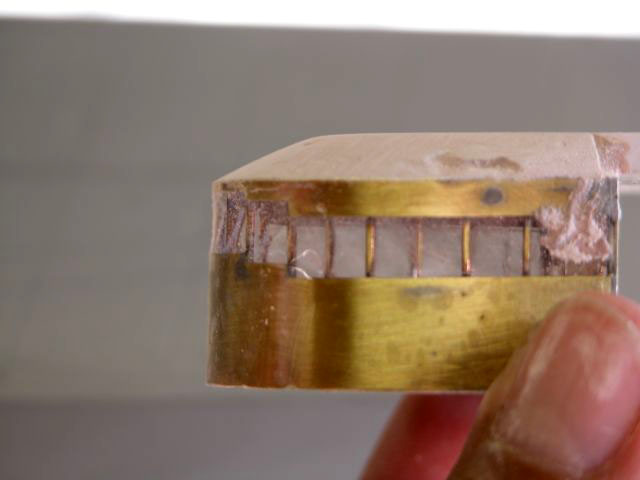
The bridge itself and weather bridge were made using .010 brass sheet. James uses brass more than I ever had so I watched him and learned. The brass sheet allows the windows on the bridge to look very scale, and also allows the wind deflector around the weather bridge to look correct.

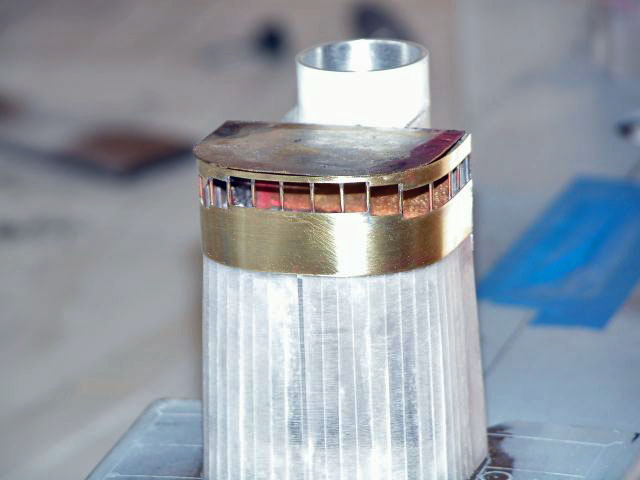
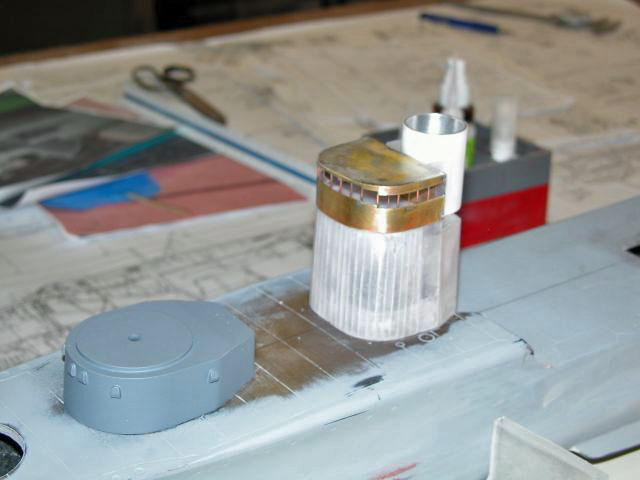

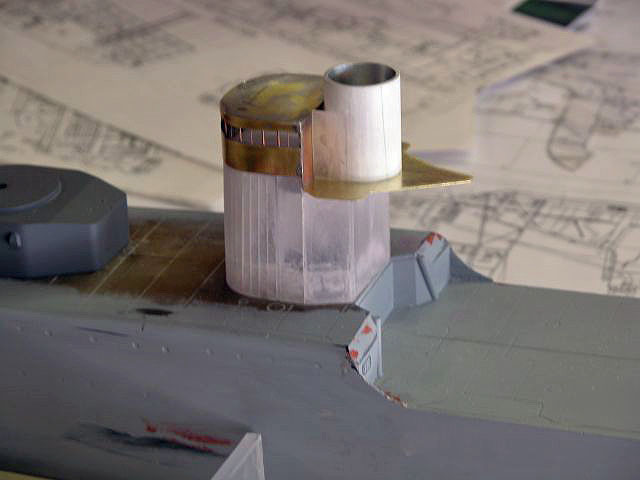


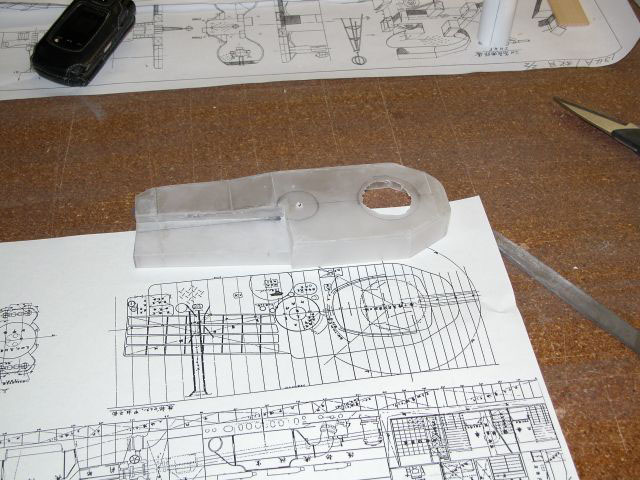
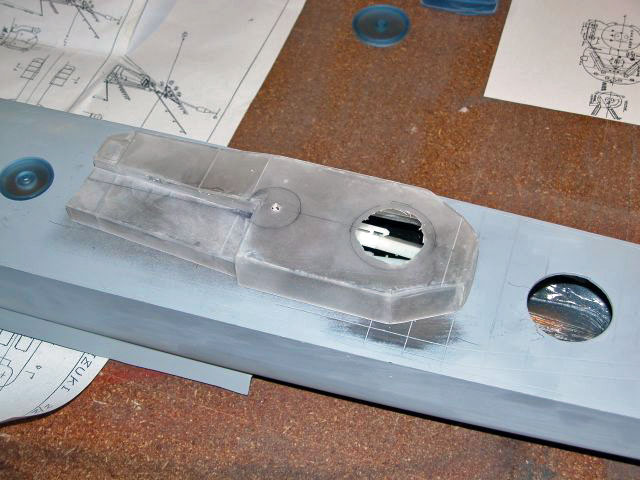
You will see the outcome of the bridge in later pictures.
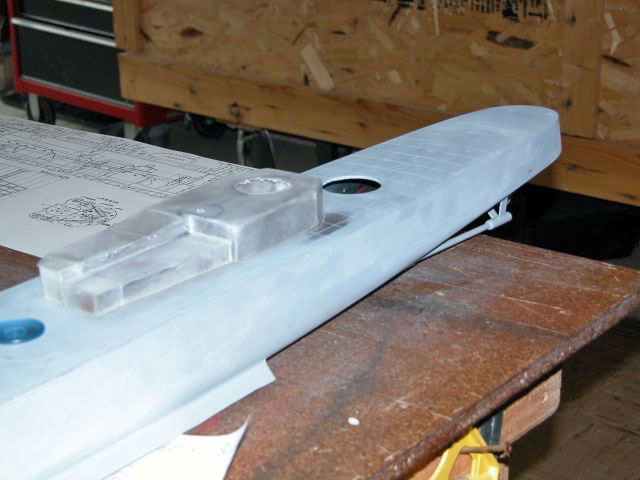
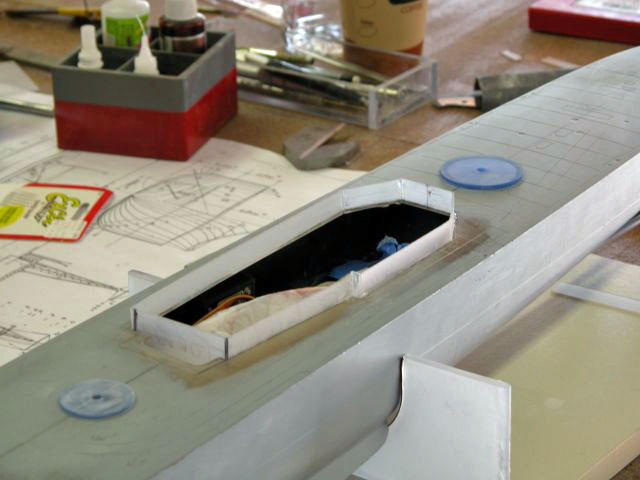
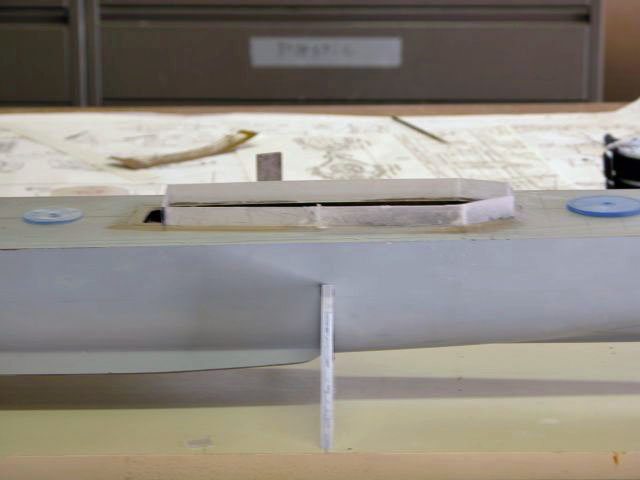
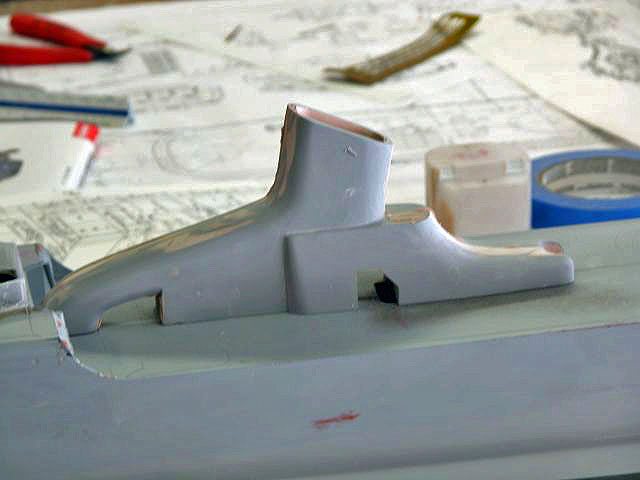
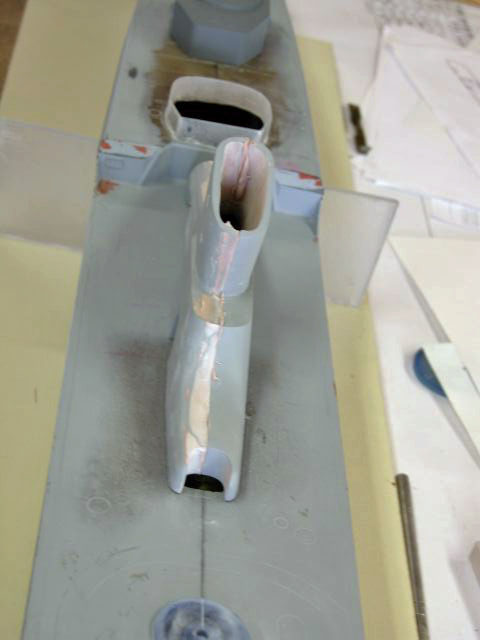
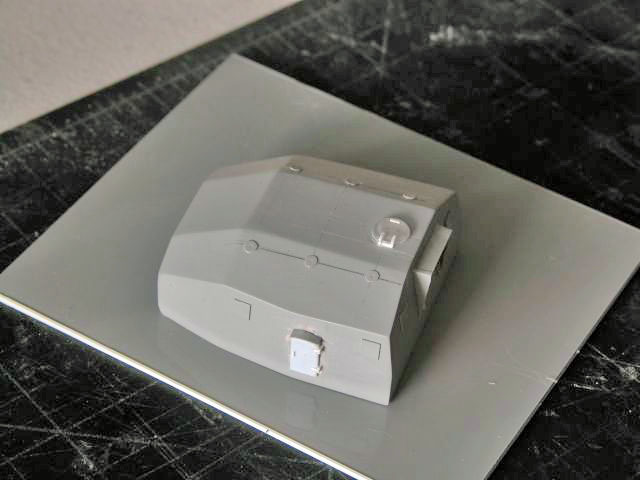
The next step was the constructing the after section. The same .040 polycarbonate sheet was cut up using the plans and then glued them together to make this:
After that was done, I cut out some brass PE diamond plate and made up the search light platform, followed by the hand rails. After these were installed, .010 ABS plastic was used to skin the polycarbonate. Before gluing the ABS down I used a hole punch to punch out where the port holes would be.
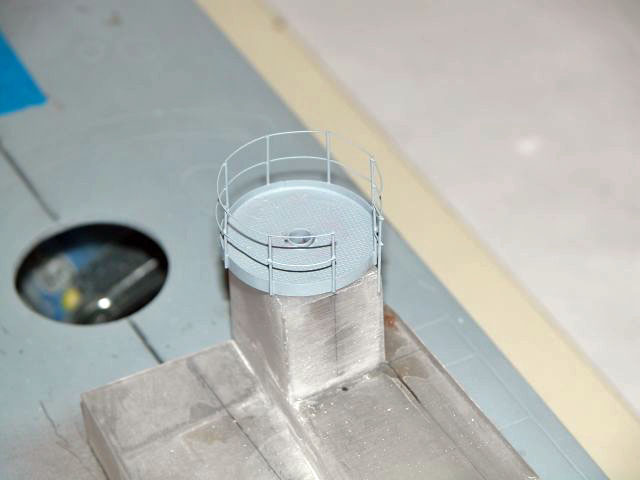

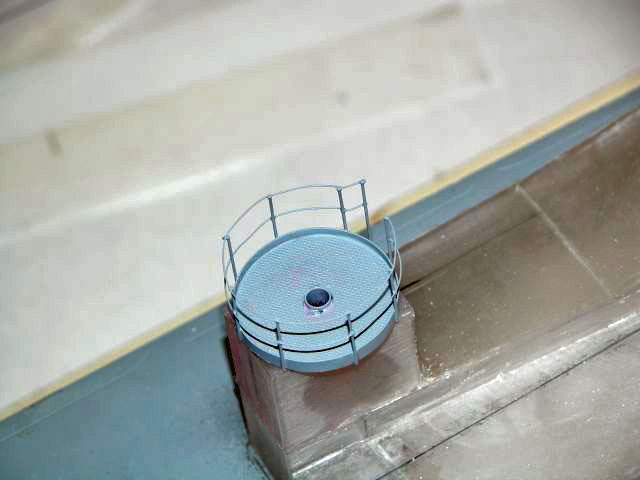
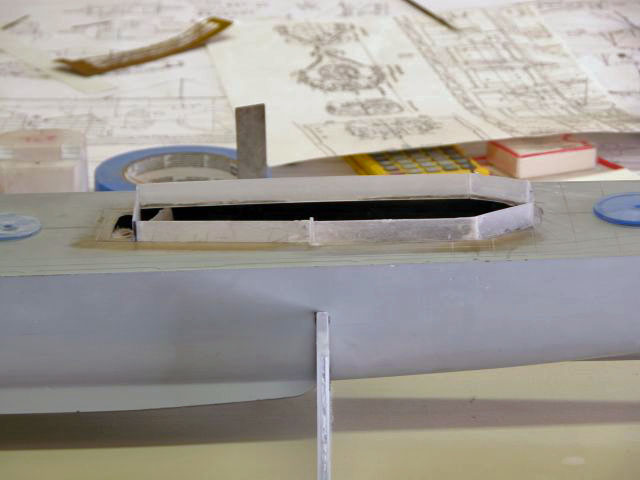
The next step was making the coaming for the after superstructure - this is an internal bulkhead to keep the water out. It was made using the .040 polycarbonate and I built it as high as possible to keep the hull dry.
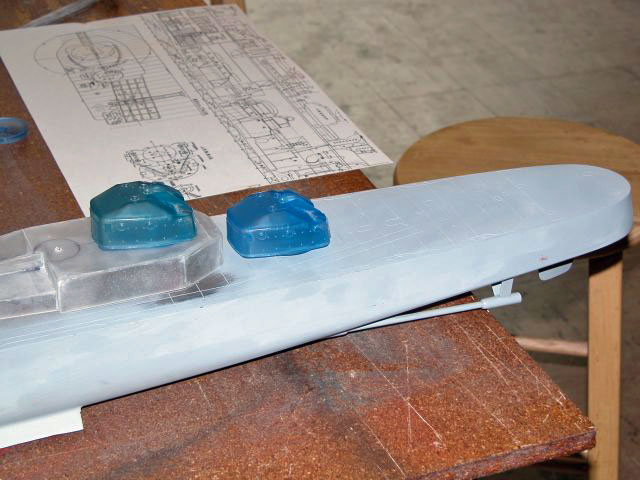
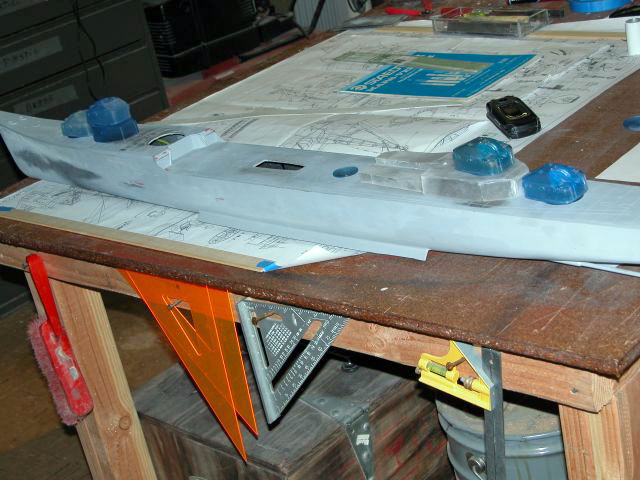
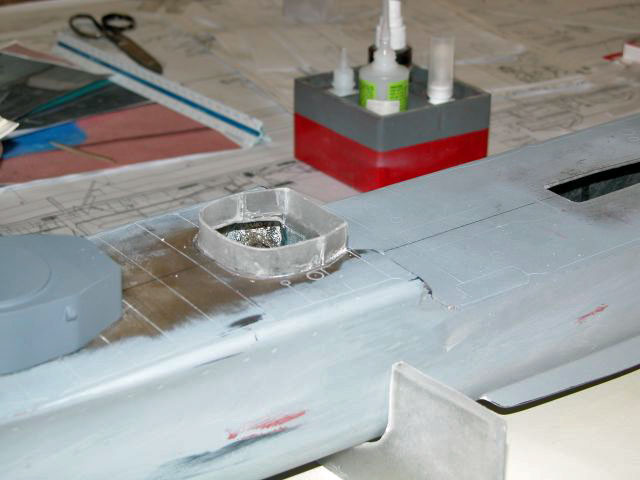
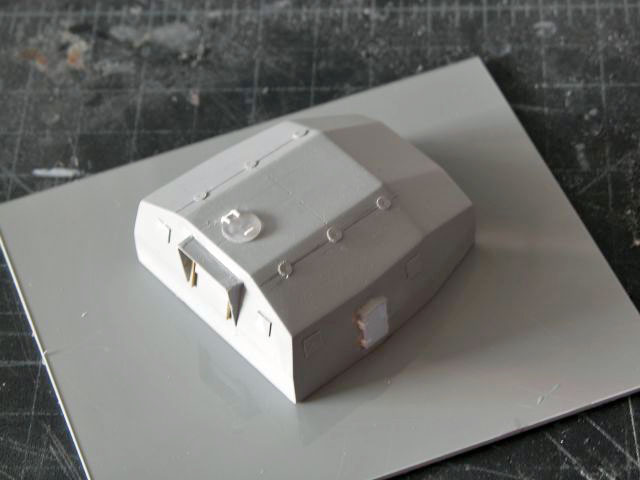
I used the same process for the number 2 mount. This is what it looks like done:

As I have said in the past if someone is doing something great, stay out of the way. James took on the task of building the complex funnel. I looked over his shoulder for hours in amazement. I only wish I had taken more pictures of what was happening.
James started by getting the overall length, width and height. He then built up two boxes that measured a little over half of each side. Put both boxes together, and you would have a square bigger than the funnel itself. He then used the boxes to make two square bondo parts. Put them together and you had a bondo box bigger than the funnel. James then started to wet sand, using 220 grit sandpaper and a bucket of water. YES, you read that right, he wet sanded the funnel to shape.
Wow is all I have to say.
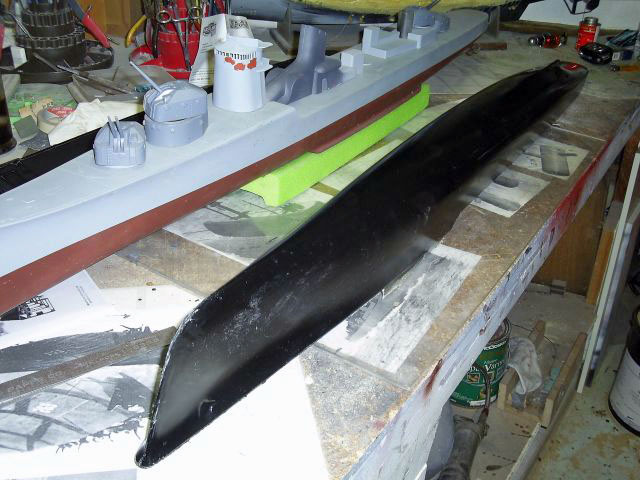
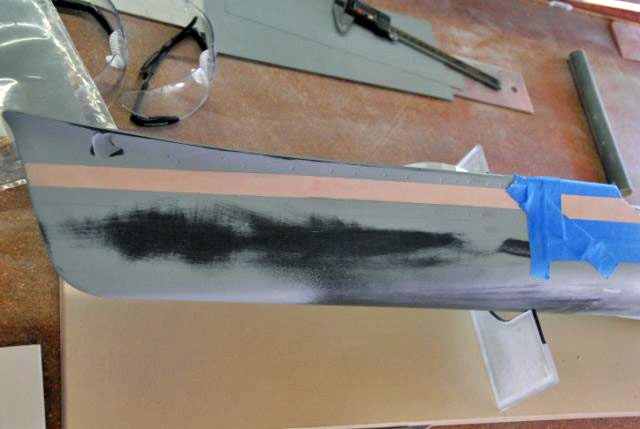
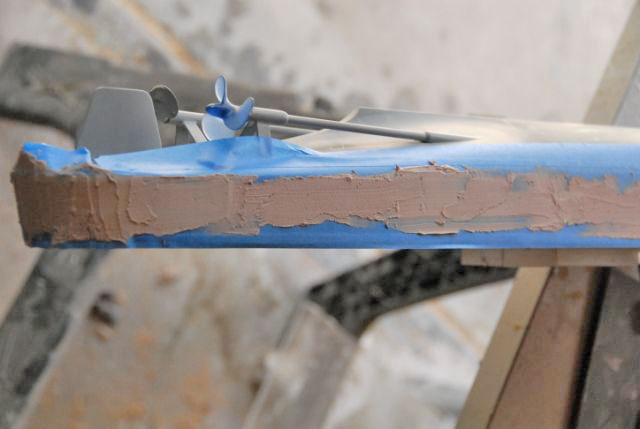
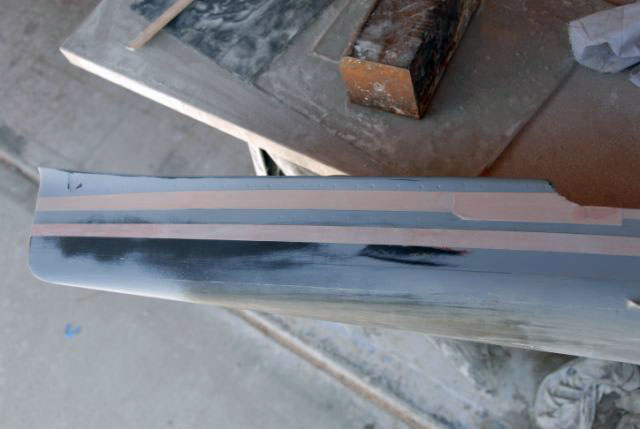
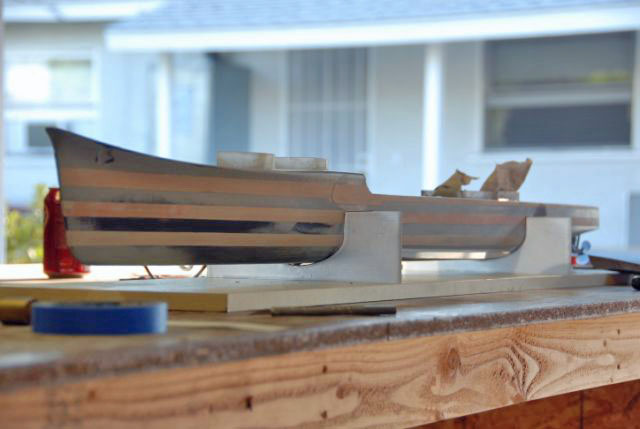
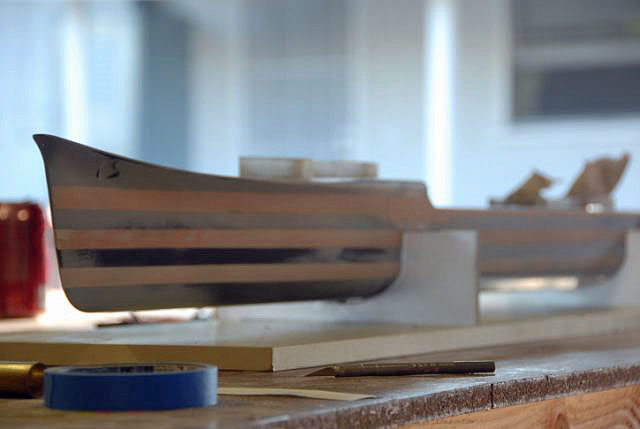
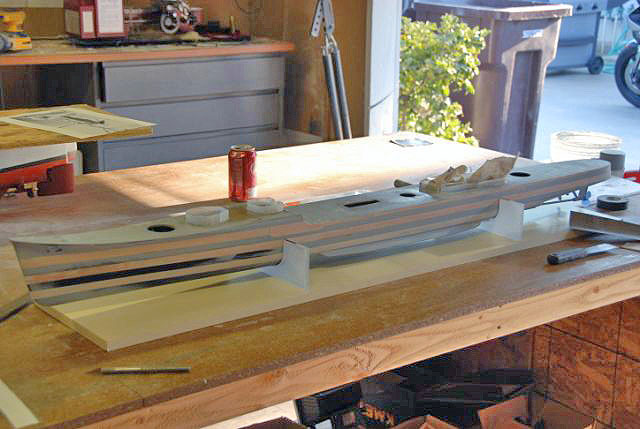
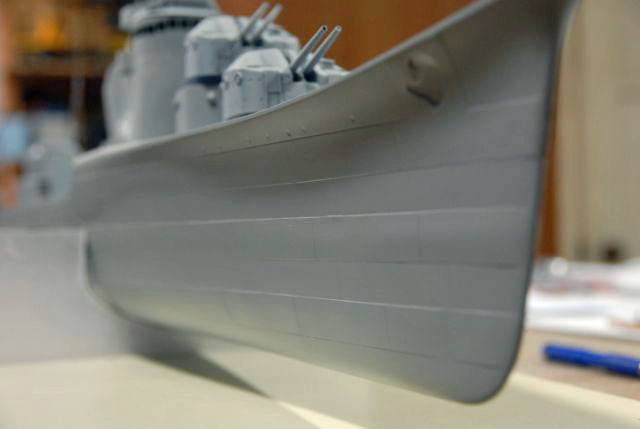
Next came the hull plating. I had this wonderful idea that the hull of any model ship in 1/96 scale should have the hull plating lines on it. How cool would that look when the boat was in the display stand? I understand from talking to lots of builders that there are several ways of doing this. I decided on a process using bondo, blue tape and wet sanding. The outcome was worth it, but like anything worth doing it took a long time. I am not kidding. Of all the man-hours in this build so far, by far, the most time was spent in doing up the hull plating.
This is how it works. First, tape off the hull plating line you will be working with. Top and bottom of the plating needs to be taped off, this must be perfect. You can not fix straight line mistakes so tape off correctly the first time, and if you make a mistake, redo the taping. It is worth the extra time to get it right.

When you make up your portion of bondo be careful of how much you make. In the beginning I kept making up too much. The outcome was good but less work would have been required if I would have put on a thinner layer. I learned when you are going to use bondo as soon as it starts to clump on your dispensing tool stop! If you do not stop it starts to thicken, making imperfections you will have to fill in later.
Next get a comfy place to sit, a bucket of water, and clothes you do not worry about getting messy. If you are in a cool place on the planet turn up the heat. If you are in a sunny place set up outside and get comfy.
Have I told you this will take a long time yet?
Now sand the bondo down to the level of the blue tape. The blue tape is your guide for a straight line but ALSO the guide to how thick the plating is going to be. If you mark the tape with a pencil, when the pencil lines disappear you know you have reached the correct thickness.

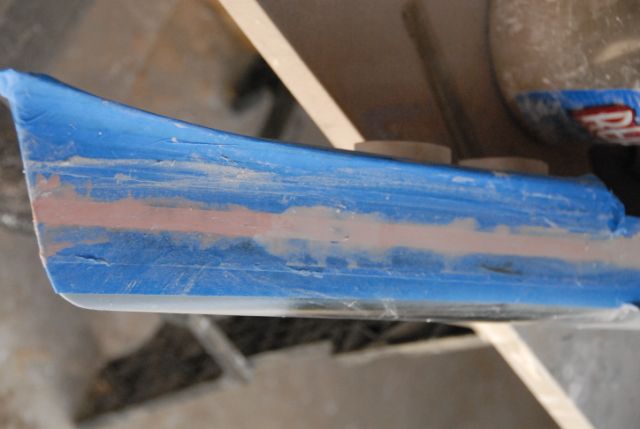
Now keep going do each plating line over and over until you are completely done. Fix each mistake ,one at a time. Build up each plating line one at a time.
Have I told you this will take a long time?
Once done you can handle the welding two ways. One is to scribe a shallow trench where each weld would have been. Or one could make a weld line. Now one trick I have learned is that a scribe line is faster than building up a weld line and works great in tricking the mind. So I scribed my lines. This is the outcome:
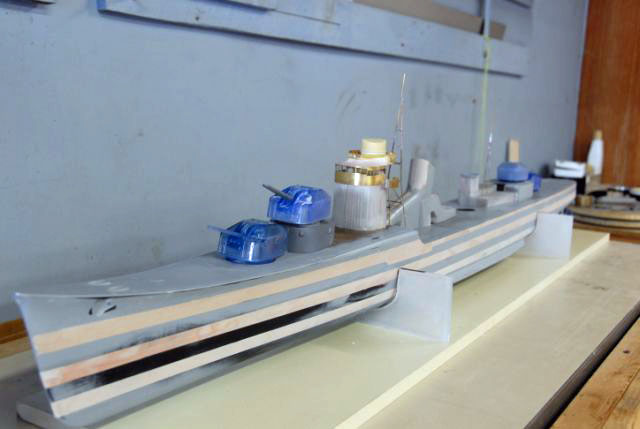
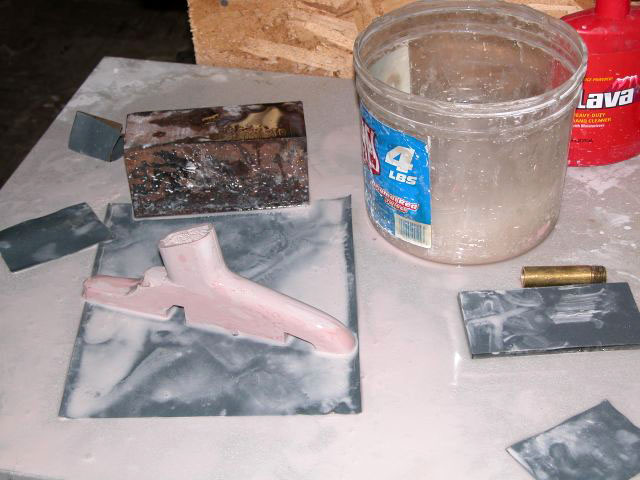
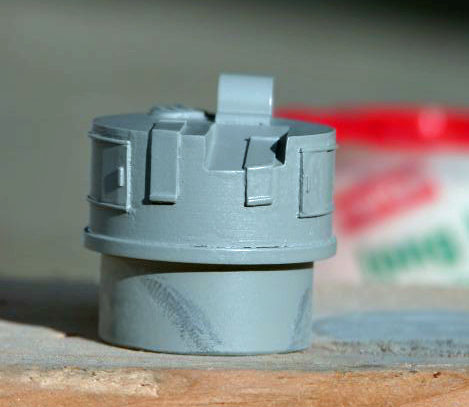
The next project was the quadruple torpedo turret. This fired the dreaded Long Lance torpedo and the most powerful weapon this destroyer carried. James decided t use the same Bondo technique that worked for the funnel. This time, knowing what was coming, I took more pictures.

This is the process used until we had the turret. Then we mounted the turret on a .060 ABS square. This would be the floor of the mold box. After that was done, we added the detail to the turret.
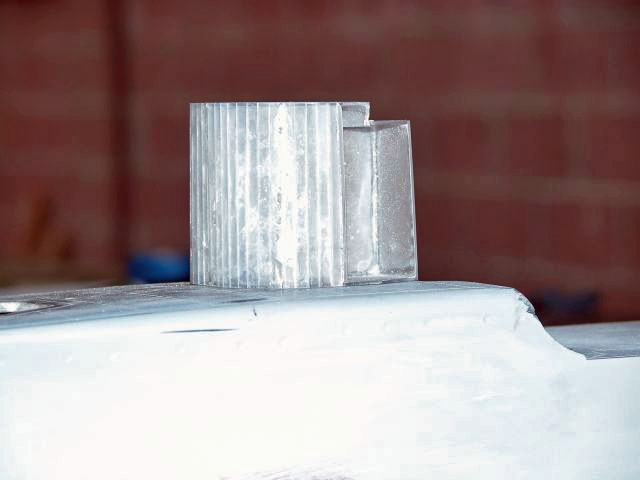
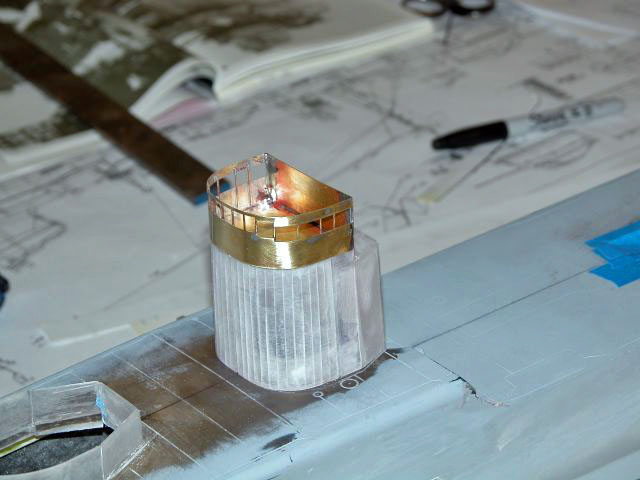
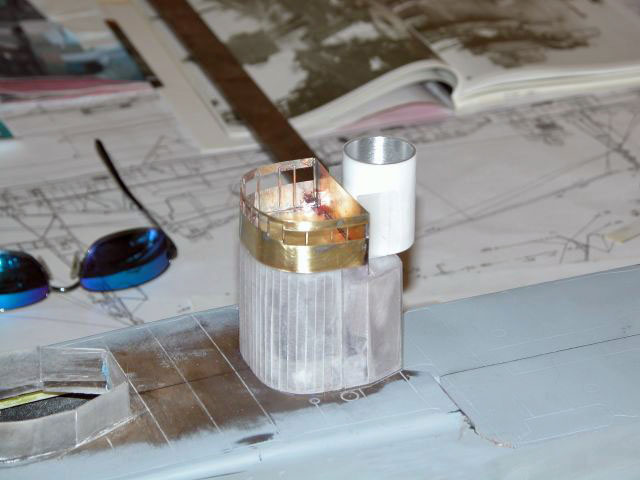
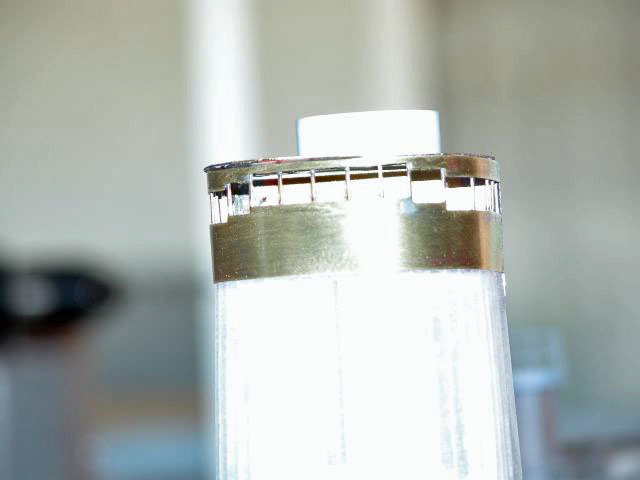
With the torpedo turret ready to cast I turned to making the gun director. Over the last year I have been learning how to turn parts on a lathe. I turned the director out of a solid rod of polycarbonate, then blended in the slope with a hand file. James looked at my work and gave it a thumbs up; told me I did a good job for my first unsupervised lathe work.
After that, he made up a new one. I had forgotten a part of the director. With the new correct director done James and I detailed it.


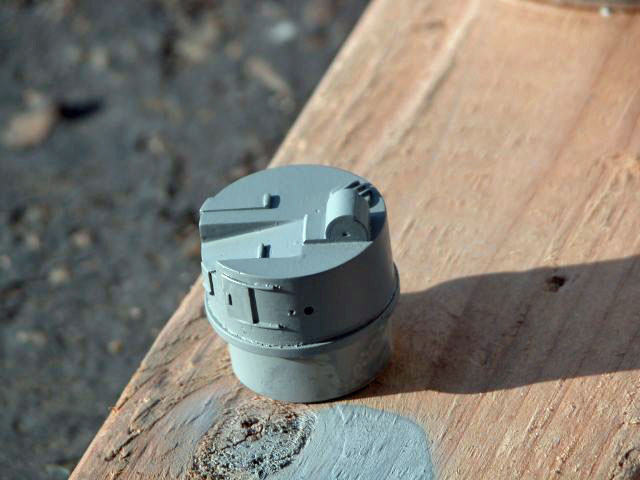
I then did a light primer coat so I could see any errors. Polycarbonate is clear so it is hard to see little imperfections. In the above pictures the director needs some clean up and a little more work.
That's it for now, look forward to more as the build progresses.
Joe Park
![]()

Back to Warship Models Underway
This page maintained by Kurt Greiner. Email me here.
This page viewed 414 times. Thanks for stopping by!
Version 1.02
Last update 12/09
![]()