


Click on any image that has a border to enlarge. -
Brett has sent in a number of building photos for his destroyer, which will be built into one of the RAN variants. Stay tuned for more shots as the build progresses!


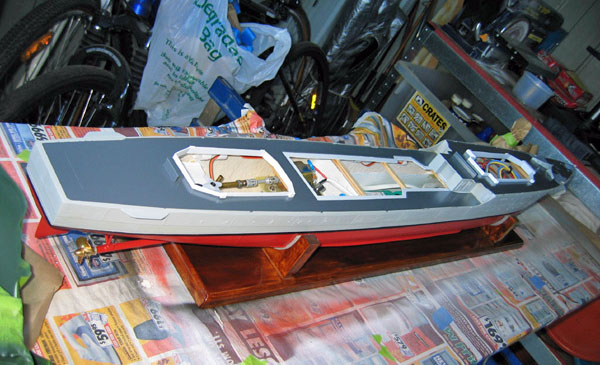
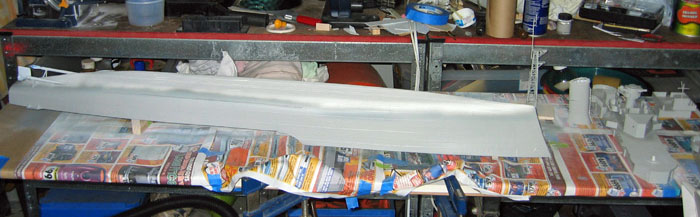
Some shots of the kit as purchased
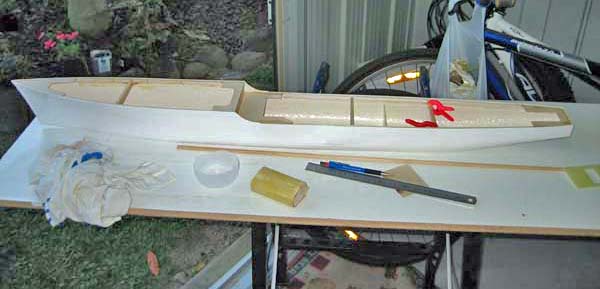
Initial Framing Started

Exit holes for prop shafts cut, and prop shafts lined up
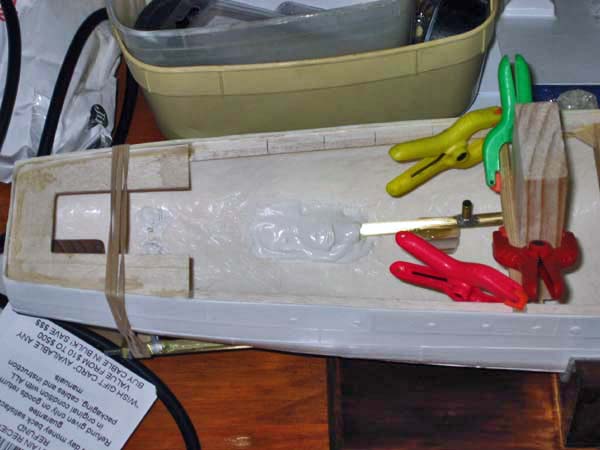
Shafts bedded in using Marine Epoxy
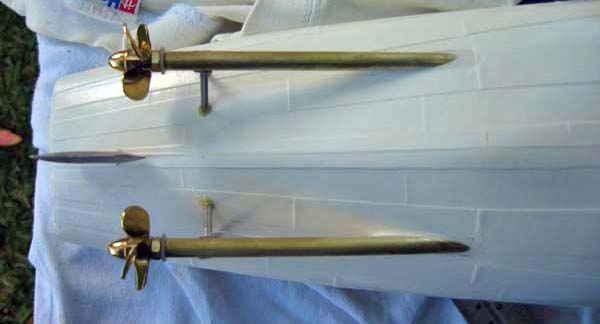
Underside view showing shafts as they exit from hull, and struts.

Motor mounts fabricated, foreground shows rudder servo mounting plate.

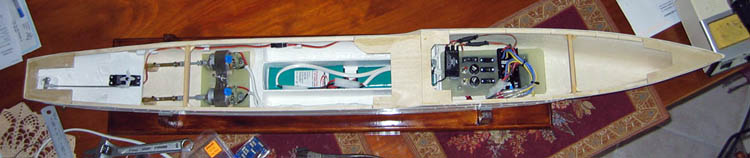
Another view, showing the overall machinery layout

Custom made motor clamp
Hull ready to receive electronics
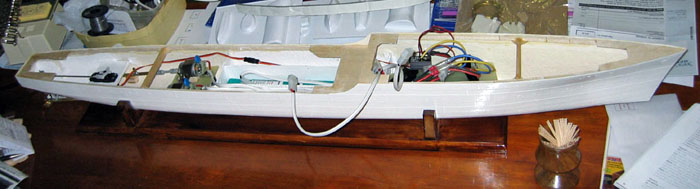
Electronics being installed. The stringers, motor mount, rudder servo mount
and radio gear tray are all made of 6 layers or fiberglass cloth and epoxy
resin laid up in a flat sheet and then cut to shape.

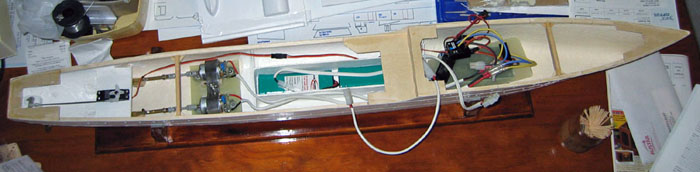
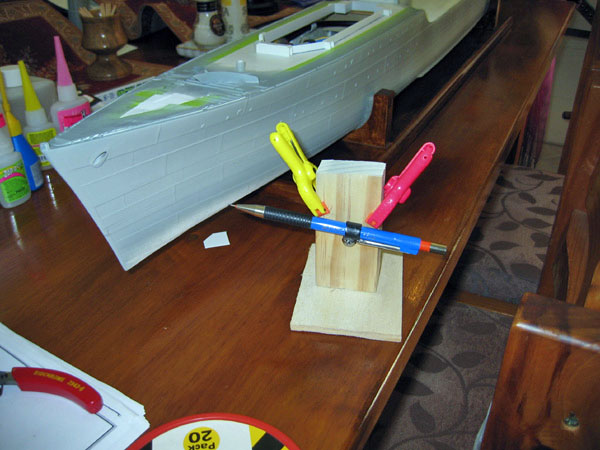
Electronics in. A custom plate for the controls has been made up, and installed
in the forecastle area. Note the clean wiring - not only does this
look good, but it makes diagnosing problems in the future much easier.


I fitted the decks today on the model. Once it was all prepared I stuck it down on a layer of Epifil marine epoxy filler and when the deck was pushed down into the filler it squeezed out and filled all the gaps around the sides. Then just sanded the surrounds down to deck level.
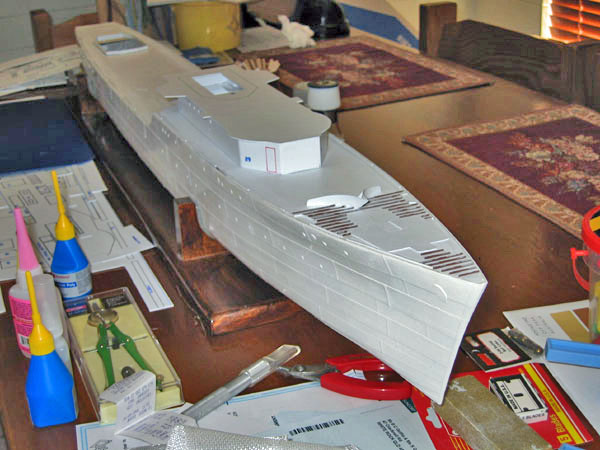
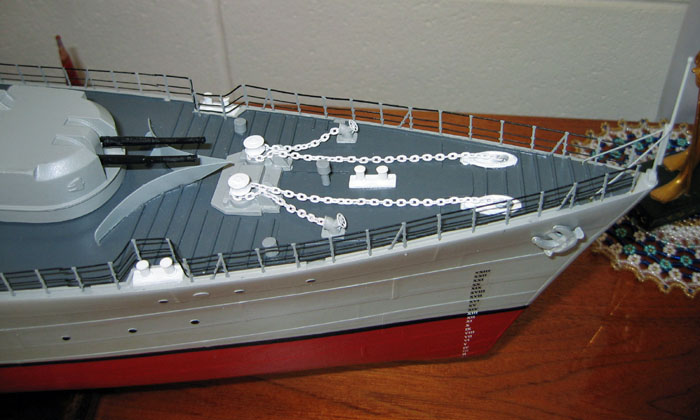
This is the start of the deck fittings, Scotsman, breakwater, anti slip, scuppers and the galley on the beginning of the iron deck.
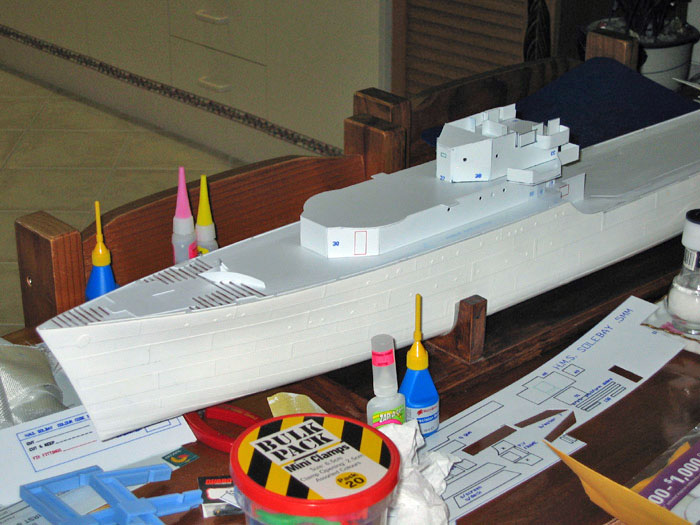
Here you can see the start of the forward superstructure...
...and in this view, the bridge is taking shape, with a close up of the wind deflectors on the bridge.
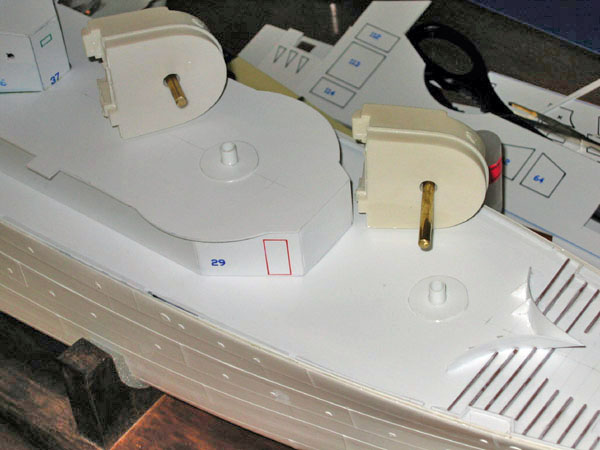
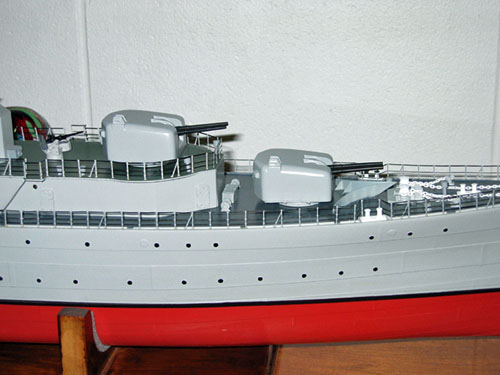
The arrangement used to mount the turrets using plastic stand tubes through the deck ,and 3/16 brass rod to mount the turrets on.
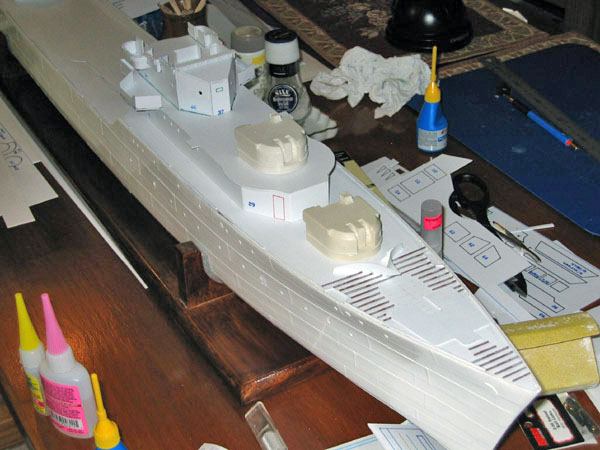
The turrets in place

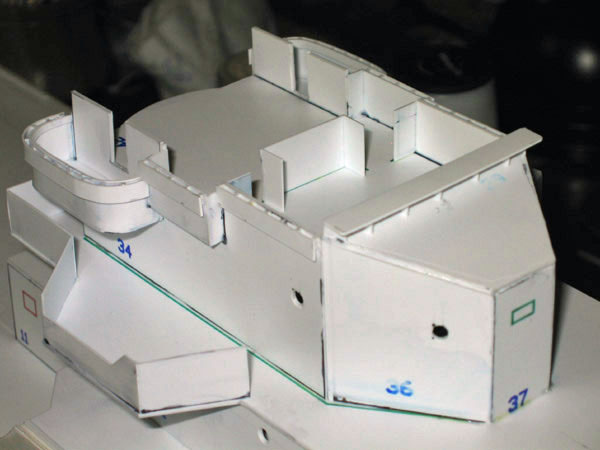
The start of the aft superstructure.
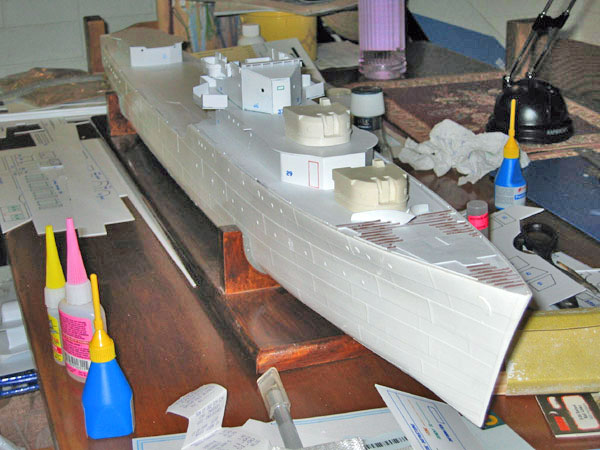
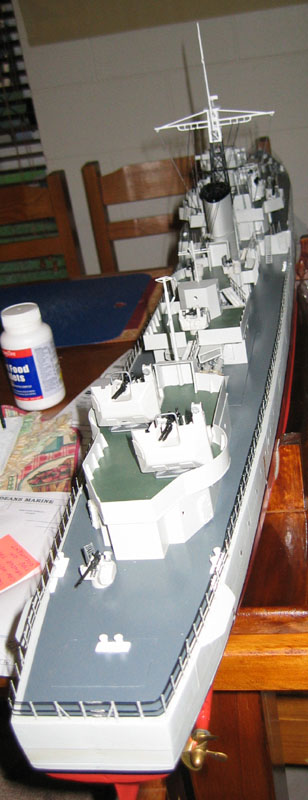
An overall view of the ship at this stage.
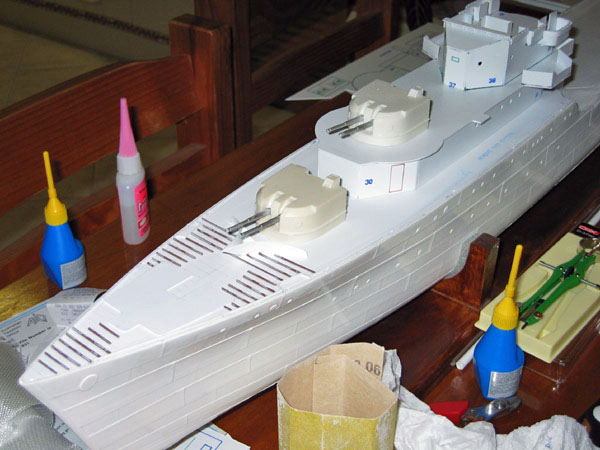
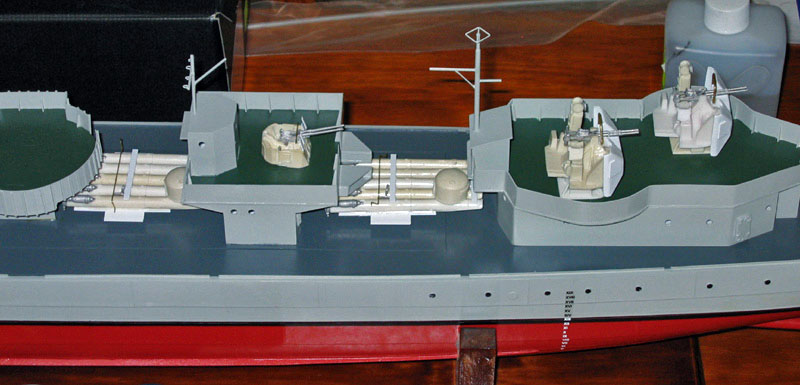
The barrels have been fitted to the gun mounts
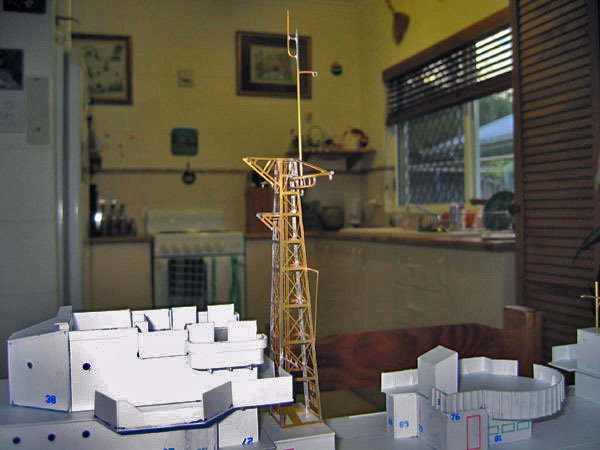
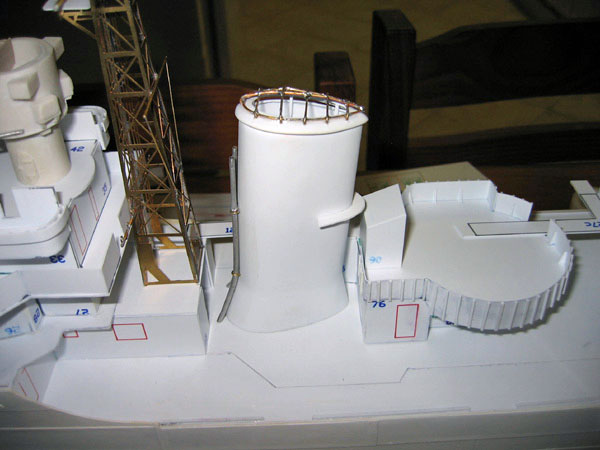
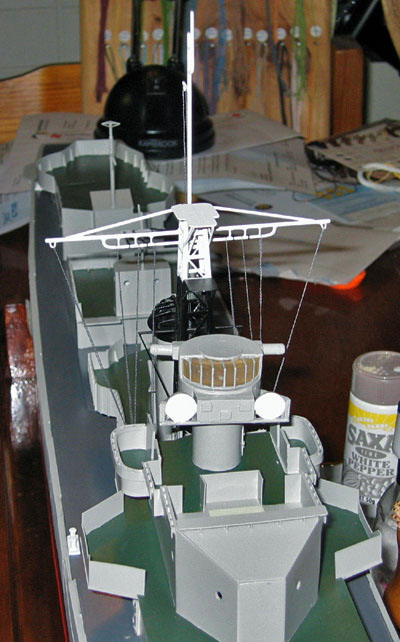
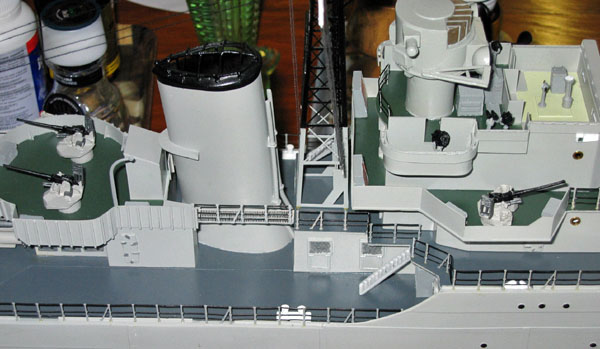
Mast and midships deckhouse fitted
Another view of the photoetched mast assembly

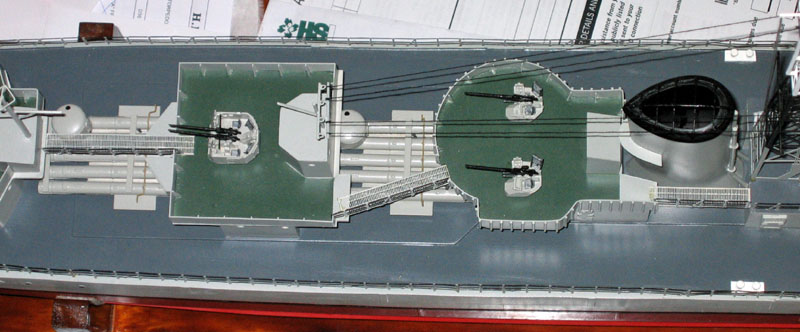
The midships gun platform, made up of computer printed styrene sheet

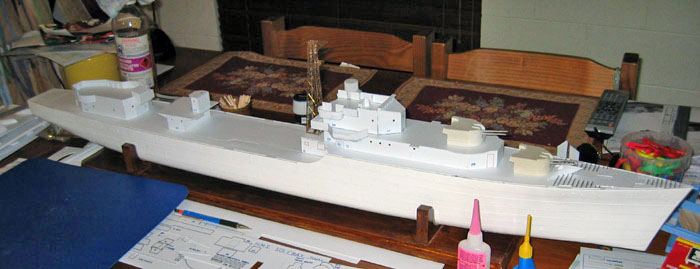
Another overview of the model at this point
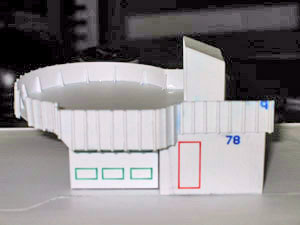
Q Gun Platform

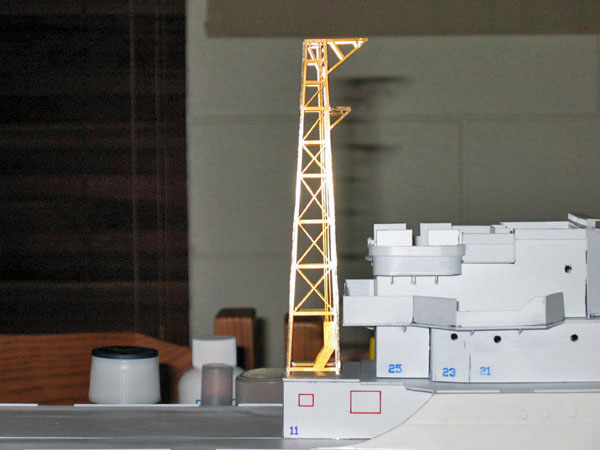
Midships Radio Mast
Main Mast Side
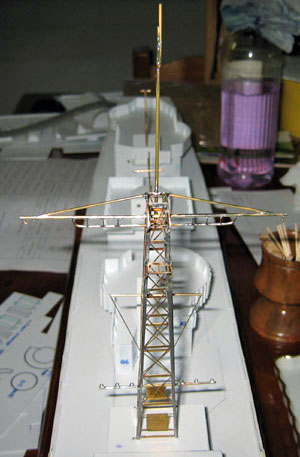
Main Mast Front

Aft Mast
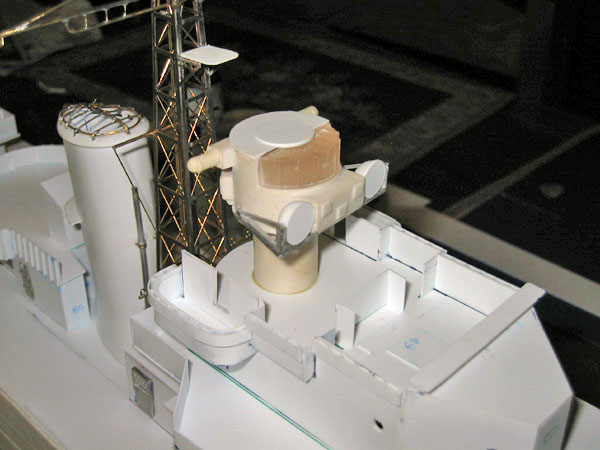
The gun director taking shape
Funnel Cap soldered up
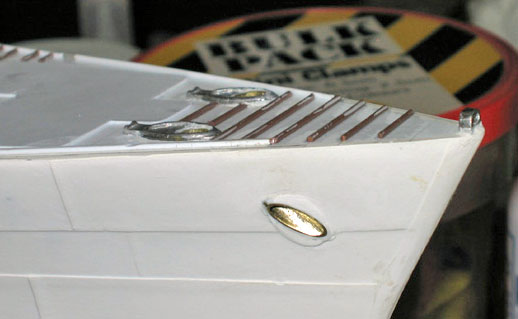
Anchor hawes pipes installed
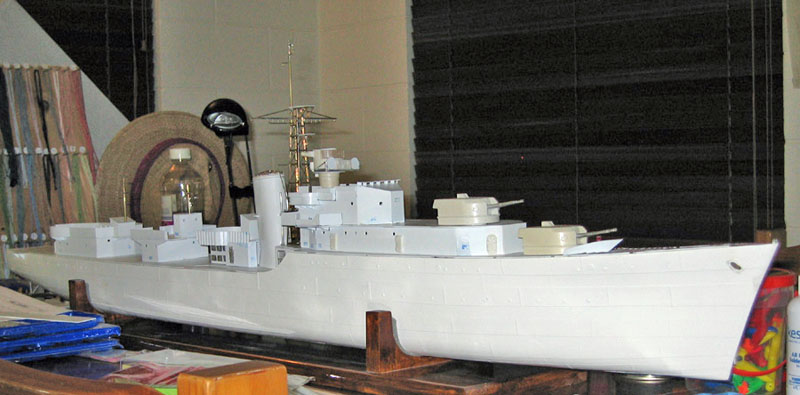
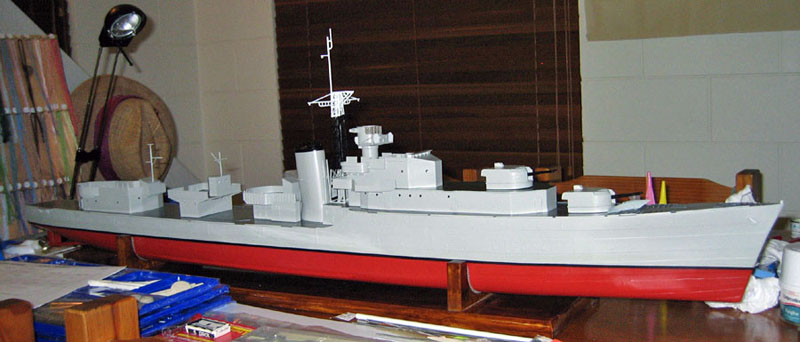
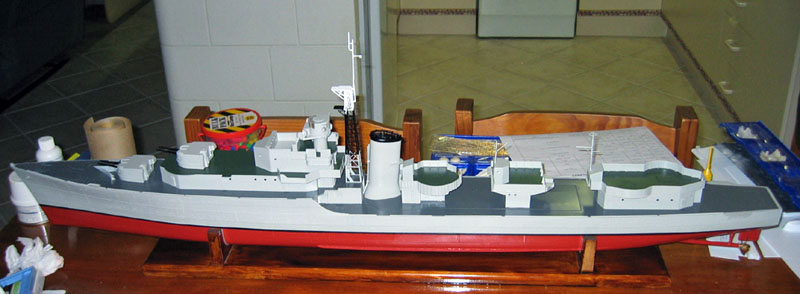
Starting to look like a warship!
A bit of sanding on the hull, and it will be ready for paint.
Marking out the waterline

Hull Painted
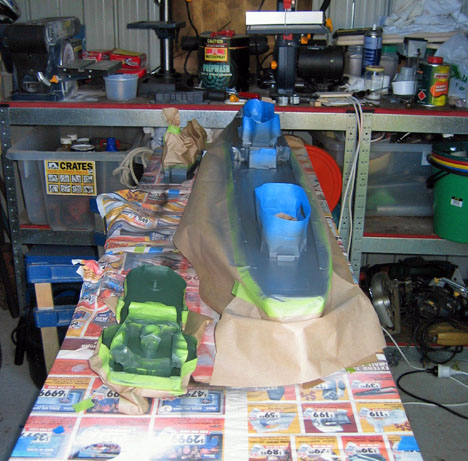
Deck color sprayed on
Masking removed
November 8, 2005

First sea trial after painting
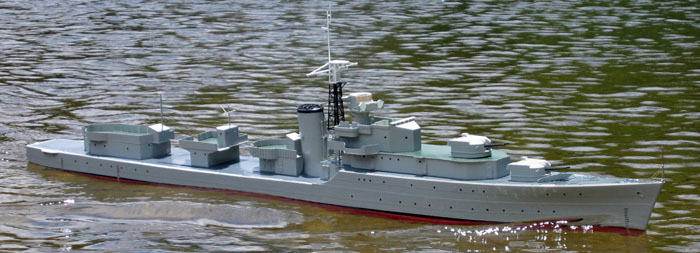
Second sea trial after painting

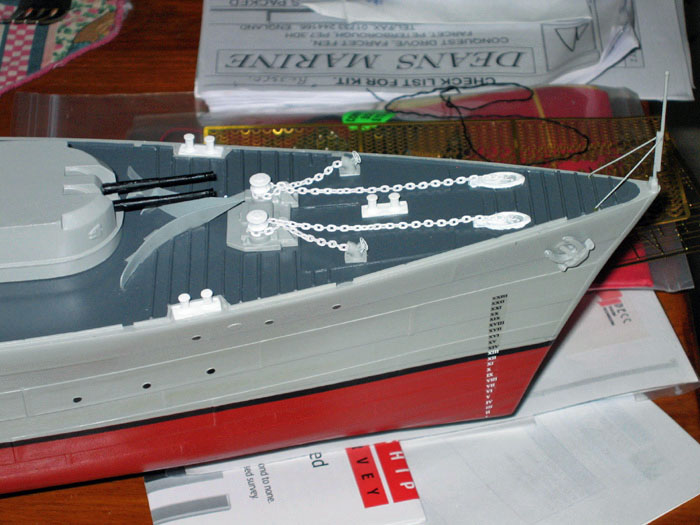

Draft Markings Applied

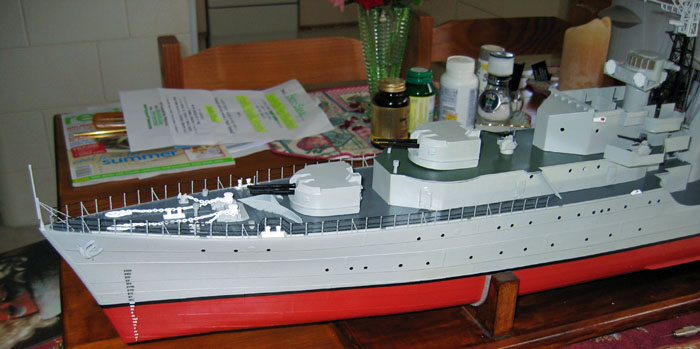
Rigging is being started in these photos
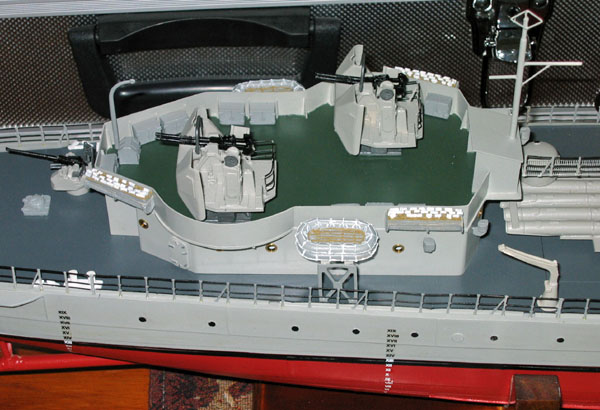
Torpedo Tubes and Small Guns are added
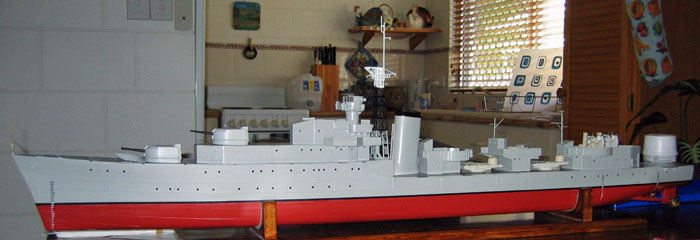
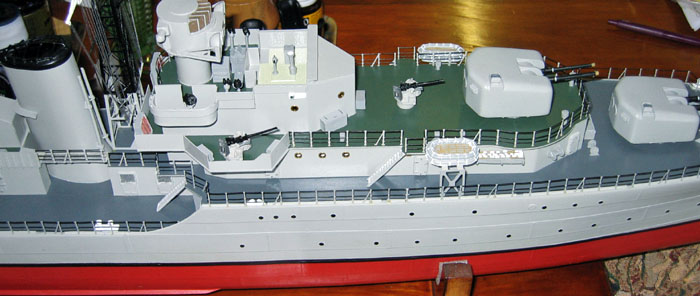
Another overall view of the project at this point
More detail added to the forecastle
Another view of the forecastle

A shot of the electronics bay. A
RAM products # 61 Whopper
module has been installed, controlled by a RAM # 35 electronic switch.
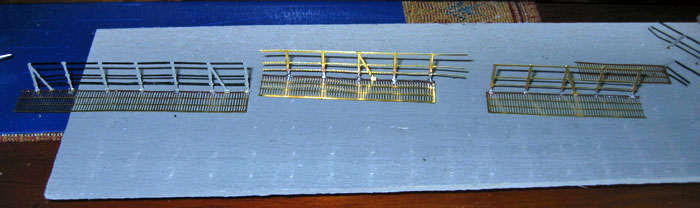
Starting to prepare the kit's photoetched railing for installation
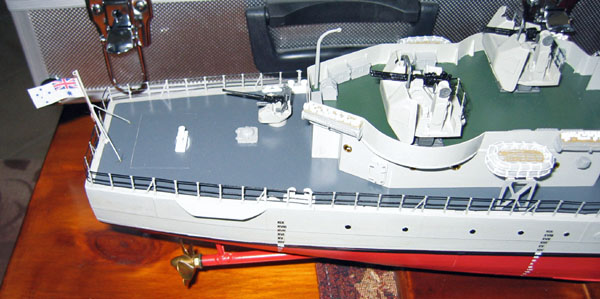
A Stern view of the ship with the railings installed
The walkway connecting the two superstructure components is installed

The kit's turrets were replaced with Sirmar castings to provide an accurate
RAN version.
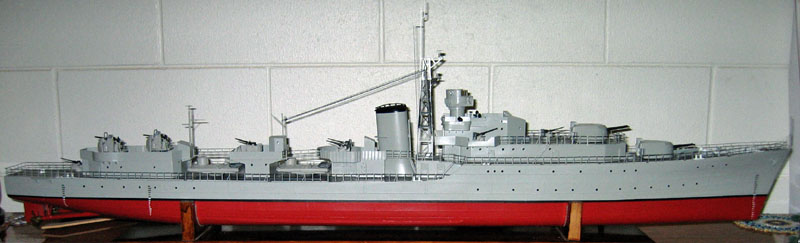
An overall view of the model at this point.
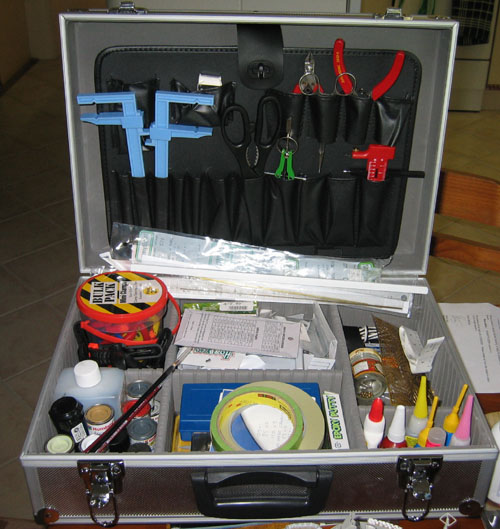
An aluminum case found at a local supermarket makes a fine place to store
materials and supplies

Mostly small detail added like the Blue Jacket port holes, ammunitioning
davits and lockers, Carley floats and scrambling nets. Brett has some ships
boats coming from John Haynes which should help complete her.

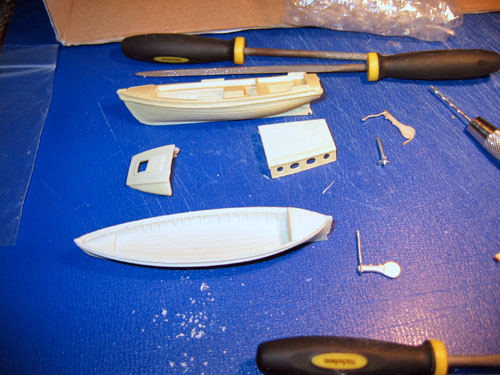
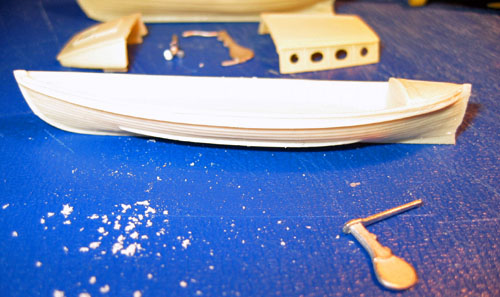
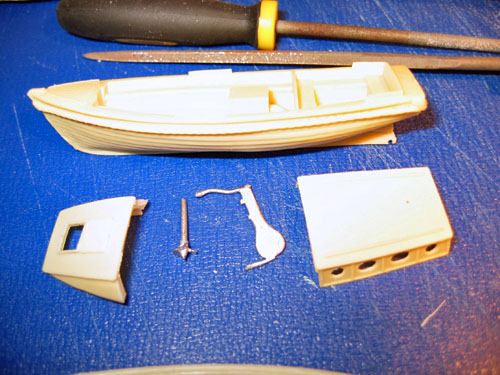
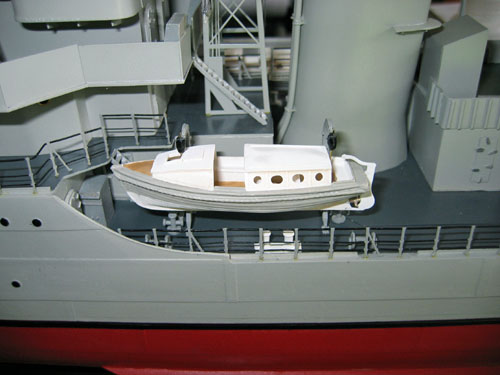
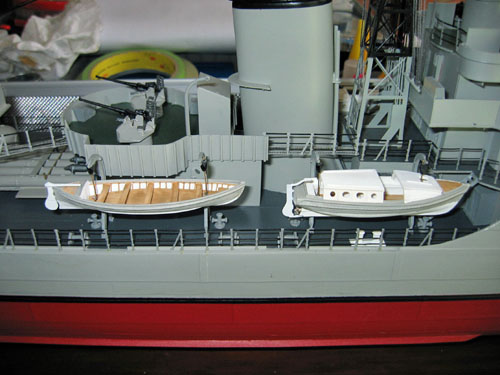
March 19, 2006
Brett writes:
These are the ships boats I got from John Haynes. They are quite good quality and didn't require much preparation to paint and fit. 3 photos of the boats as received and 2 painted and fitted.
![]()

Back to Warship Models Underway
This page maintained by Kurt Greiner. Email me here.
This page viewed 1116
Version 1.29
Last update 3/06