
![]()
![]()
![]()

![]()
![]()
![]()
![]()
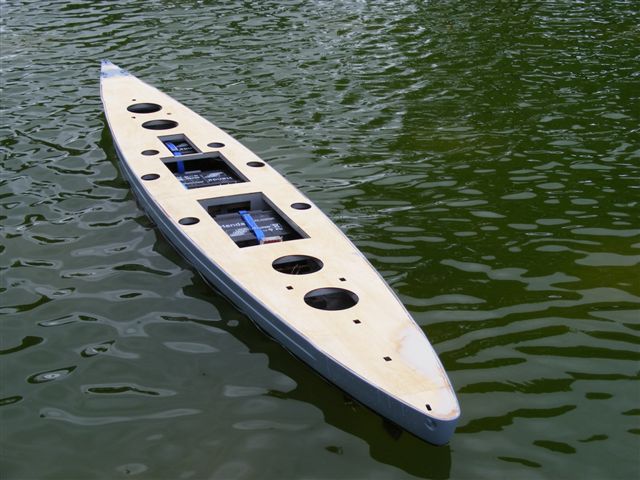
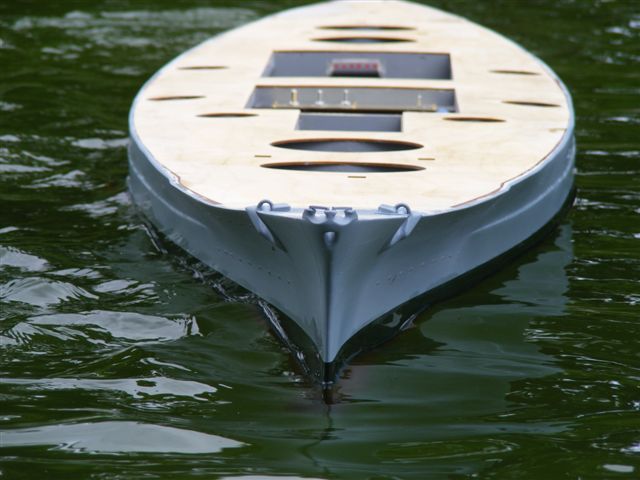
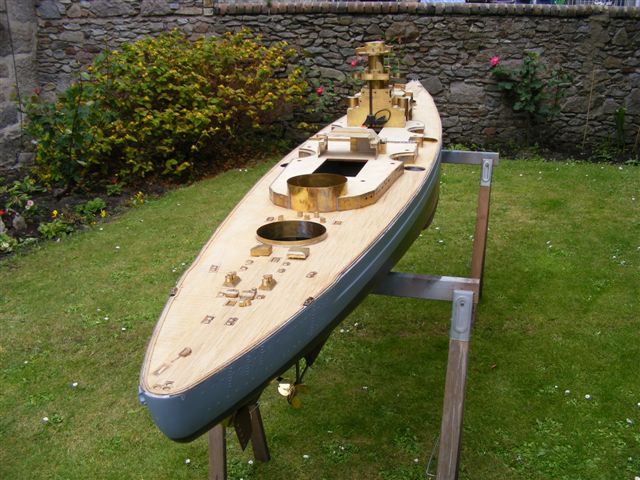
Click on any image that has a border to enlarge. -
Forward to Philip Ardell's 1/72 scale Bismarck Project, Page 2
Phillip writes:
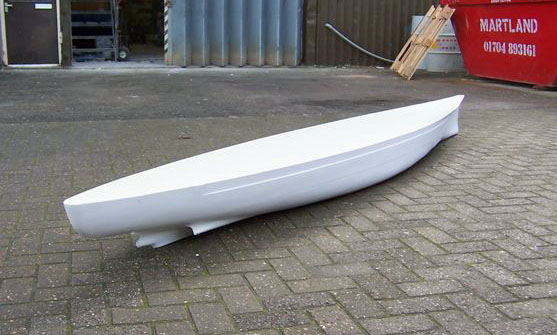
It is now manufactured in England by PSShips / Sirmar, and this hull is the first made here.
1. There will be a limited number made 20 hulls made and no more, after that the mold will be destroyed. The hulls are available now.
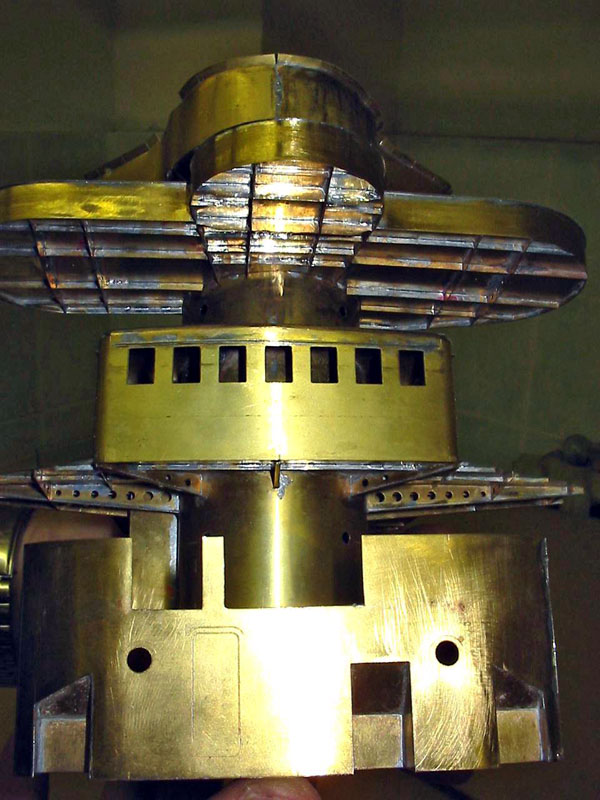
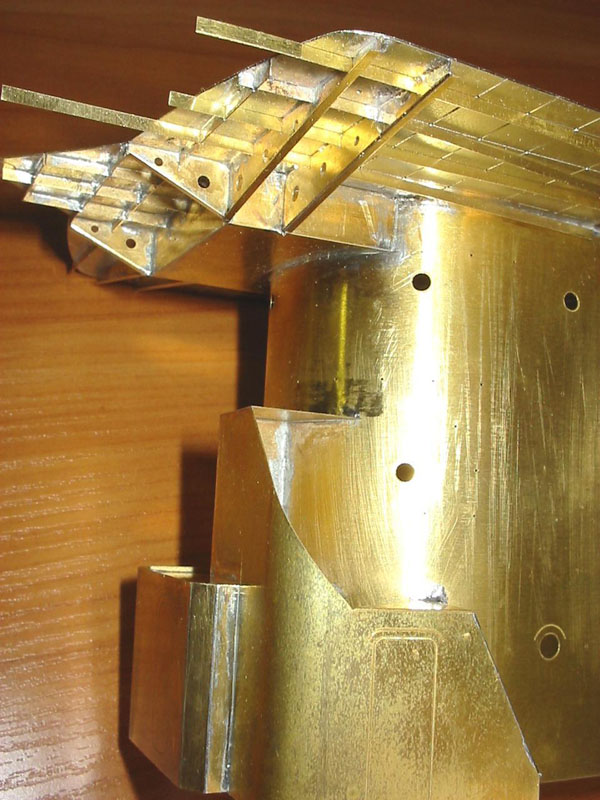
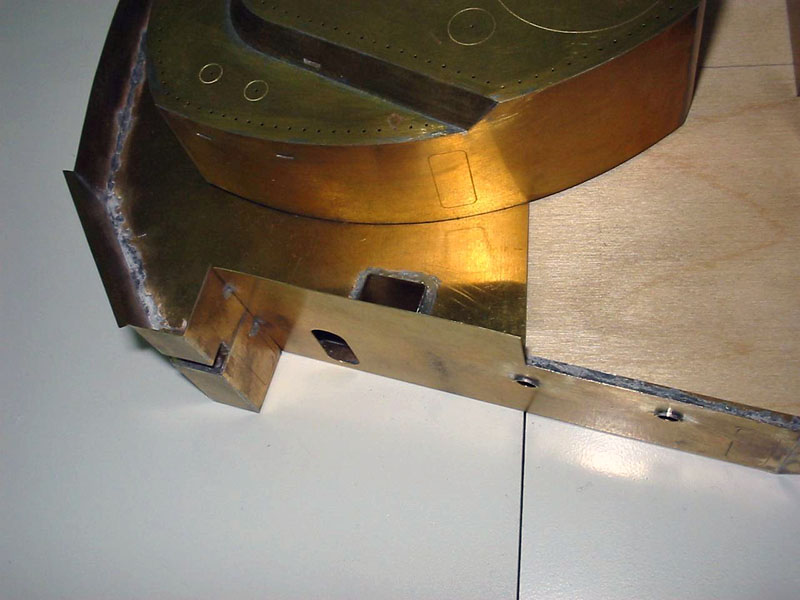
2. Brass Superstructures are available now.
3. A running set is available now.
4. Plans. (I still recommend Nick Fox in Australia. He has agreed to supply a set at 1:44 scale.)
5. Fittings will become available. Not available yet. These hulls are now in production.


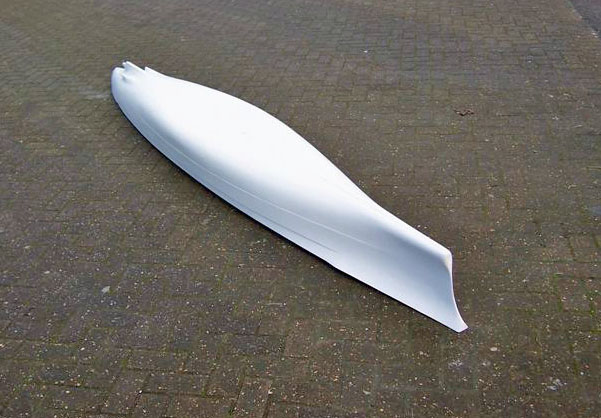
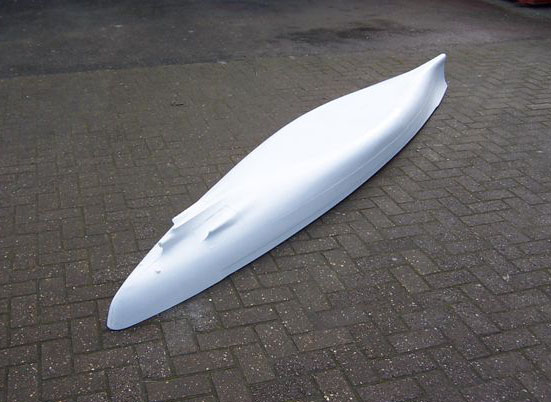
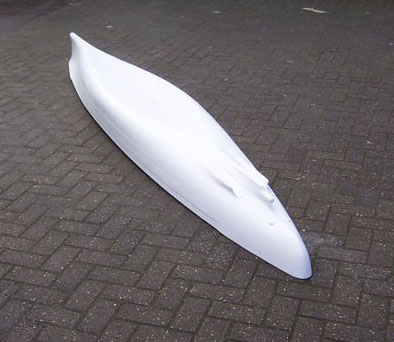
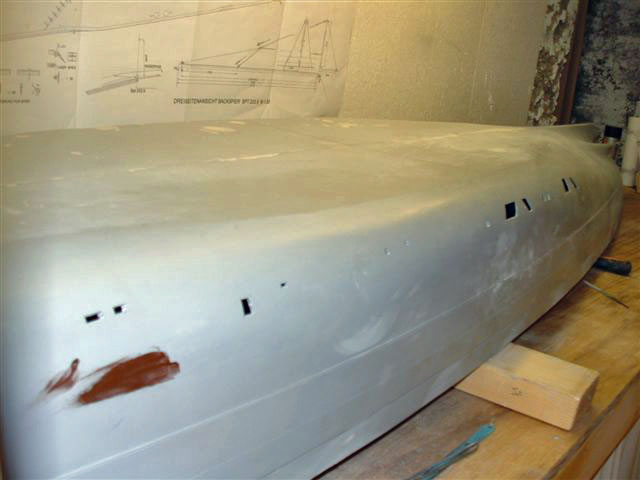
Note: The mold marks that these are normal products of the manufacturing process, and they easily sand off.
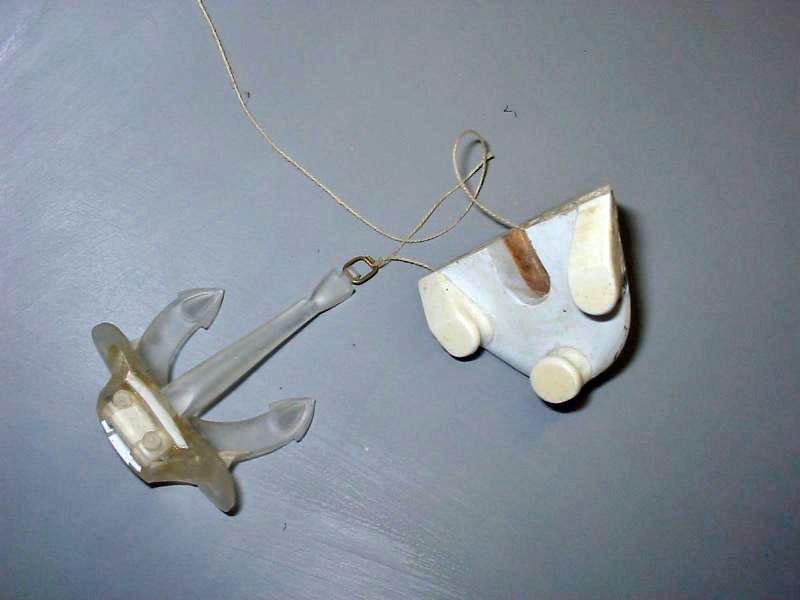
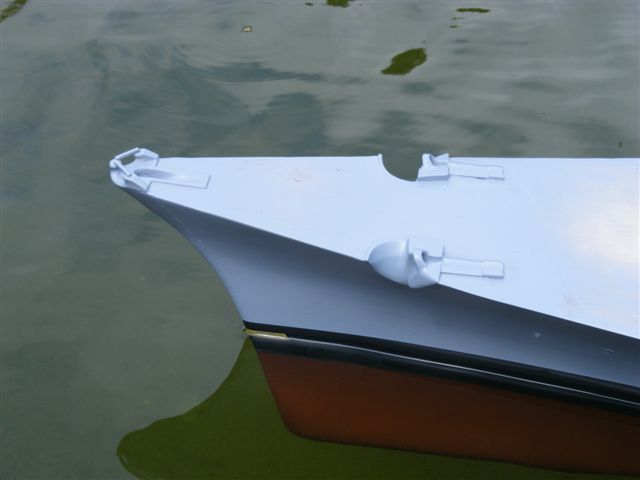
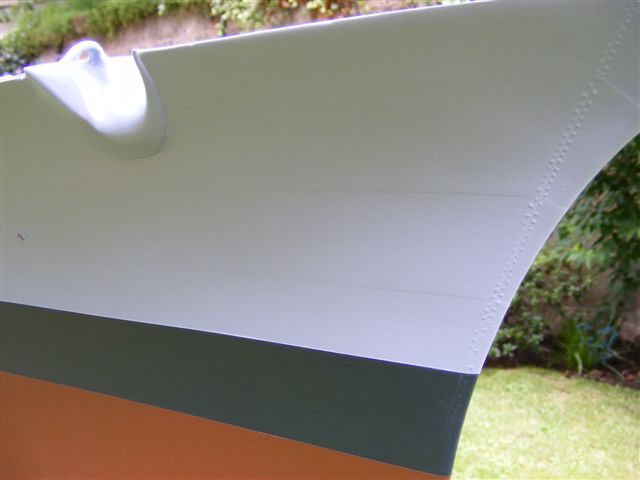
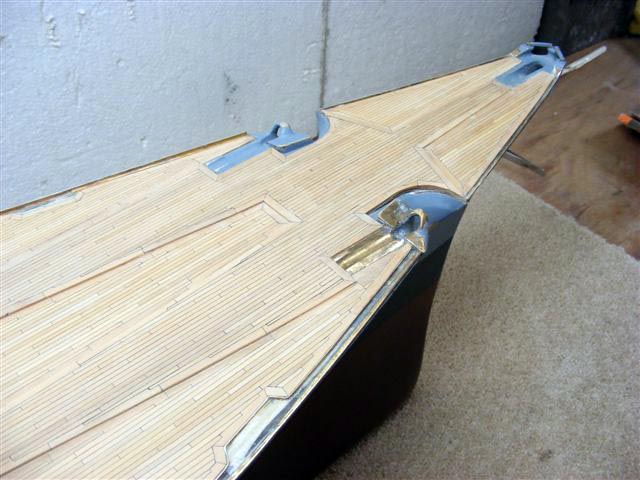
Anchor and fairlead. These are available in brass. The anchors come in two
sizes. The smaller for the stern. Hawsers to follow.


Frames in the rough

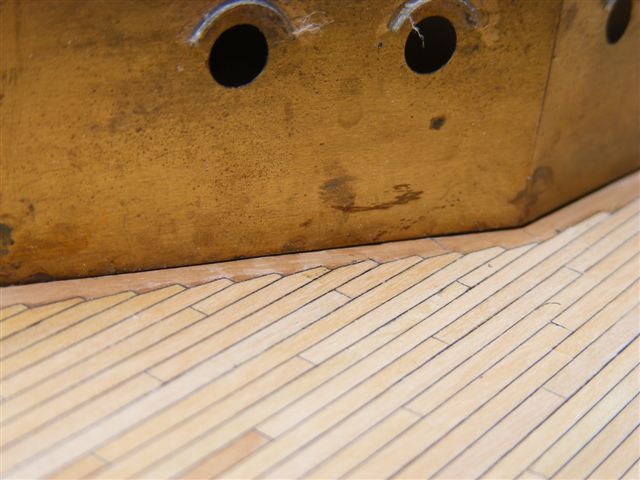
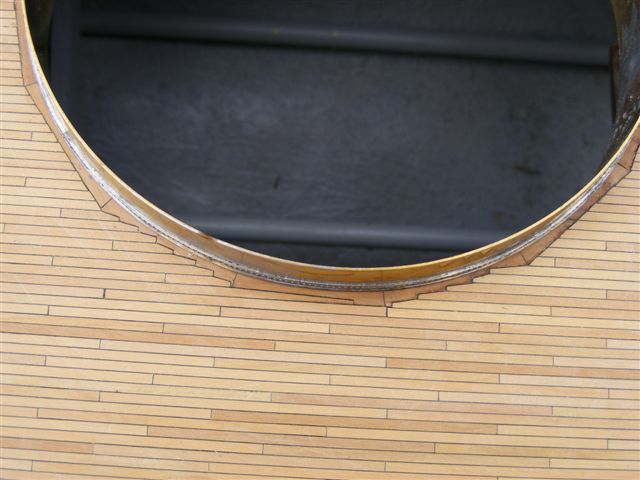
Port Holes Fitted
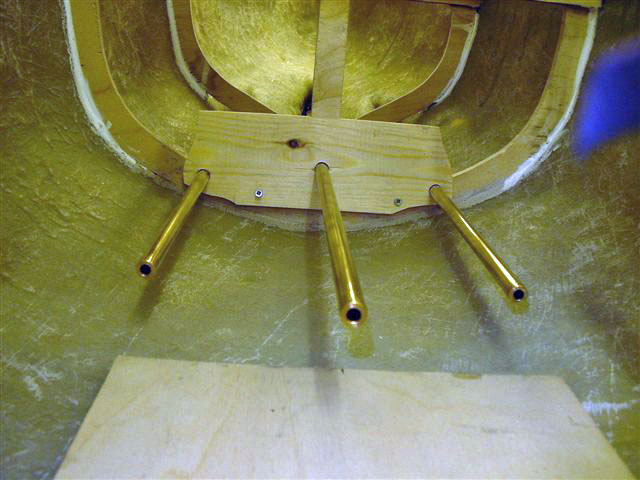
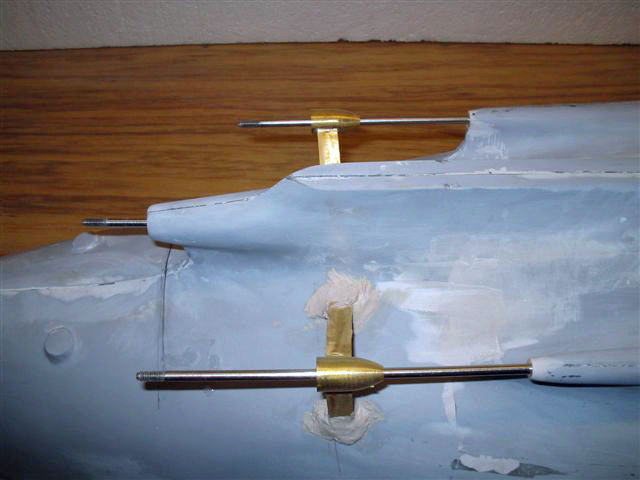
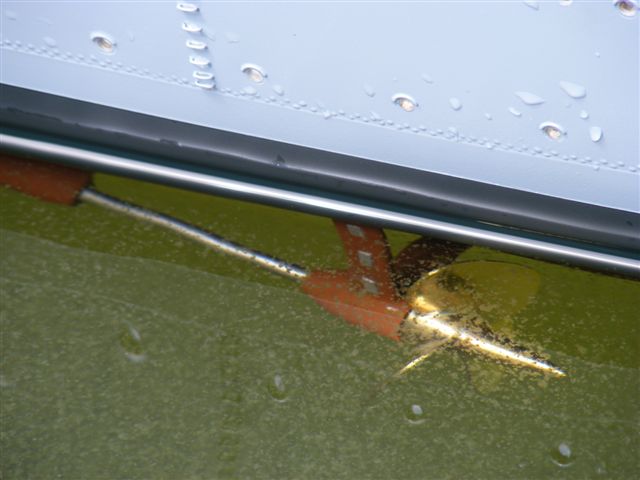
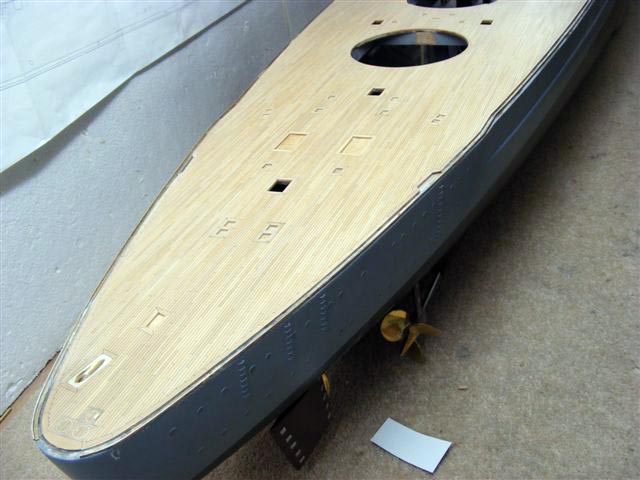
Shaft tubes in place with temporary jig to hold in place until bonded
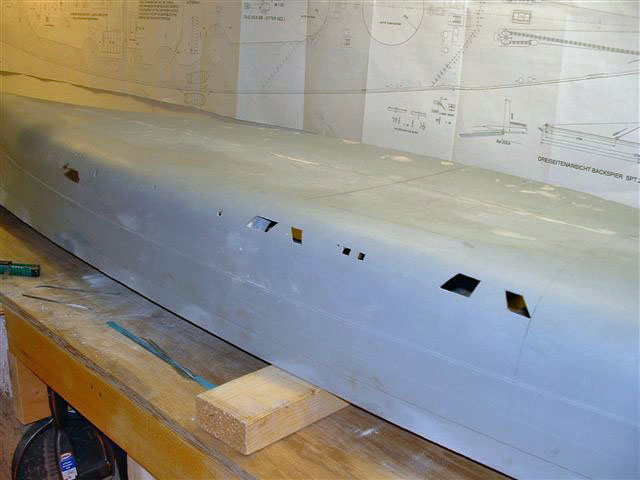
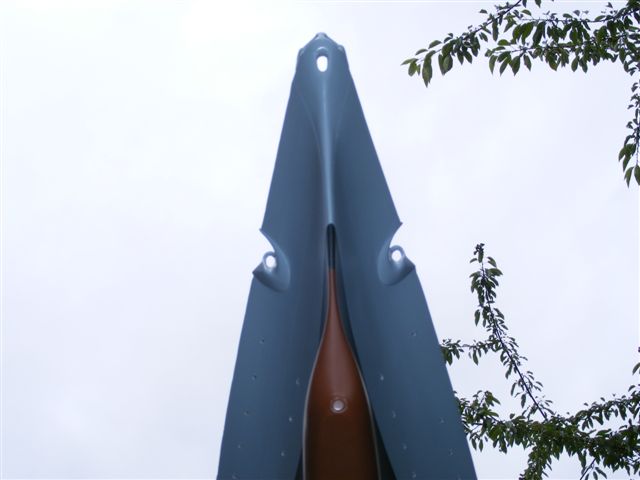
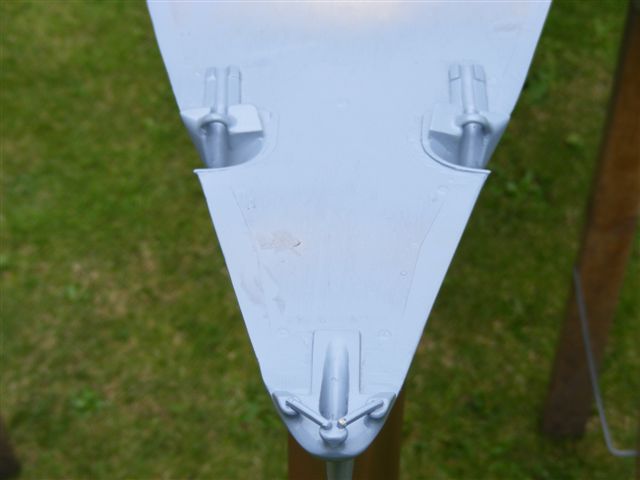
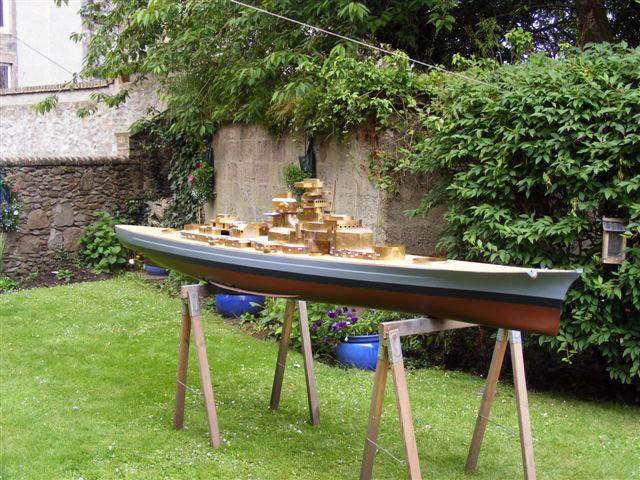
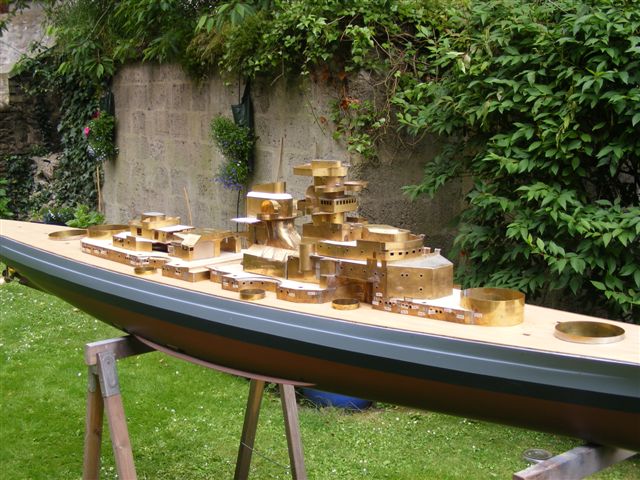
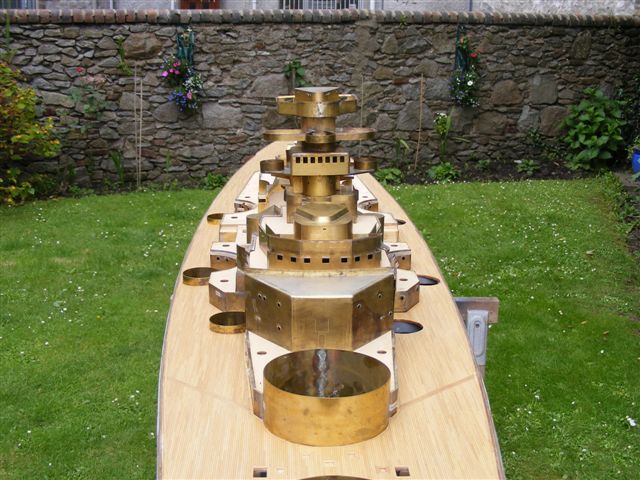
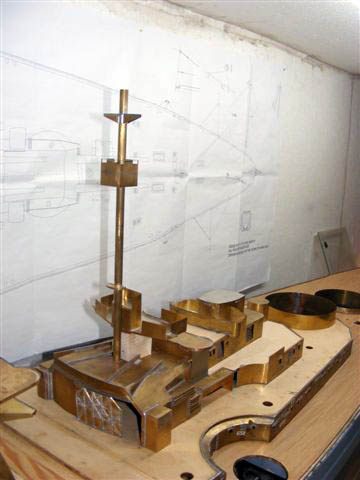
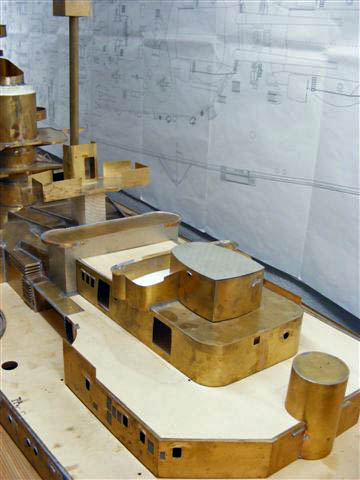
Seeing how he will look with the top in place
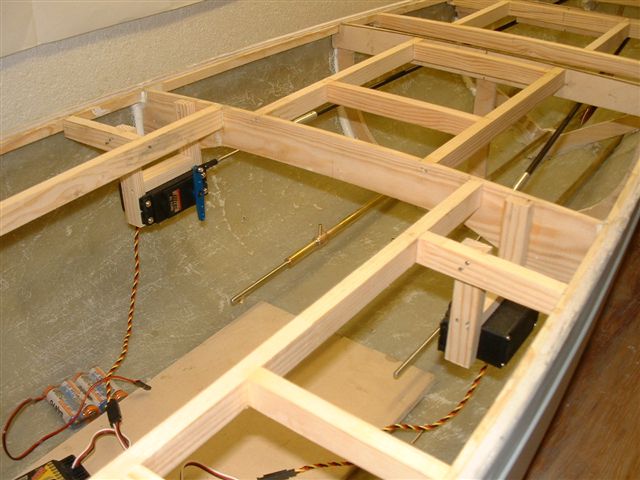
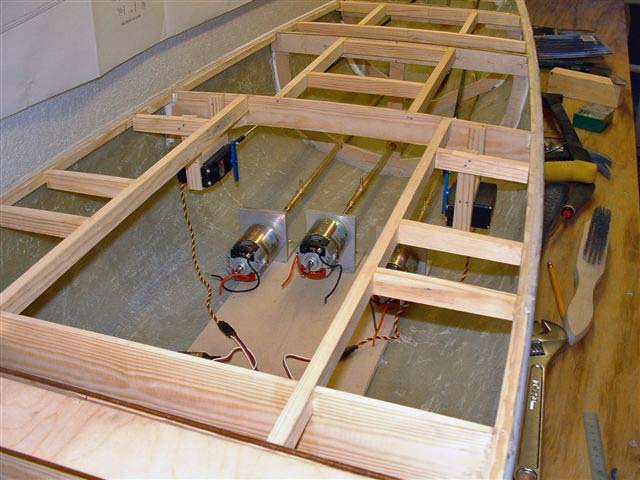
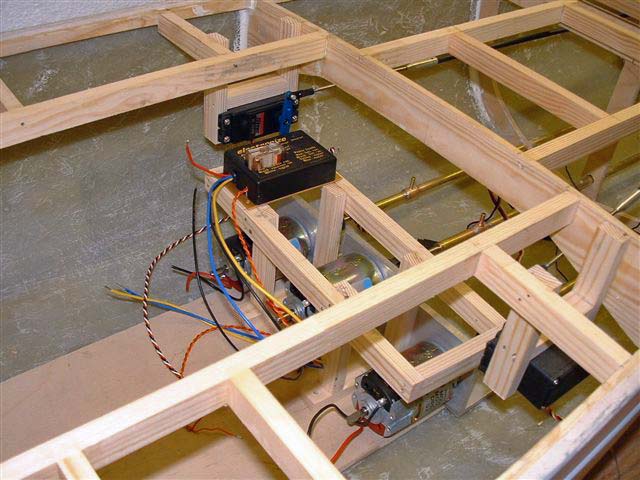
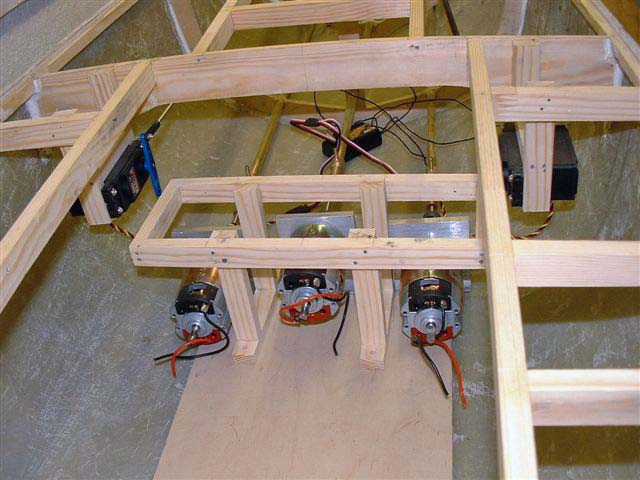
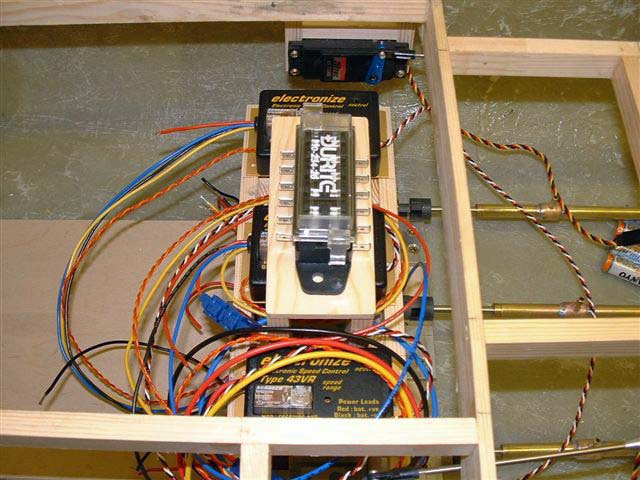
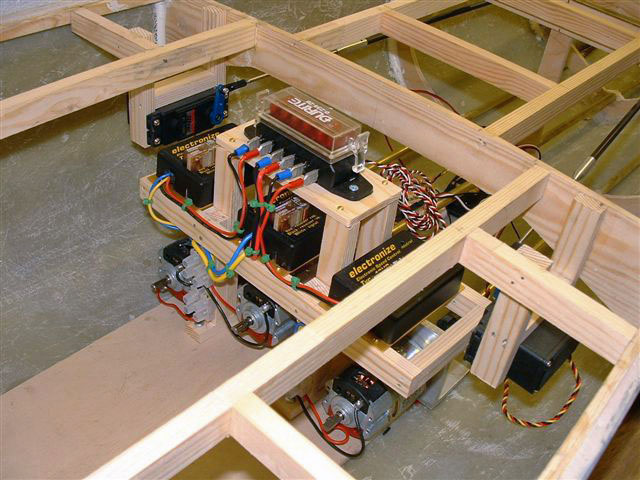
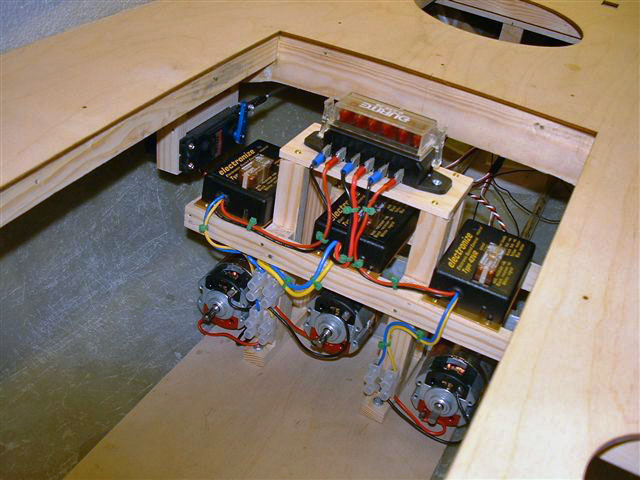
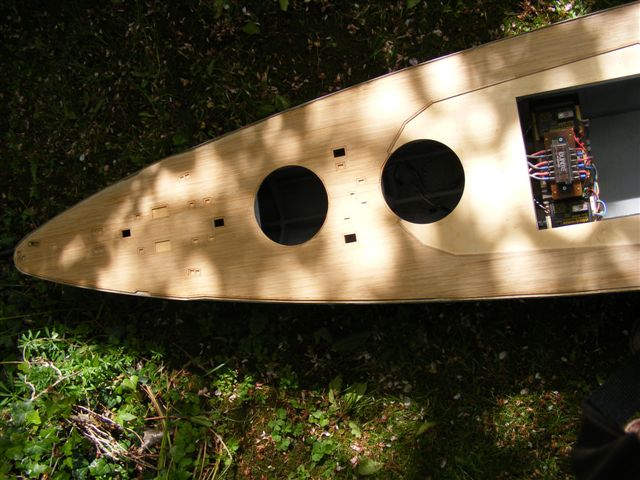
Servos in position, showing the easy access
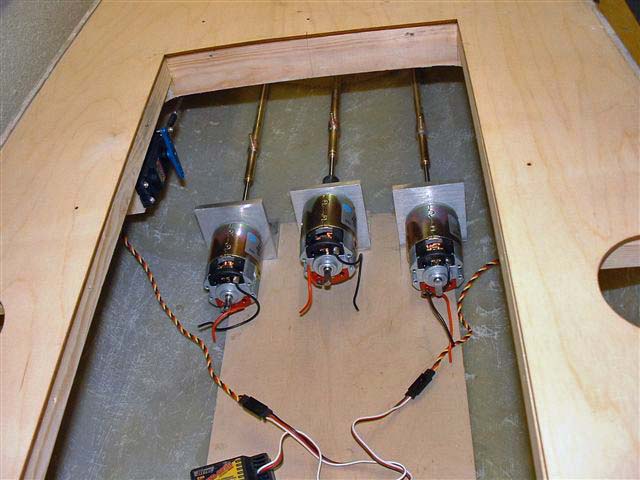
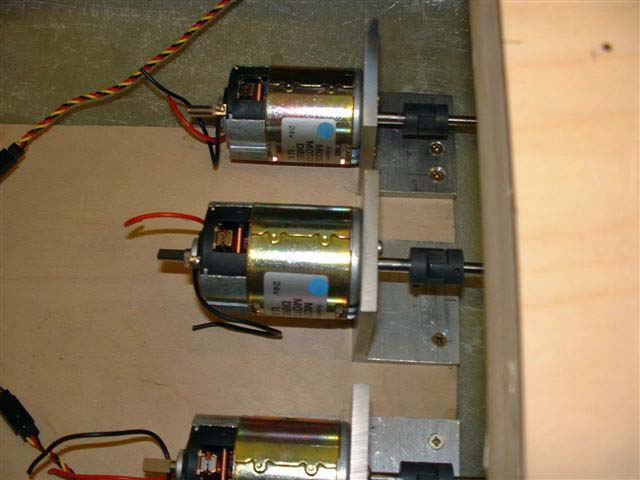
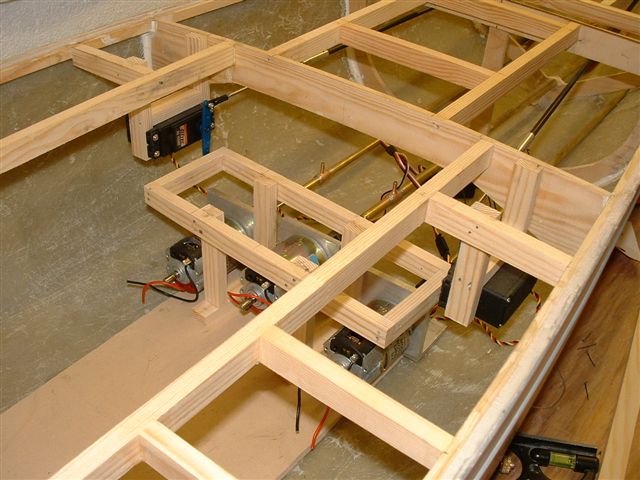
Motors Next!
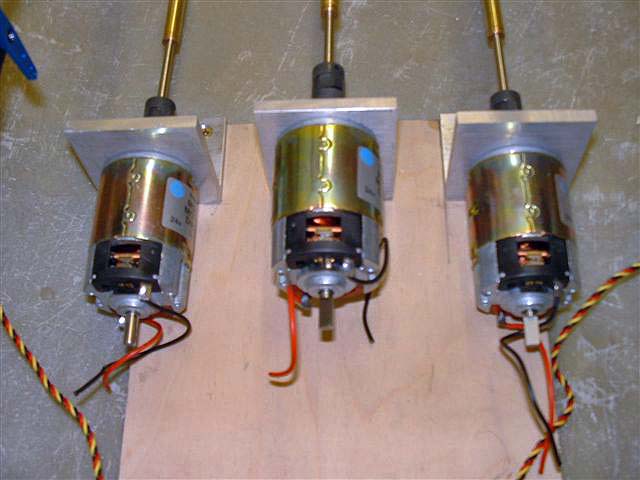
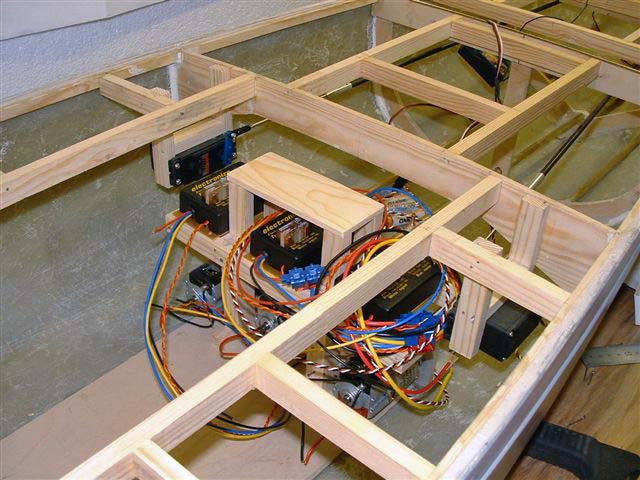
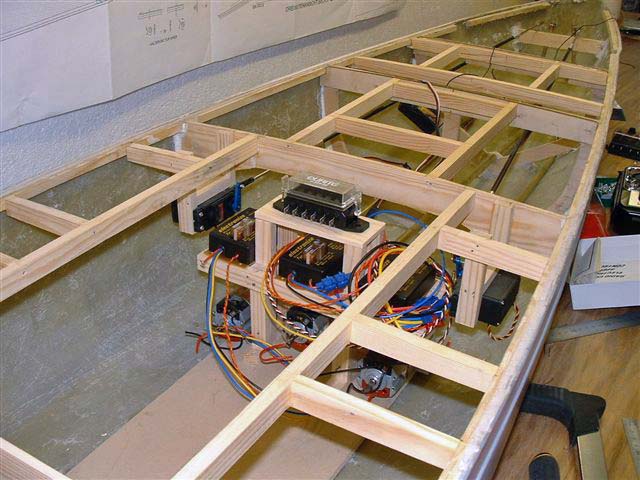
Buhler motors installed

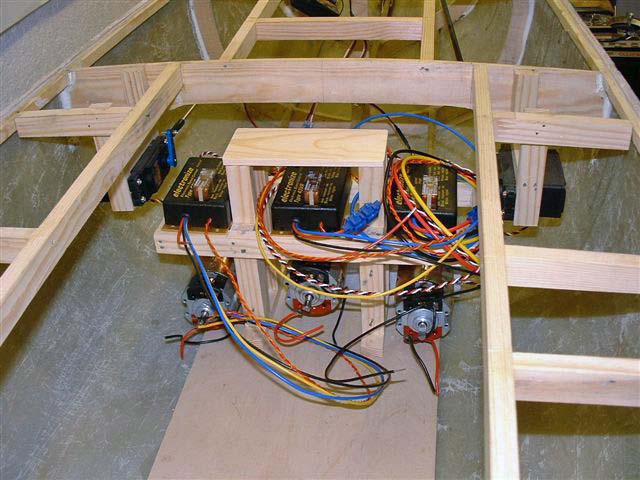
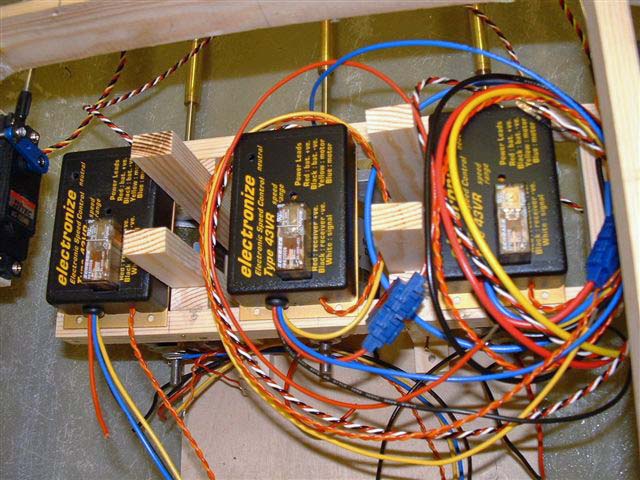
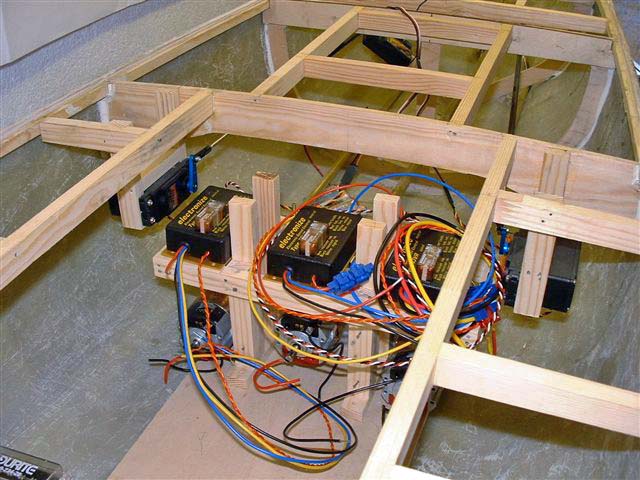
Speed Controllers and Fuse panel installation

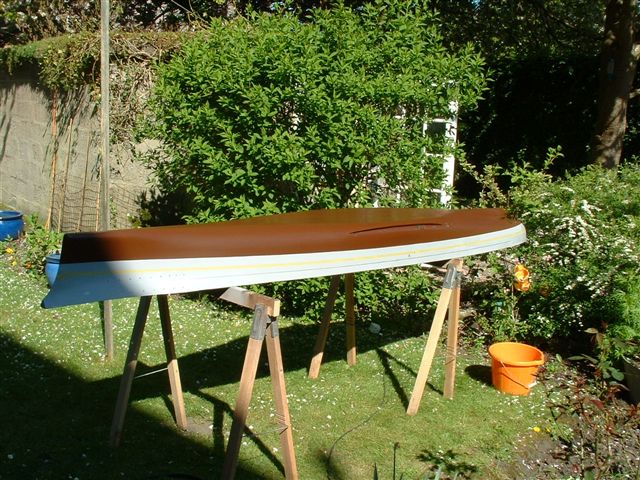
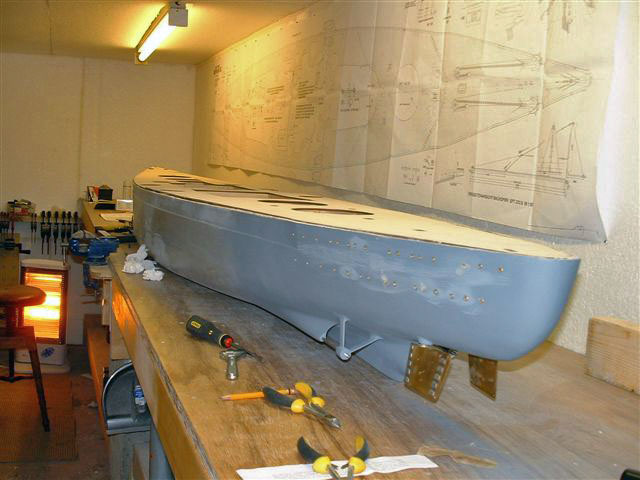
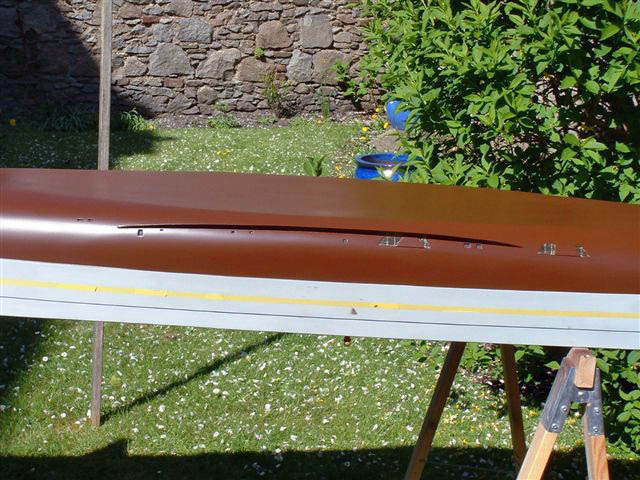
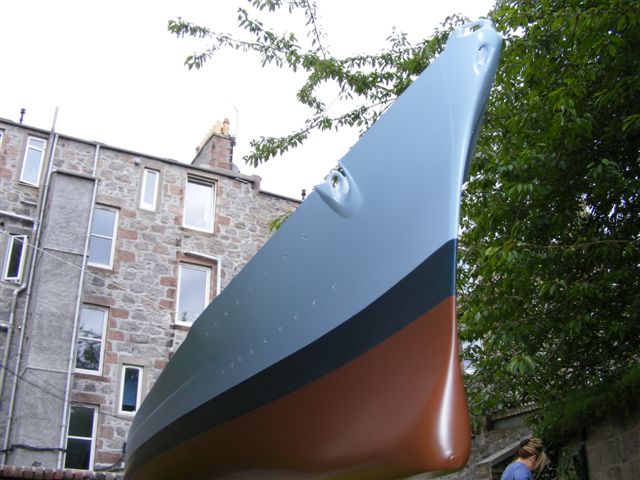
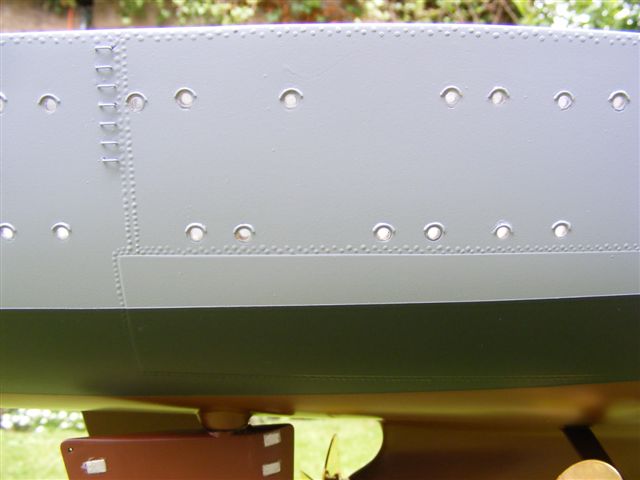
Hull Painted with Anti-Fouling. Boot Top is next.
A closer View, Bars going for and aft in a frame.
Shows new Sea Chests. On a recent trip to Dortmund I was lucky enough to see a few pictures of the real Sea Chests on some original photos..
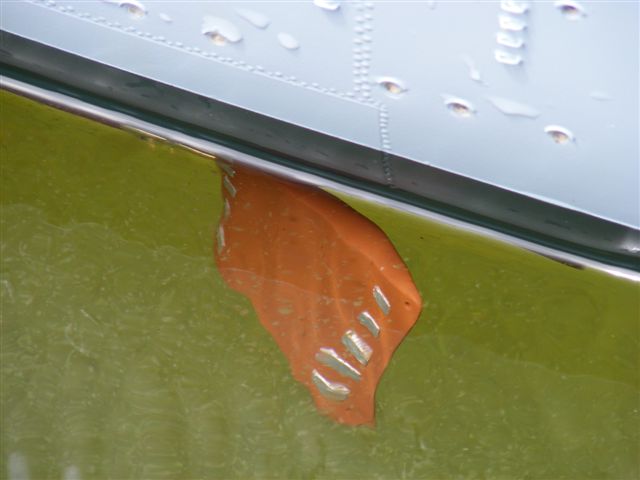
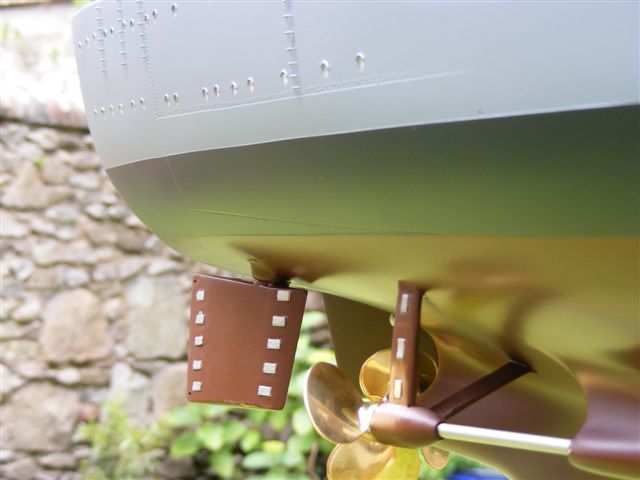
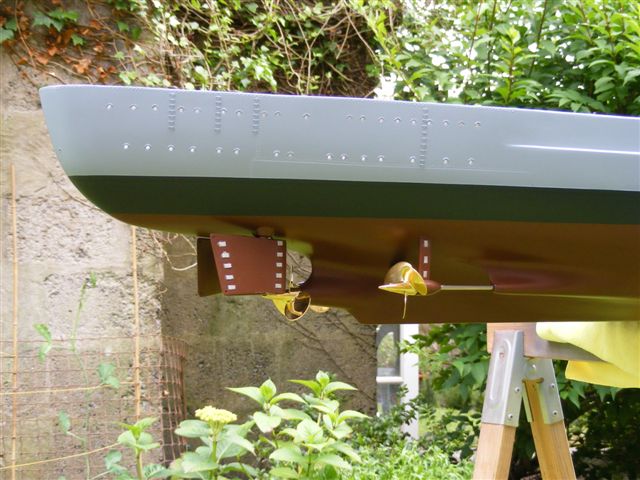
Showing anodes on "A" Frames. These were made as separate anodes and coated with solder and then soldered to the "A" Frames. They will be left as they are and not painted.
Rudders in place. They have received the same treatment as far as the anodes are concerned.
The next coat of paint is the Boot Top and it goes from the Anti-Foul to the Masking Tape.
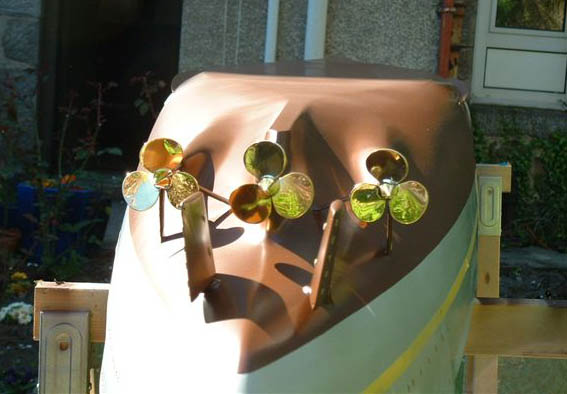
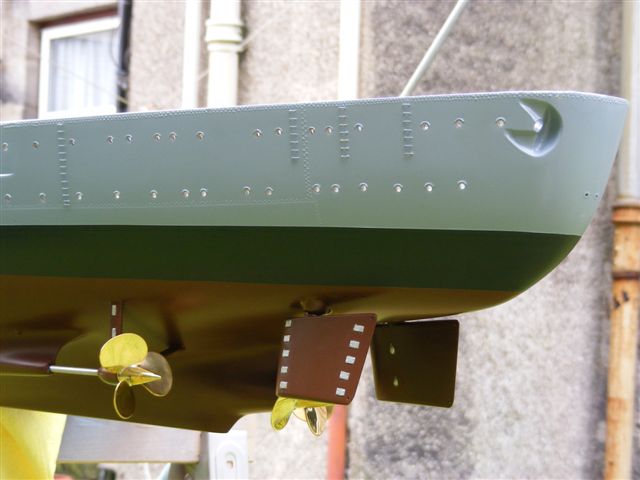
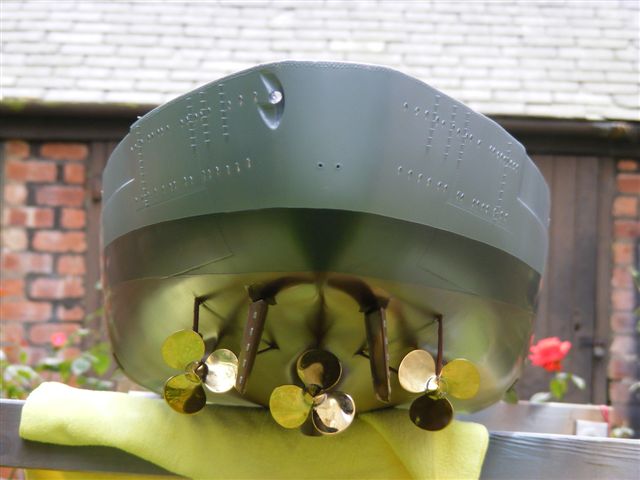
View from Stern showing all the Shiny bits.
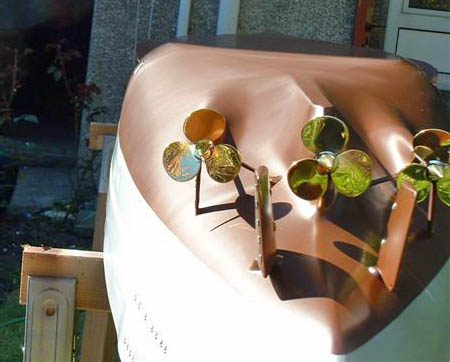
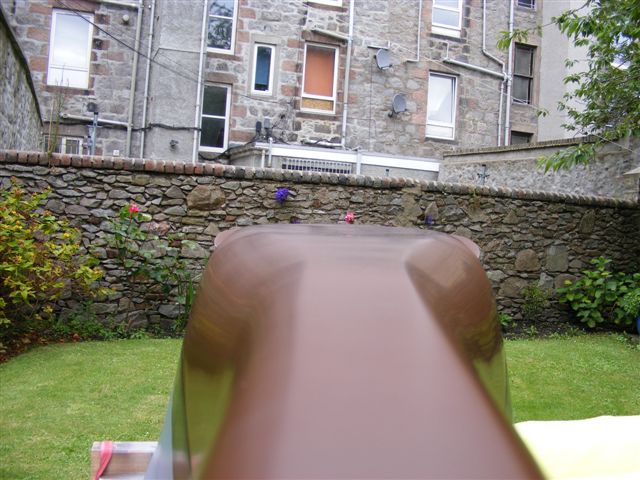
Stern looking Forward.
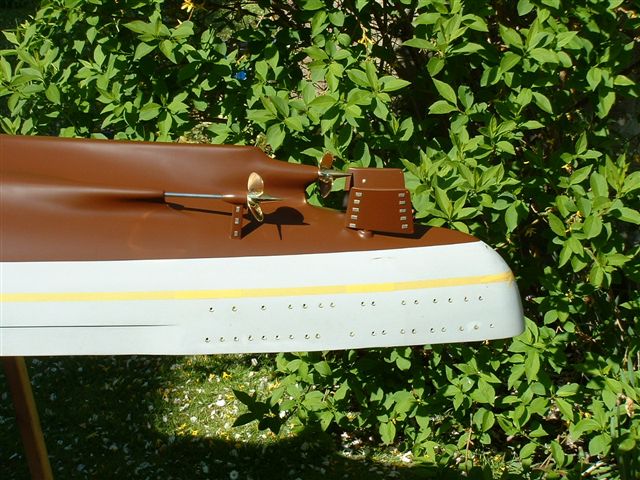
The "working end".
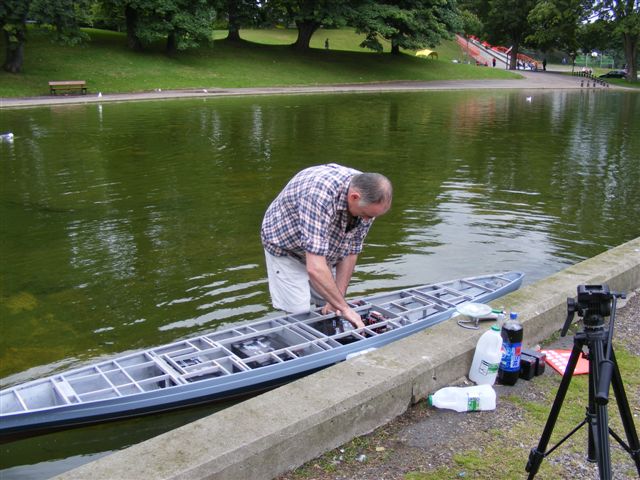
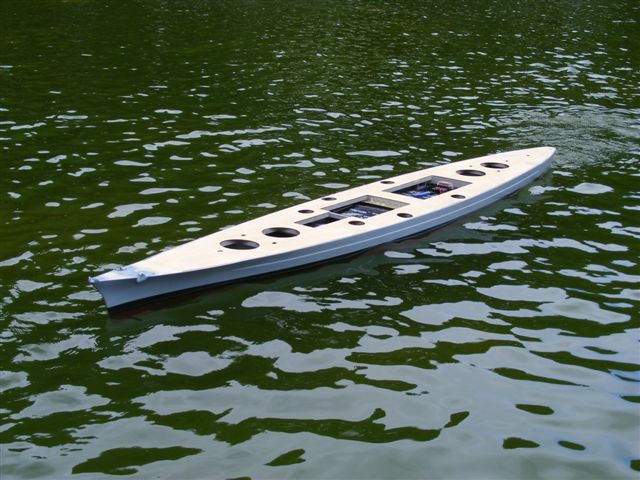
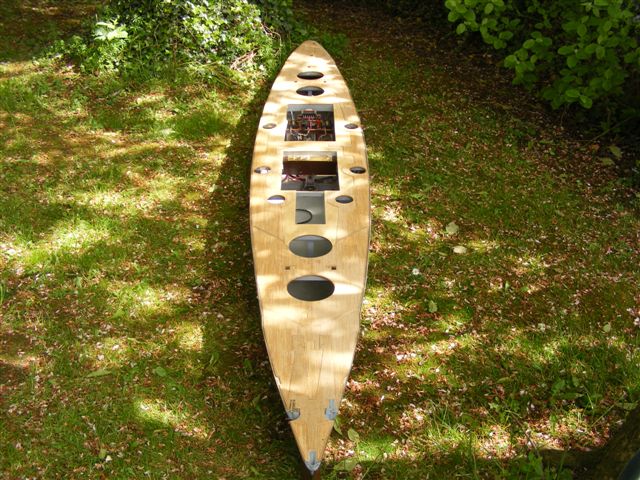
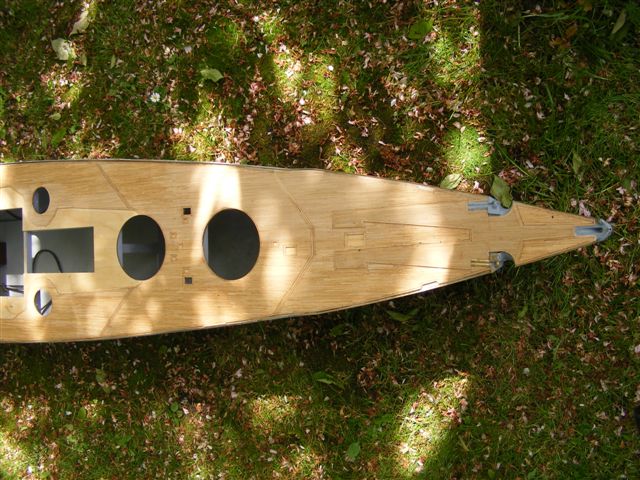
Checking the model for ballast and trim


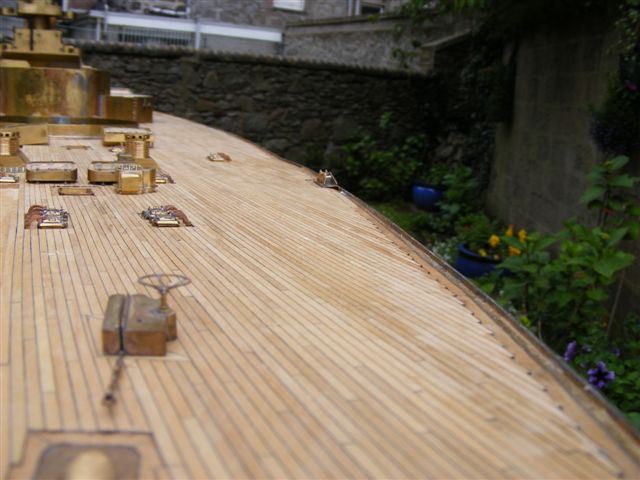
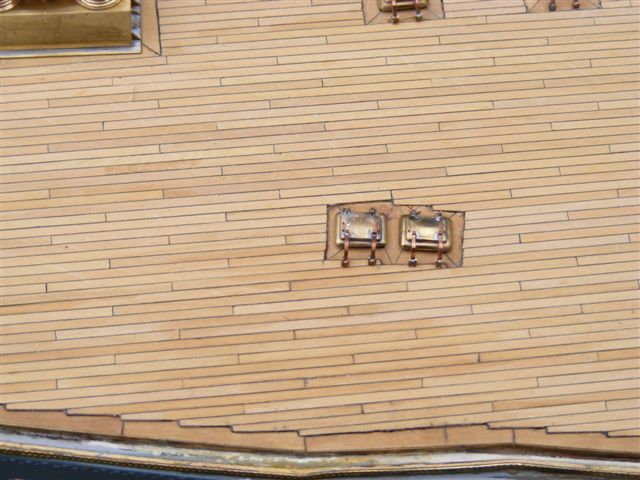
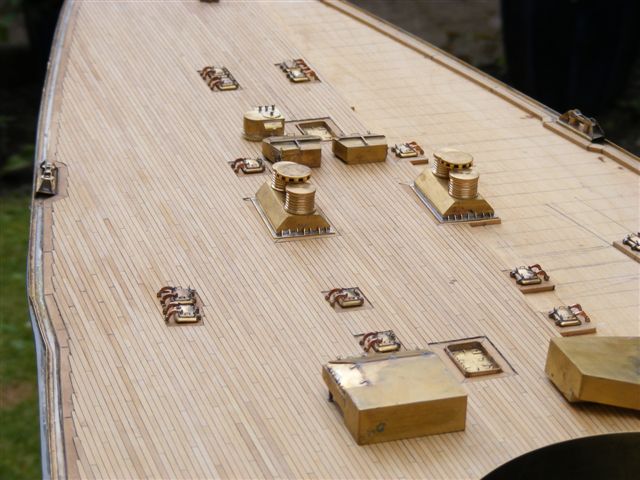
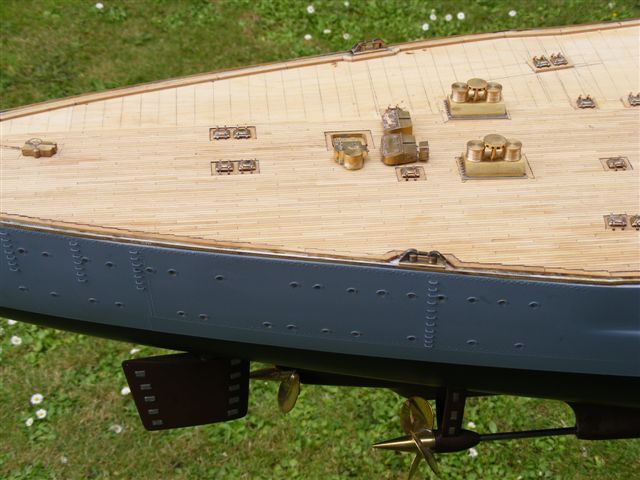
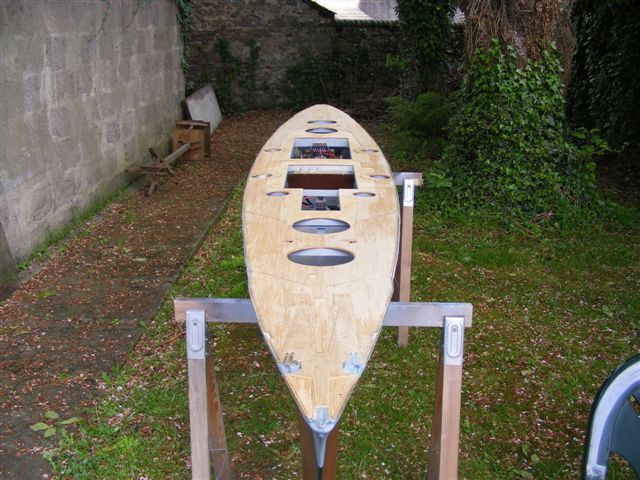
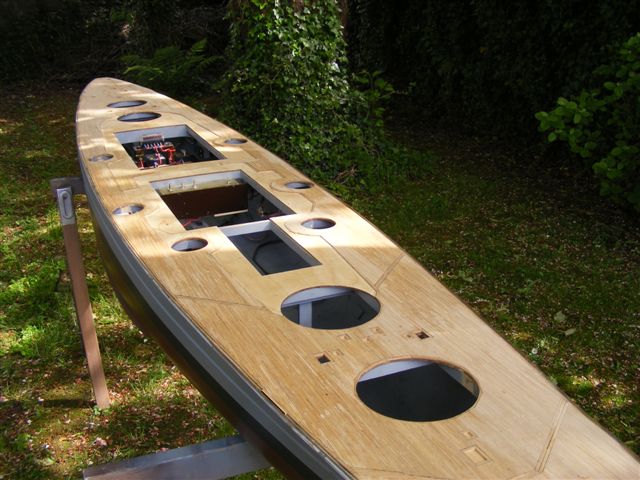


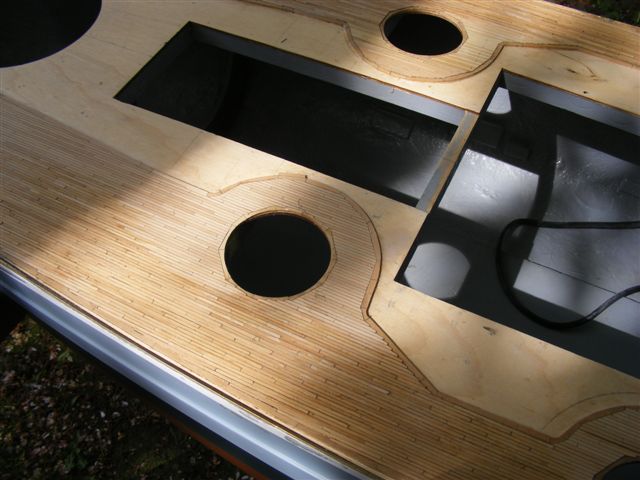
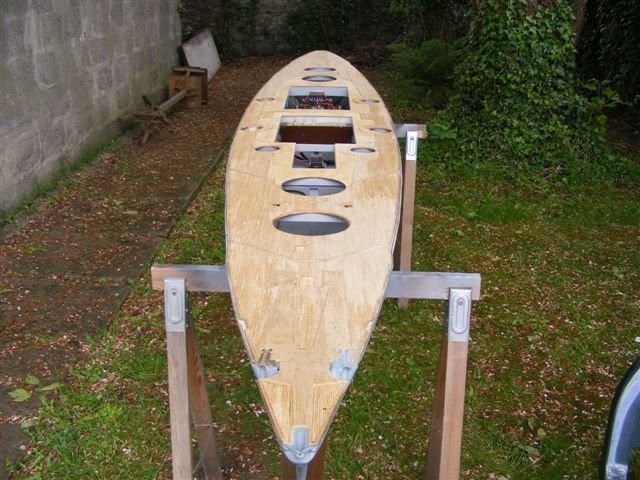


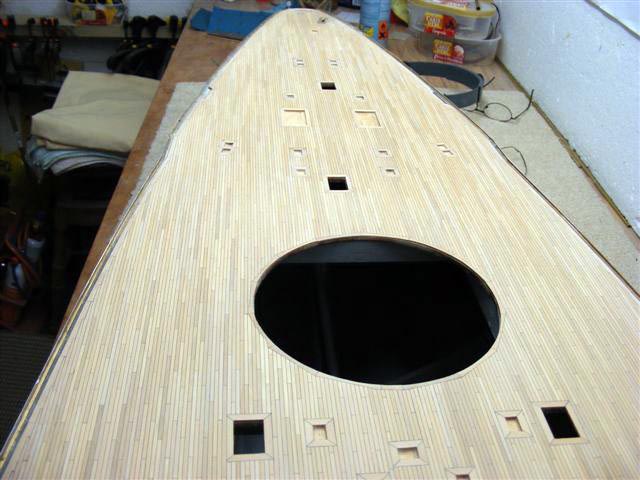


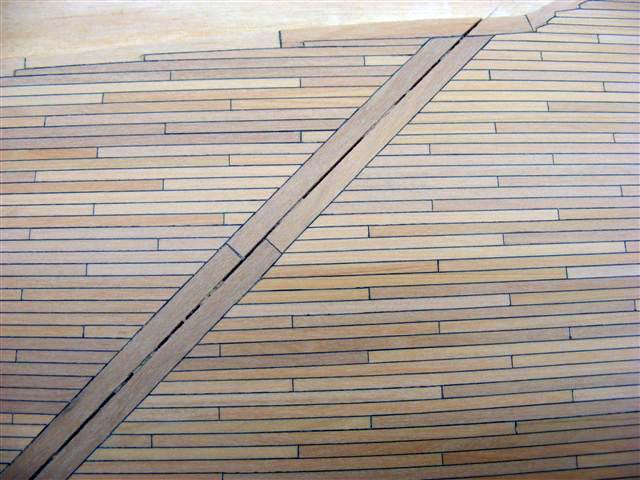
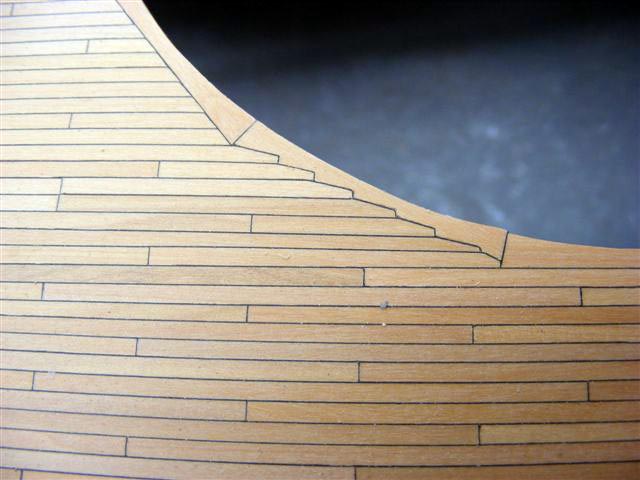
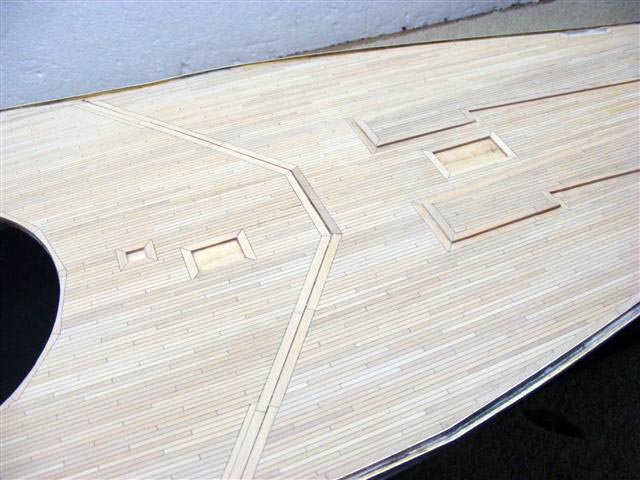
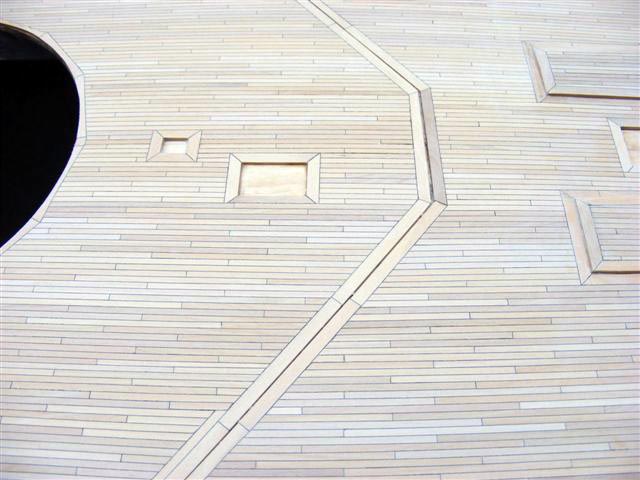


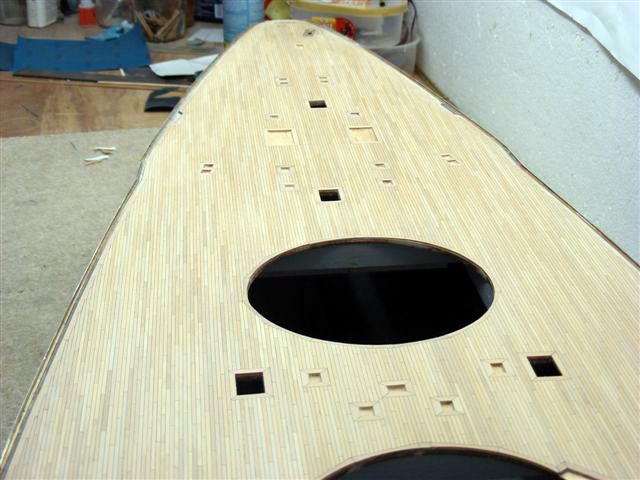
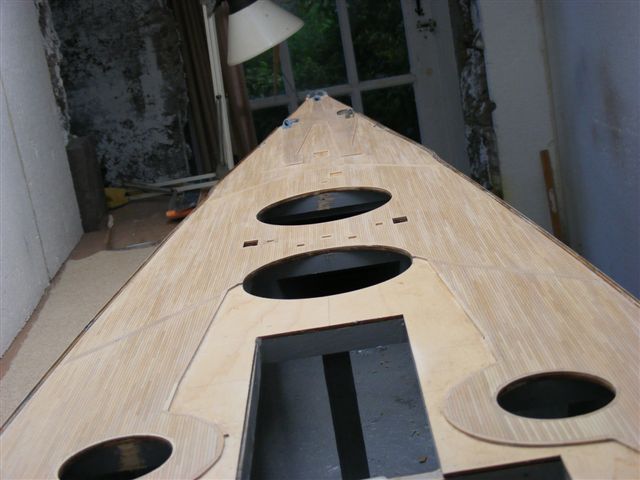
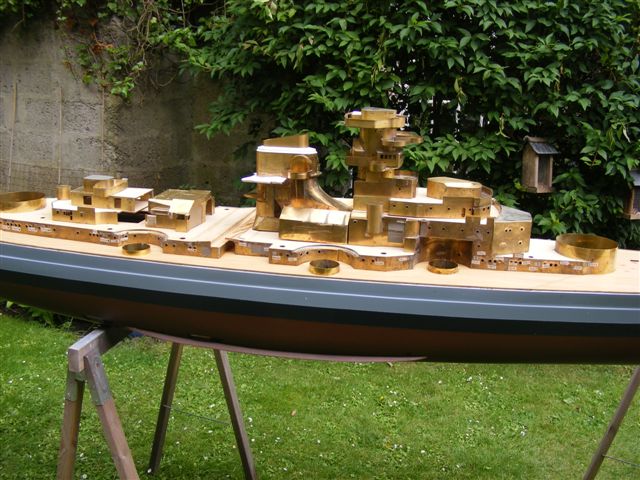
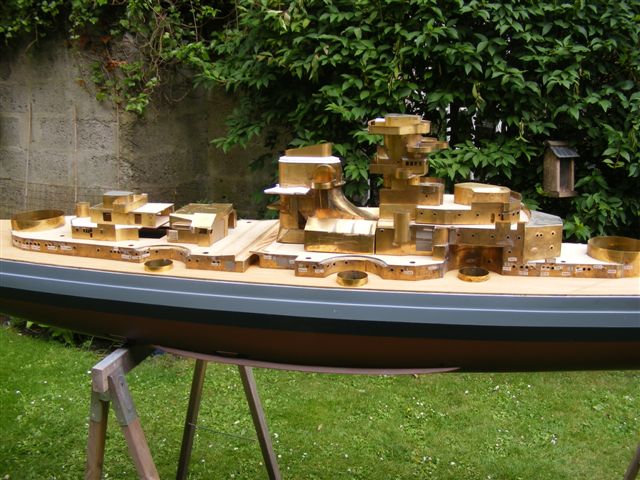

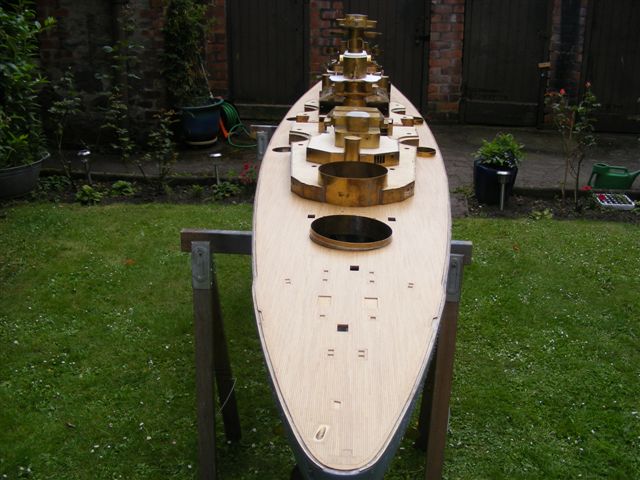
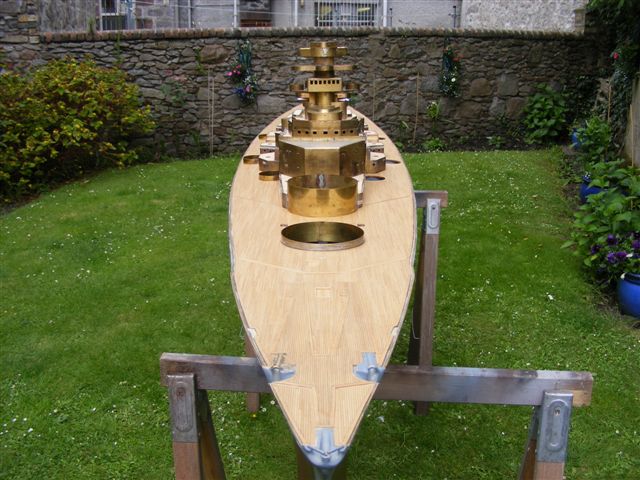


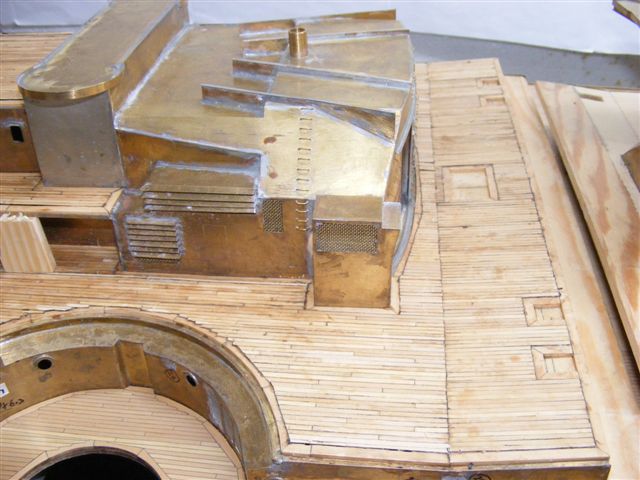
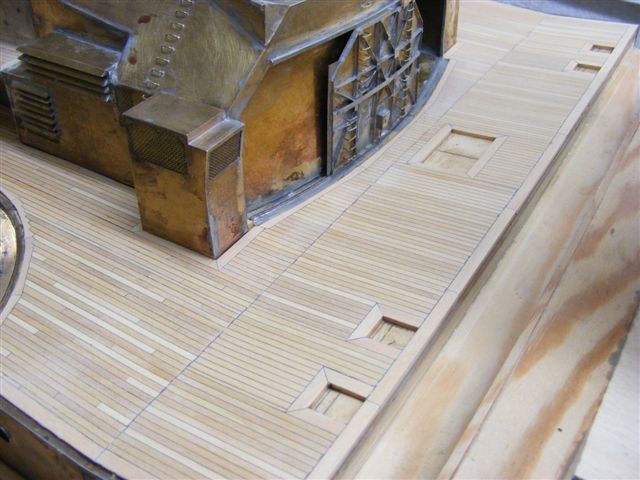
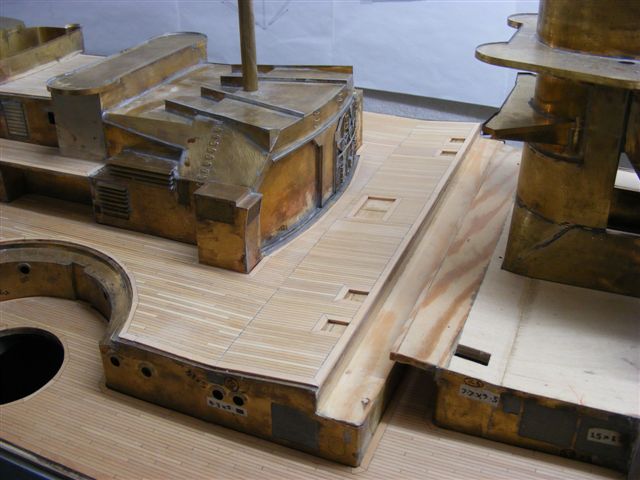
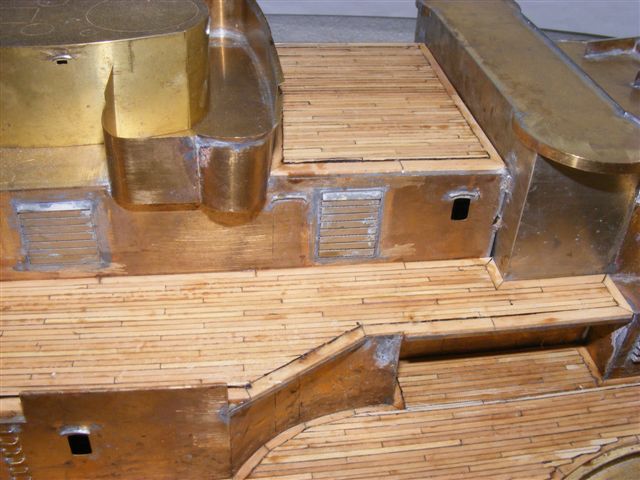
Completing all the levels in decking
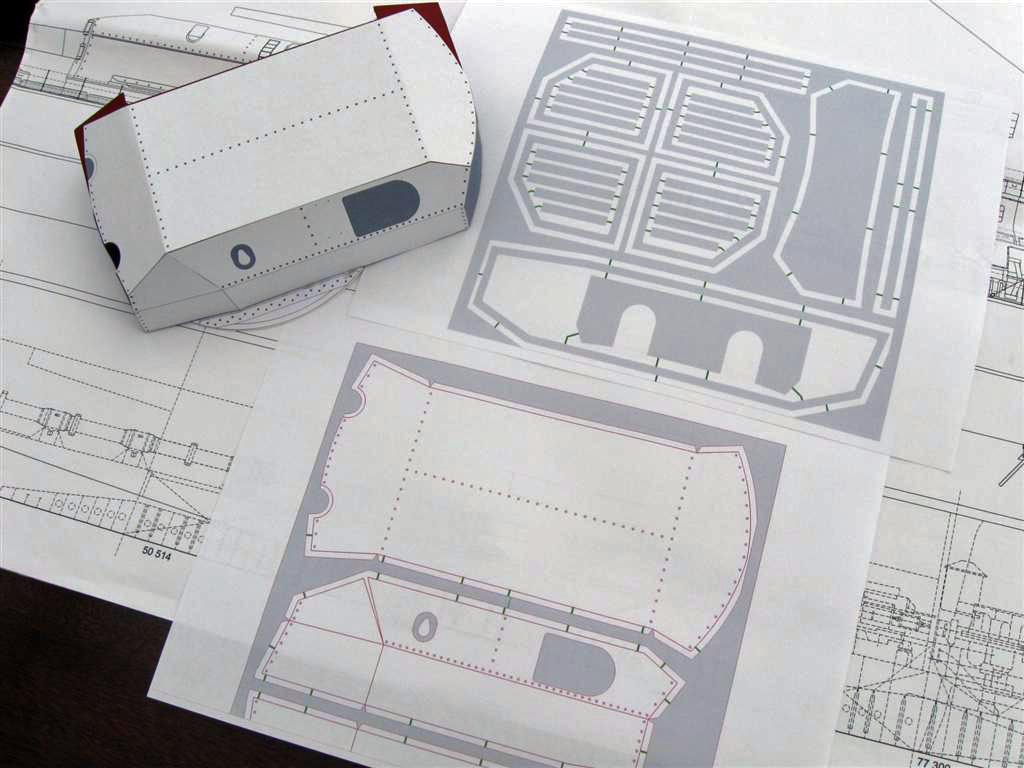
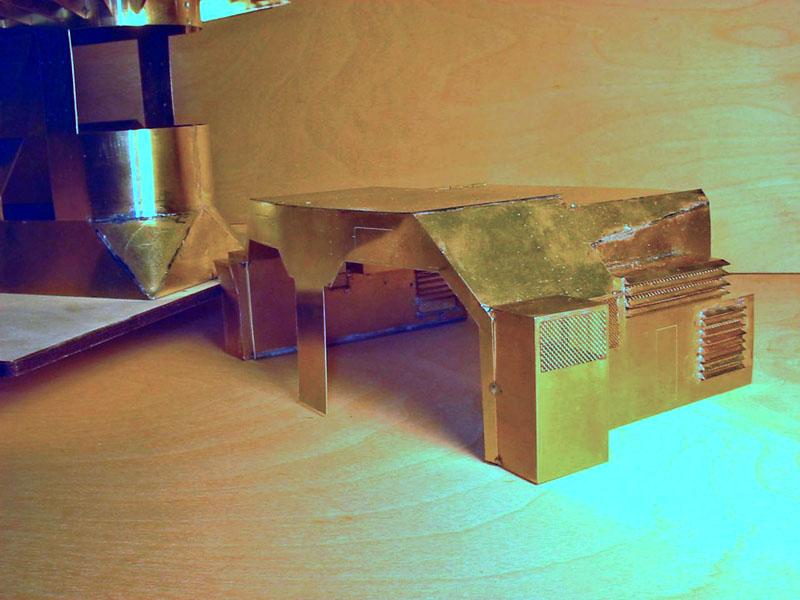
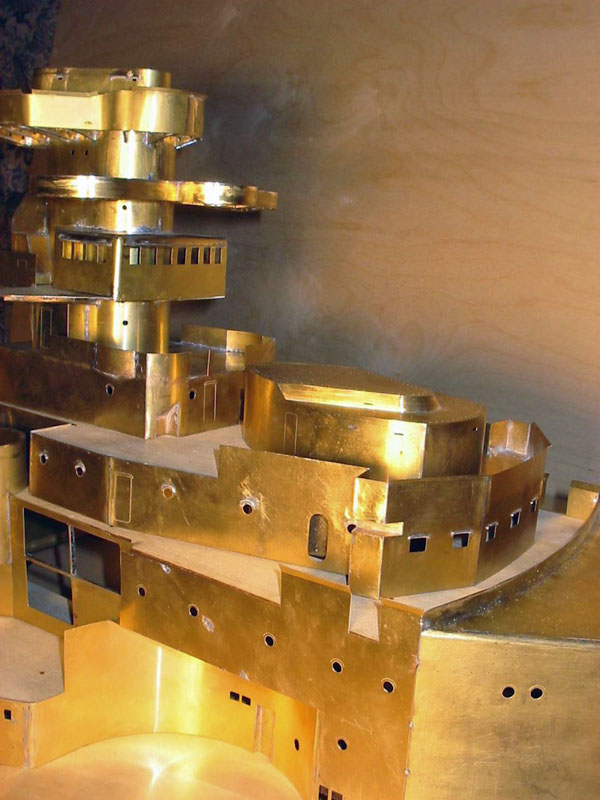
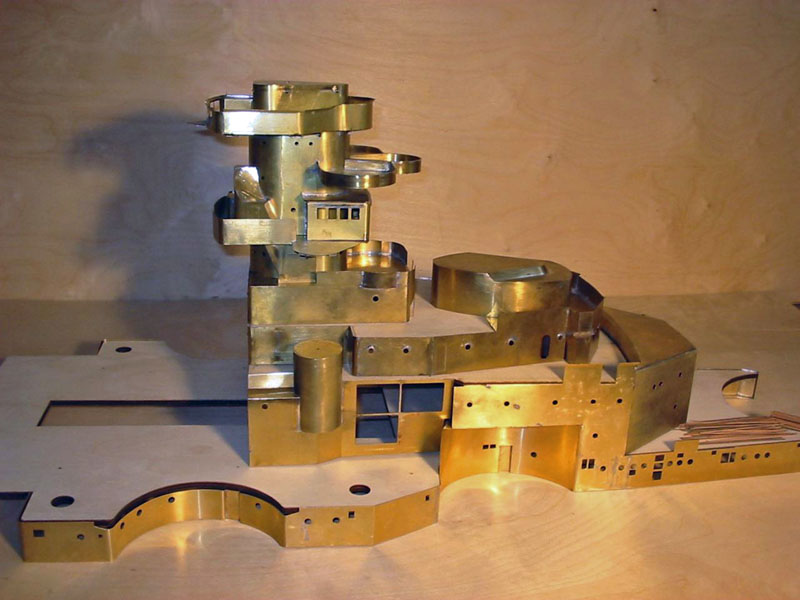
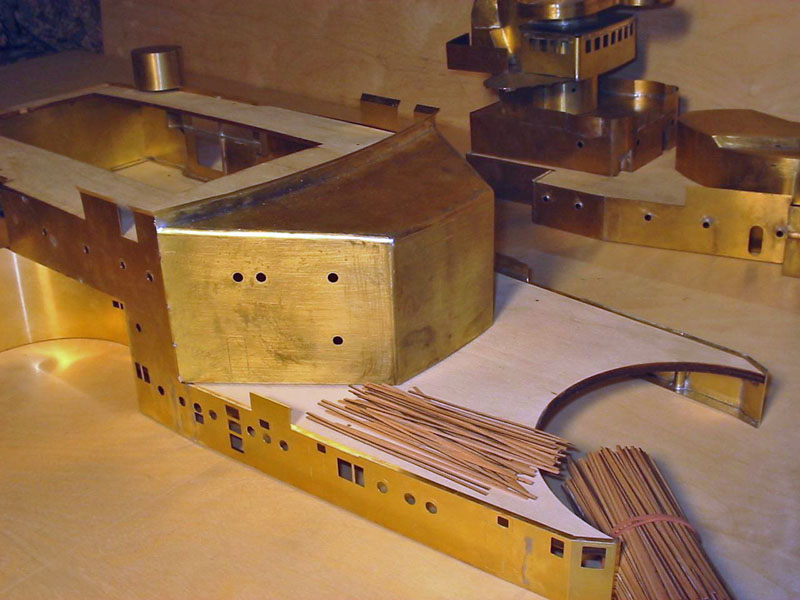
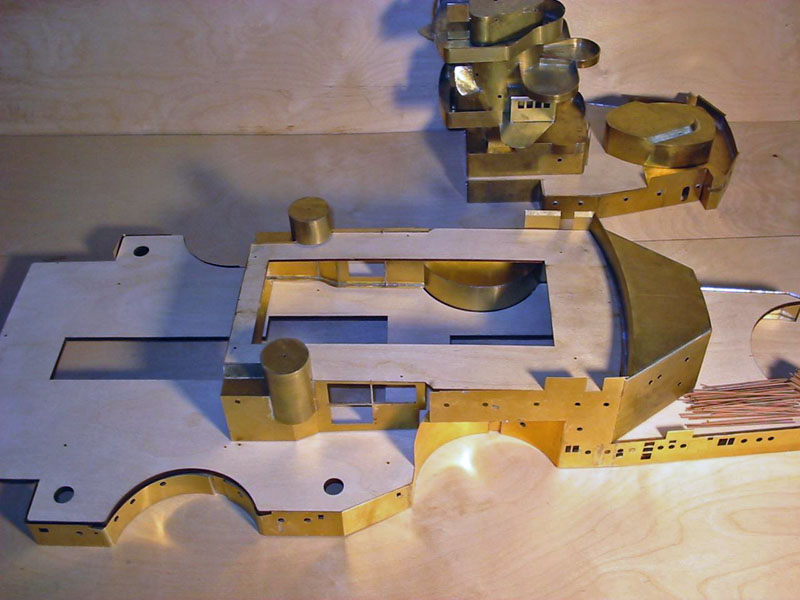
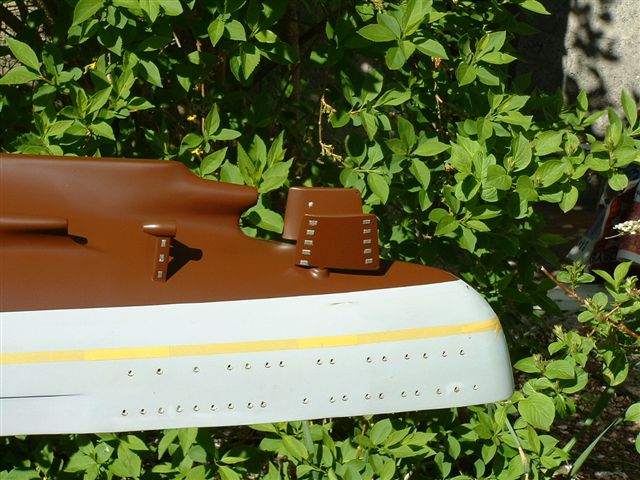
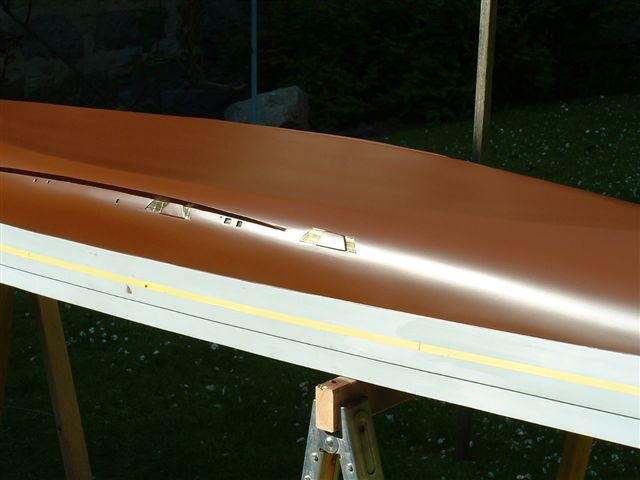
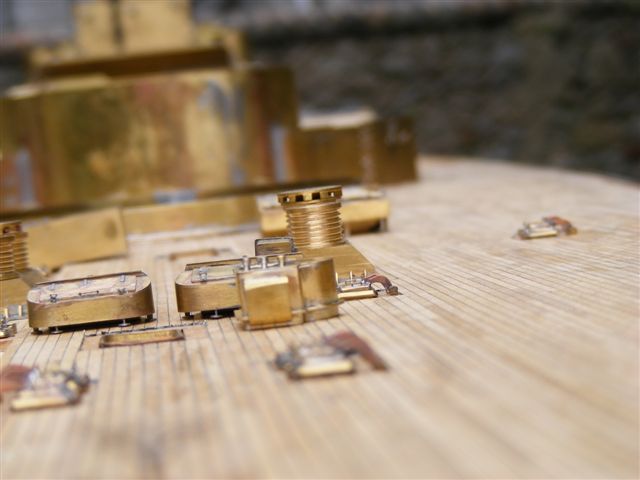
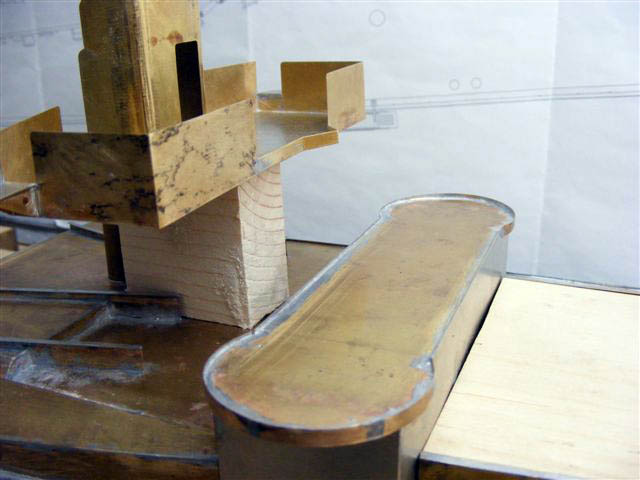
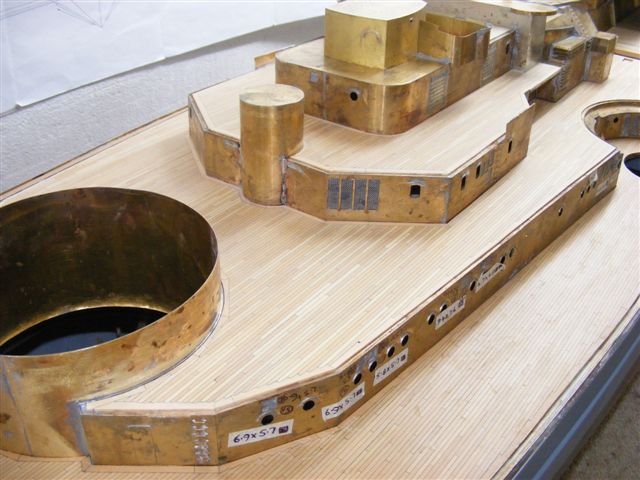
Mock up of the photo etch
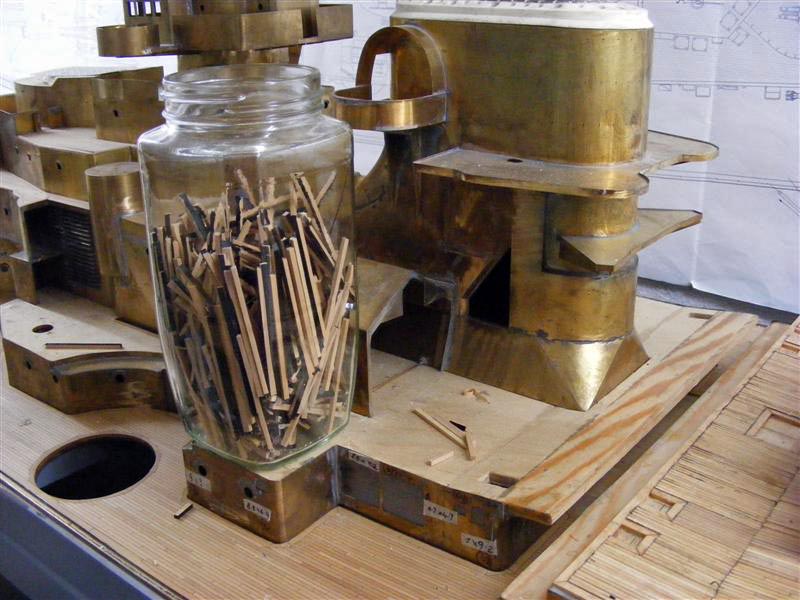
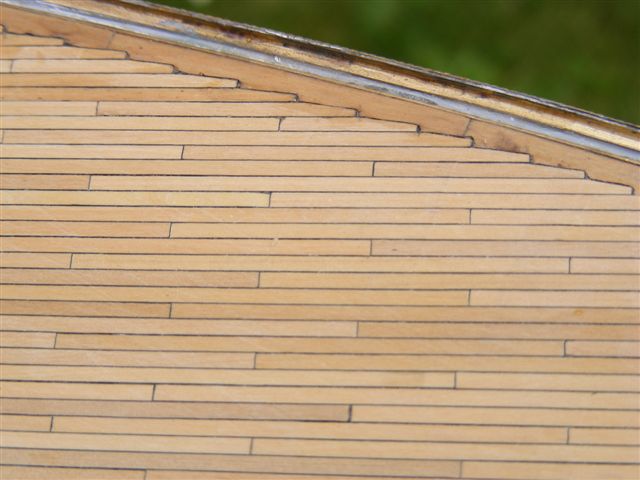
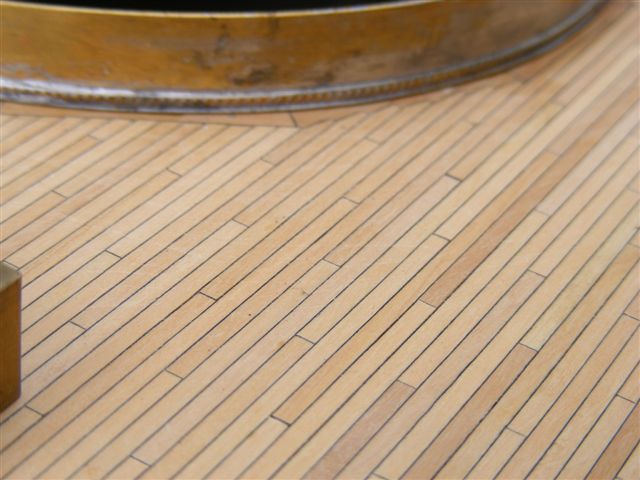
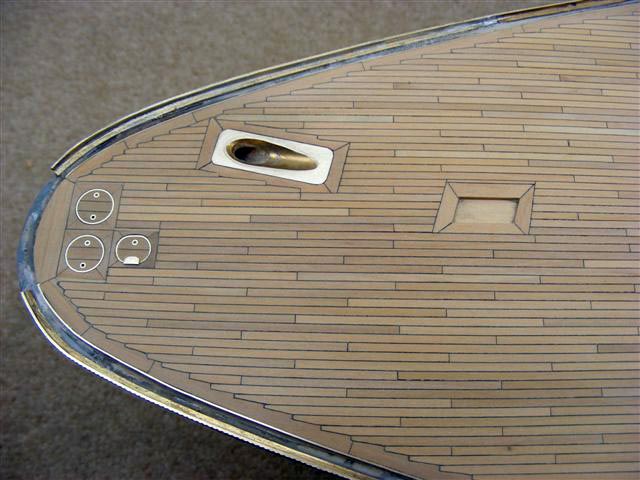
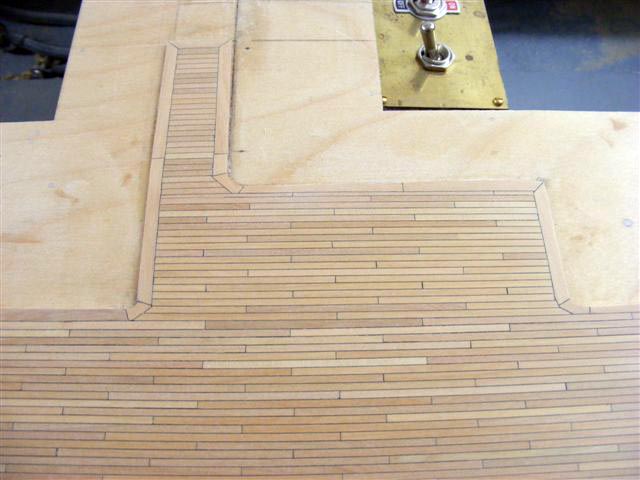
Generic planks are pre-caulked

King planks in place

My face plate sanded - used all day, every day! (Old Faithful...)
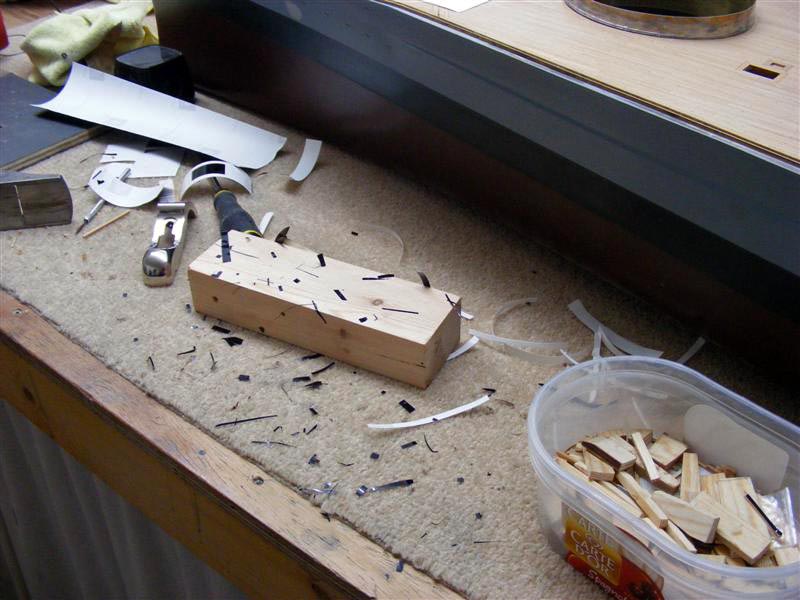
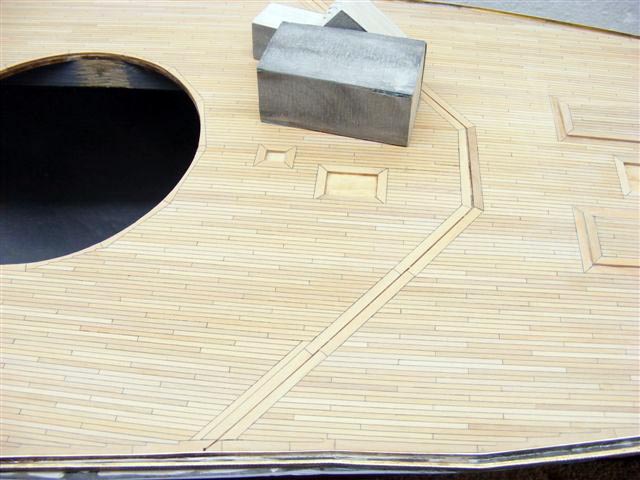
Plank caulking and trimming area

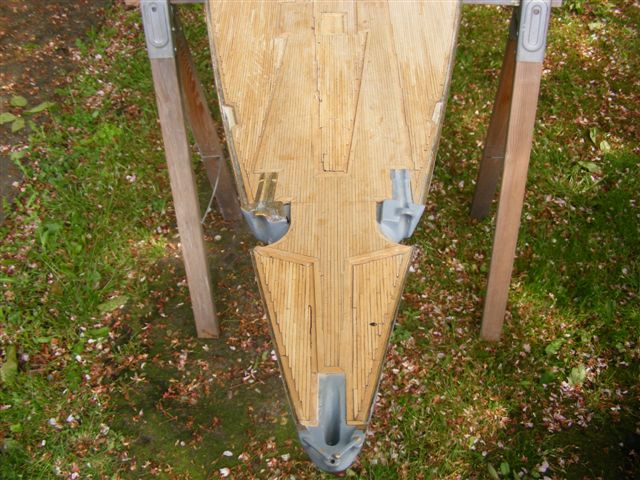
The pencil lines on the deck ensure that plank spacings stay in step
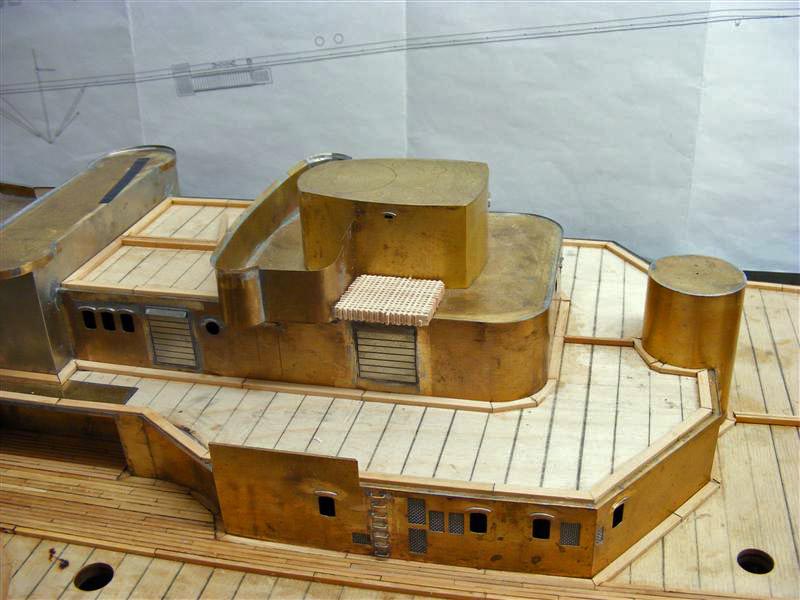
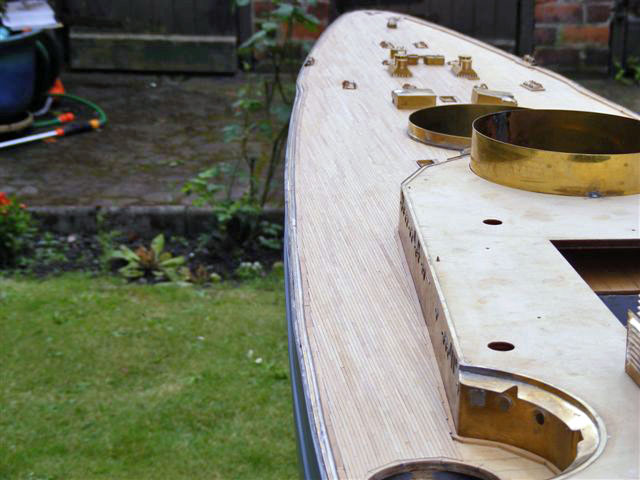
The webb gratings will lay on either side of the director and inside the observation area
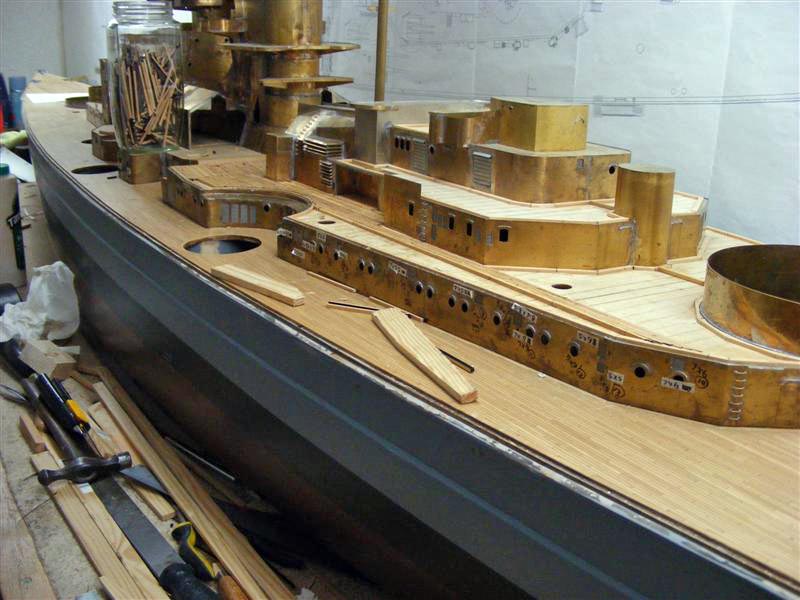
This is what my workbench looks like when I am working
June 22, 2010 Update


![]()
![]()
Back to Warship Models Underway
This page viewed 152
This page maintained by Kurt Greiner. Email me here.
Version 1.947
Last update 07/10