


Click on any image that has a border to enlarge. -
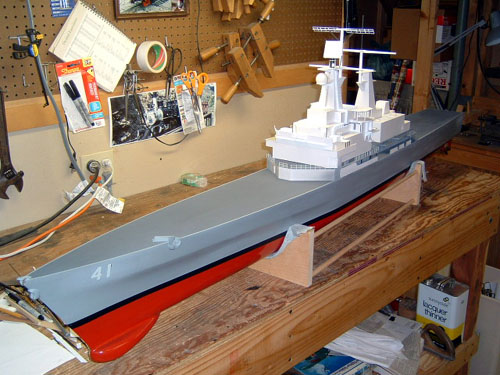
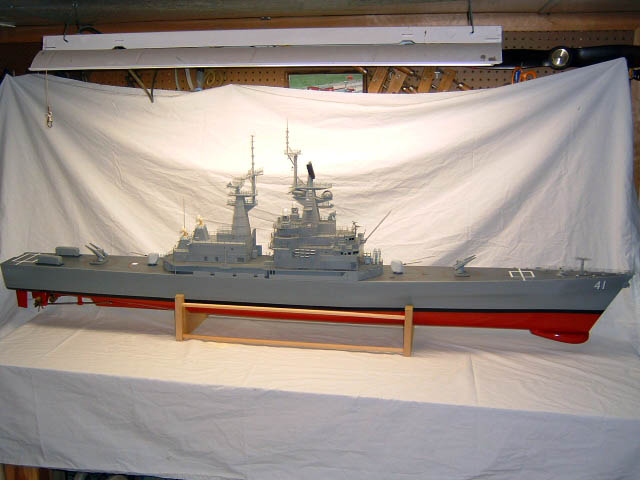
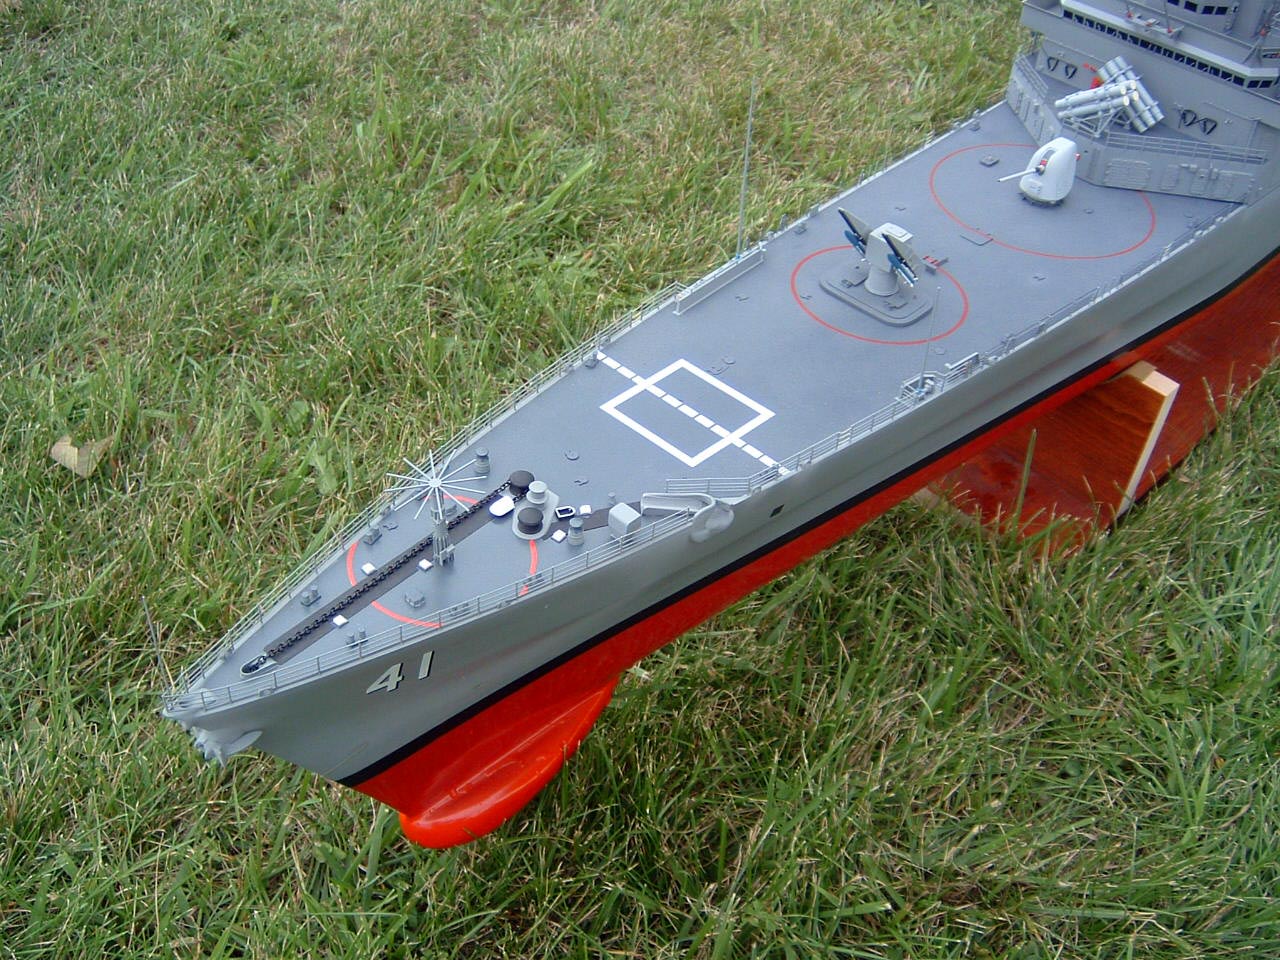
I wanted to build a model of the USS Arkansas, CGN-41 to give to my son who served as a gunners mate(missiles)on the Arkansas from 1995 through her decommissioning and salvage. I had the privilege of participating on a "Tiger" cruise in August 1997. We sailed from Pearl Harbor to Puget Sound and took 6 days to do so. I shadowed my son and we checked out nearly every space on the ship. We were allowed to take the helm, received a celestial navigation primer, nuclear power primer and some target practice at a floating barrel with the 50 cals. All I can say is if you ever have a "Tiger" cruise opportunity on any ship - take it!
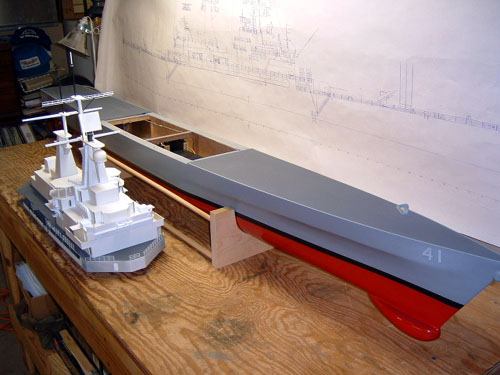
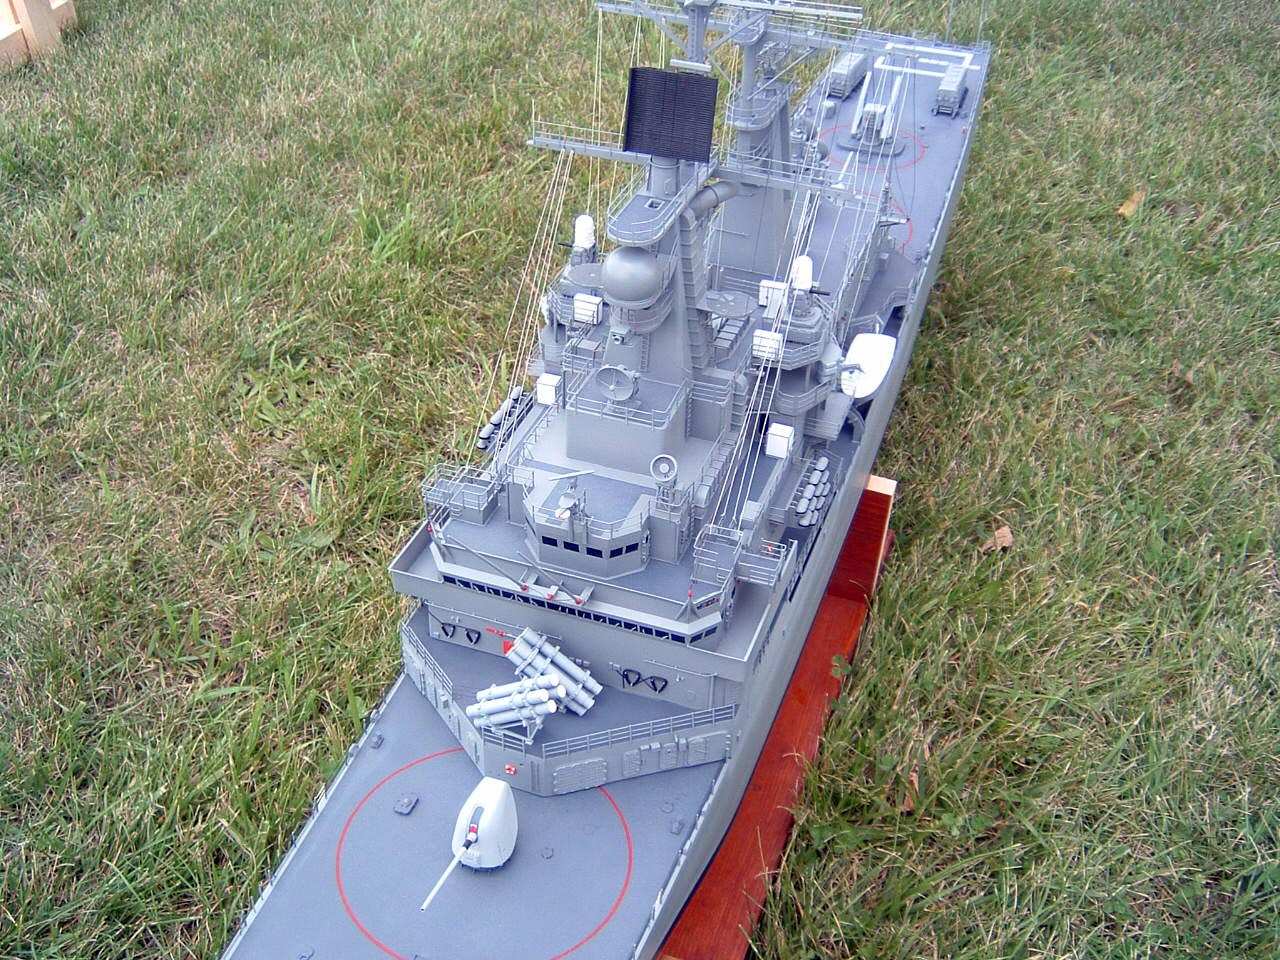
To my surprise, no one makes a plastic model of the Virginia Class Cruiser. One day I was playing on the internet and came across B.A.D. Ship Models website and there she was! A 73" long Virginia Class Cruiser. So I ordered the kit. I have seen the bad publicity that B.A.D. Ship Models has received, but in all fairness to them, you CAN build a ship model with their kit. And it is complete. However, after viewing the kit, I decided to use the hull and scratch build the rest. But, at least I had the hull. I purchased a 1/96 scale starboard side view drawing from The Floating Drydock. It was the only drawing available. Then, while on Warship Models Underway website, I was introduced to Duane Curtis. Duane has made drawings of all of the decks. So I ordered those. I thought I took lots of pictures the three times I was on board the Arkansas, but I soon realized I needed more. I found several sets of CGN41 photos from SeaPhoto and ordered them.
I still call my son occasionally with questions I can't answer with the info I have and he usually remembers what I need to know.
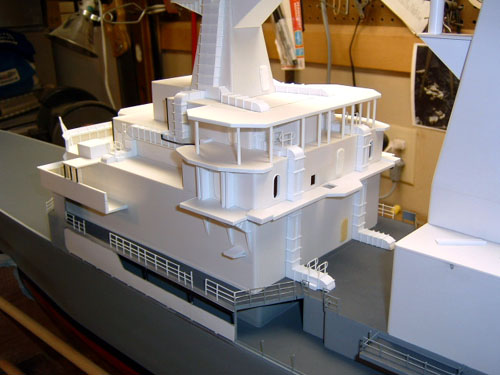
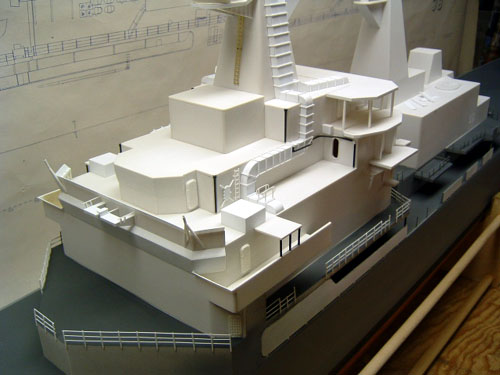
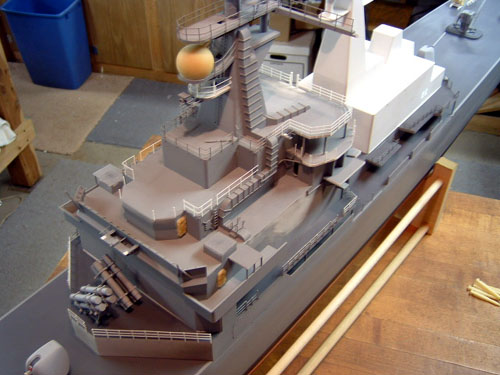
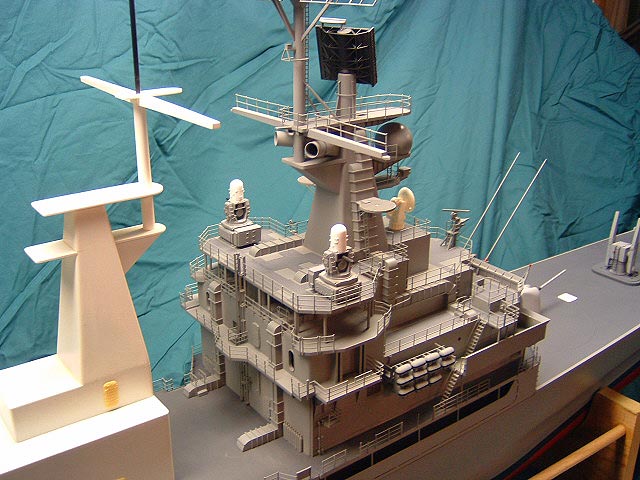
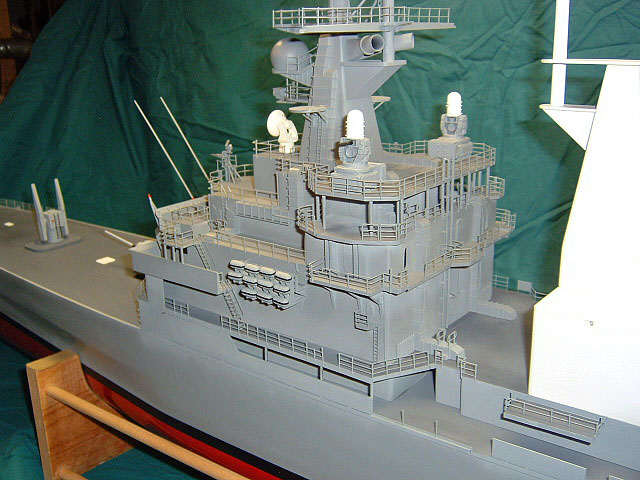
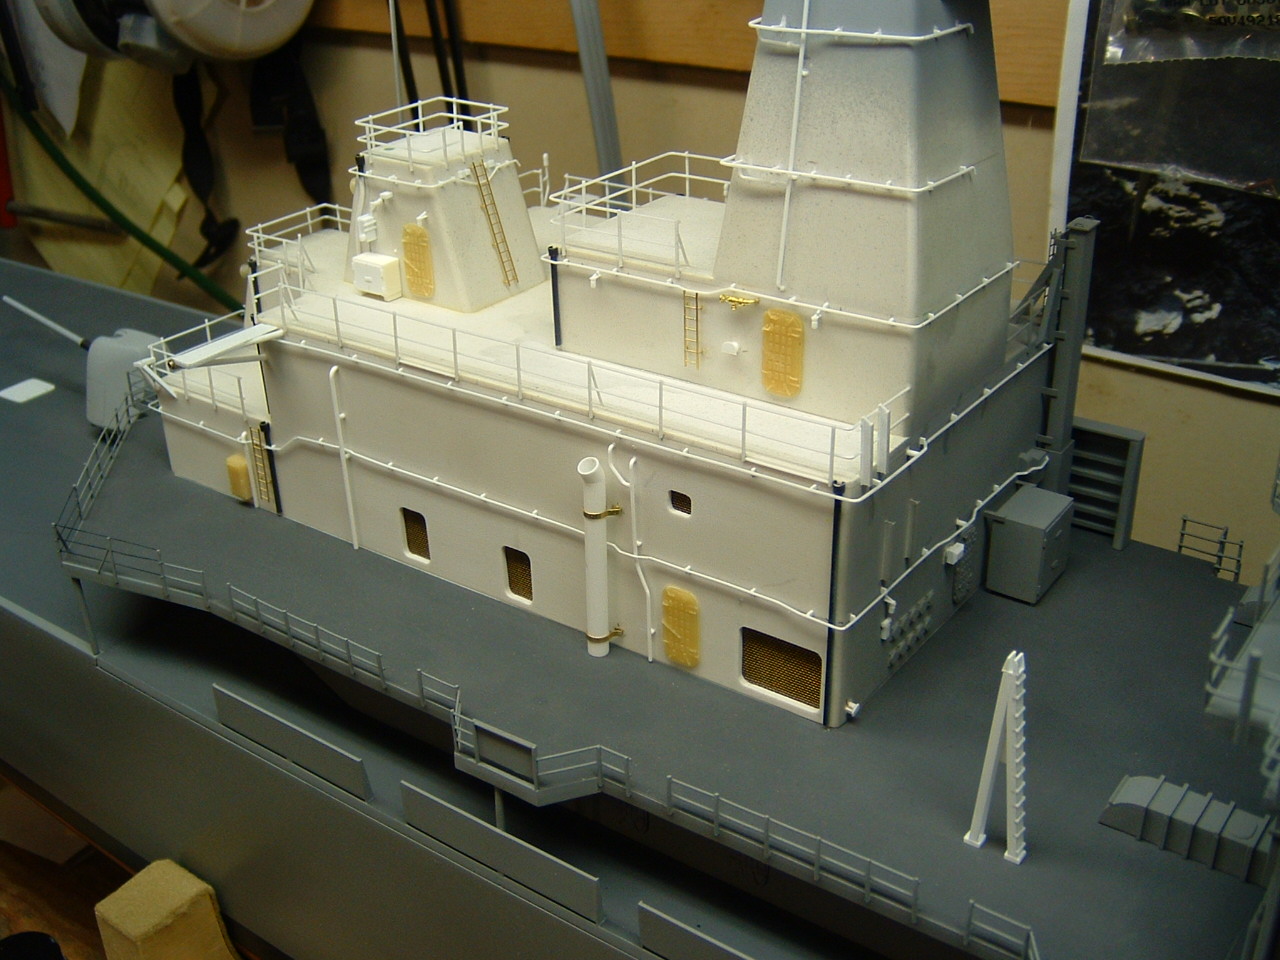
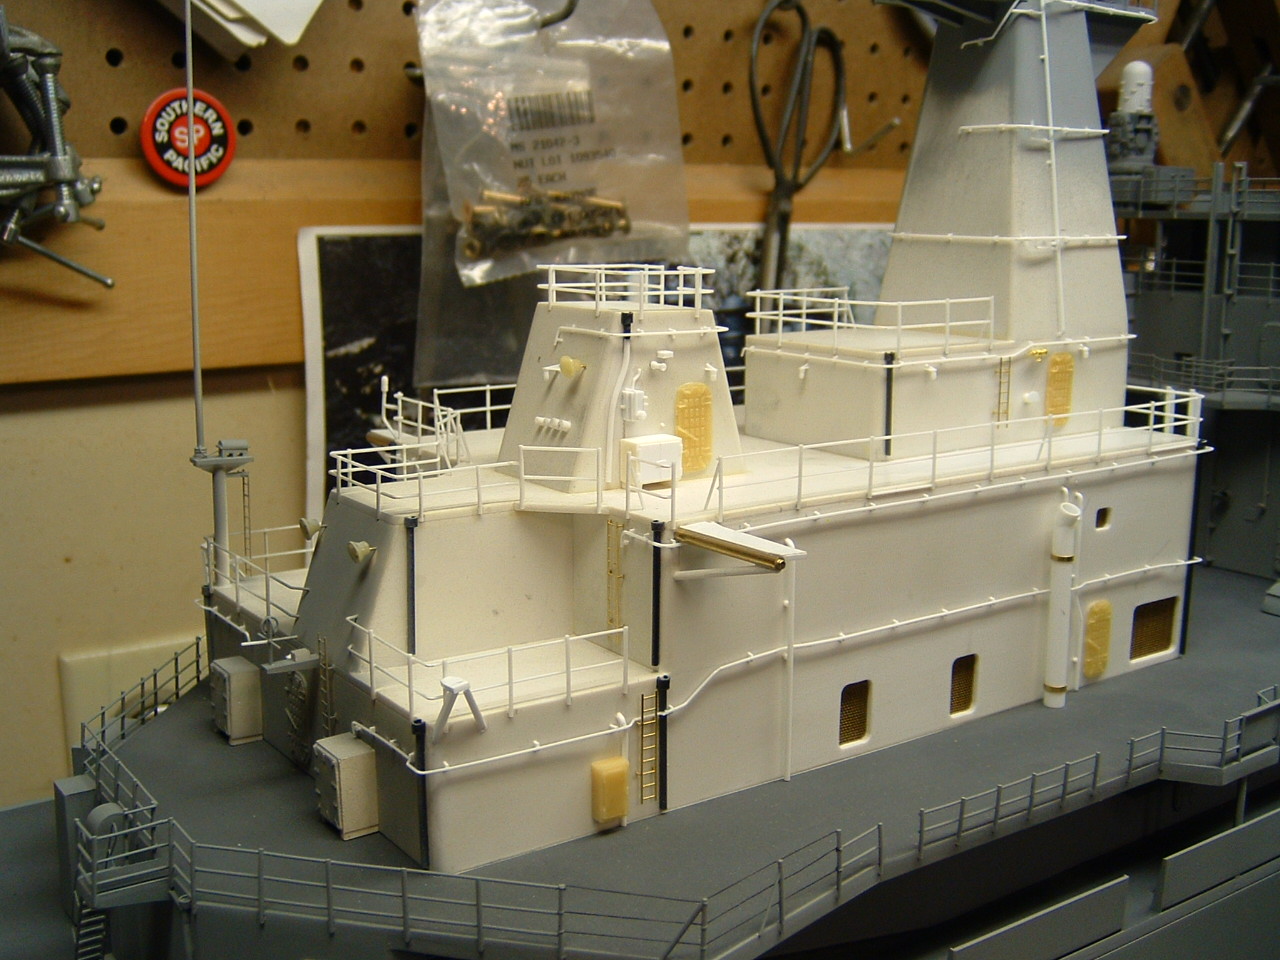
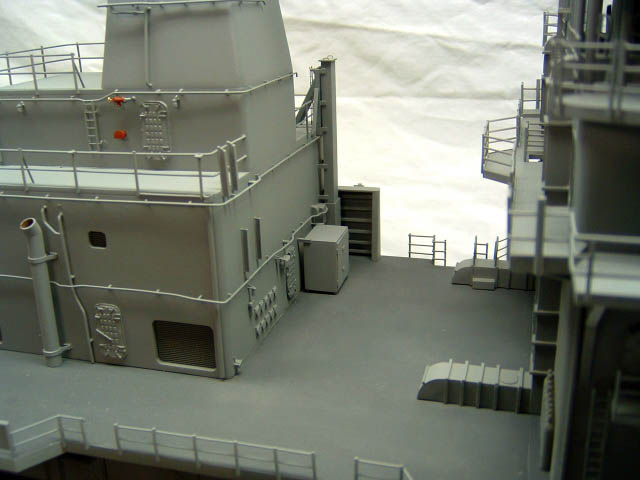
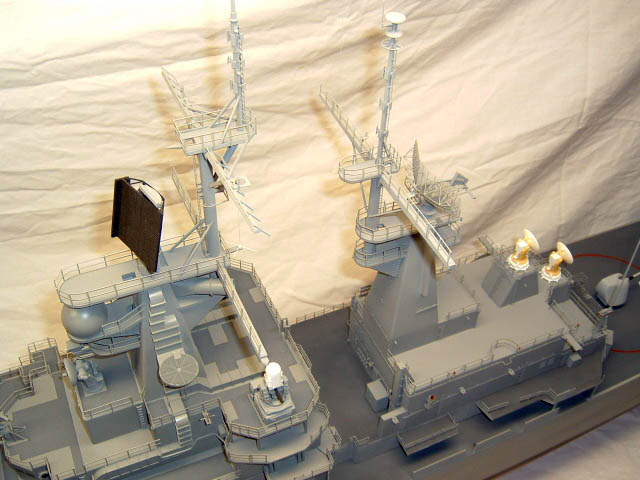
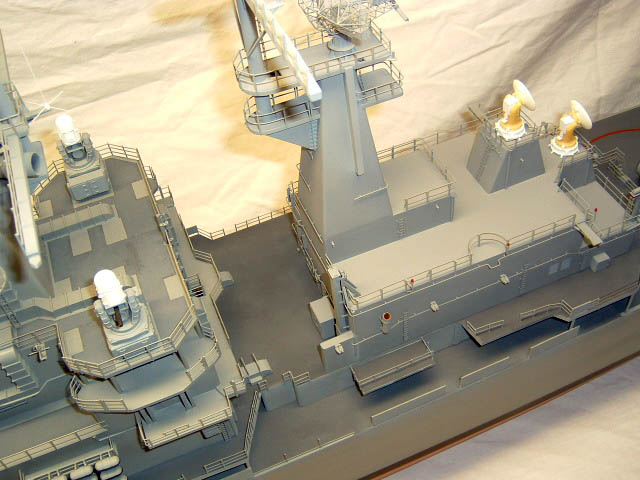
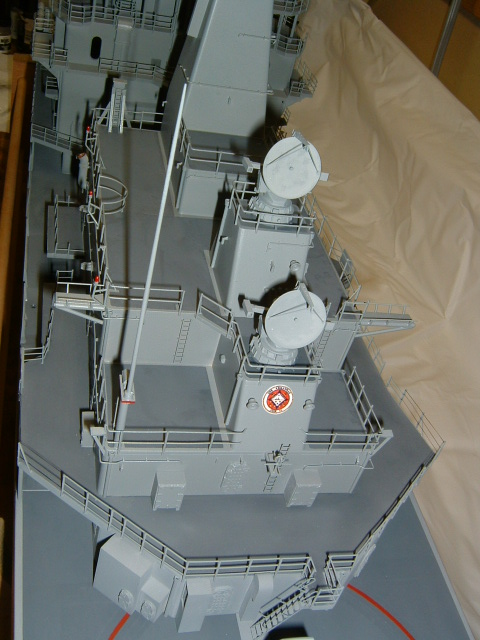
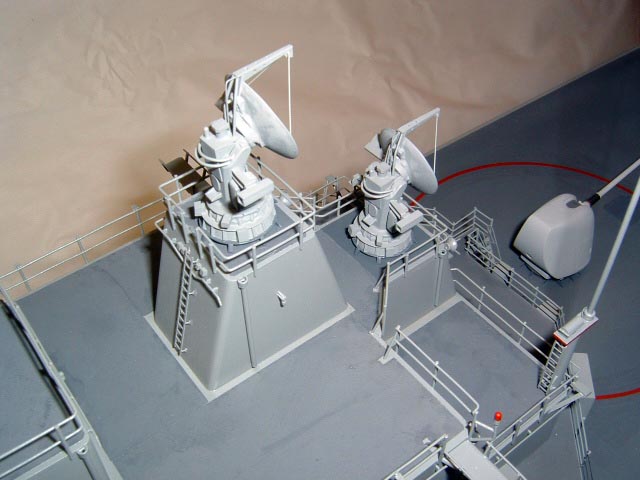
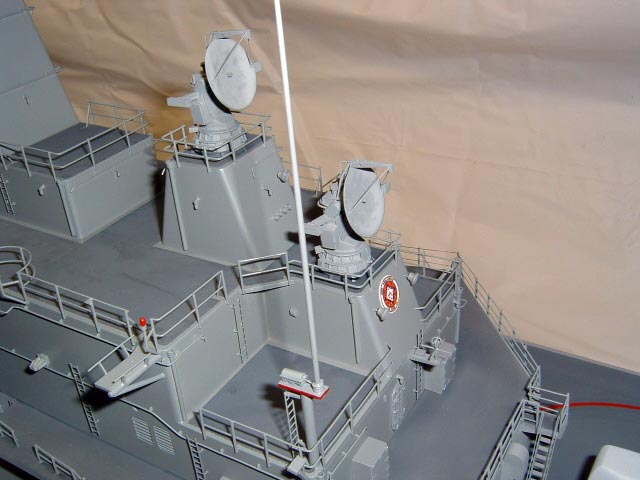
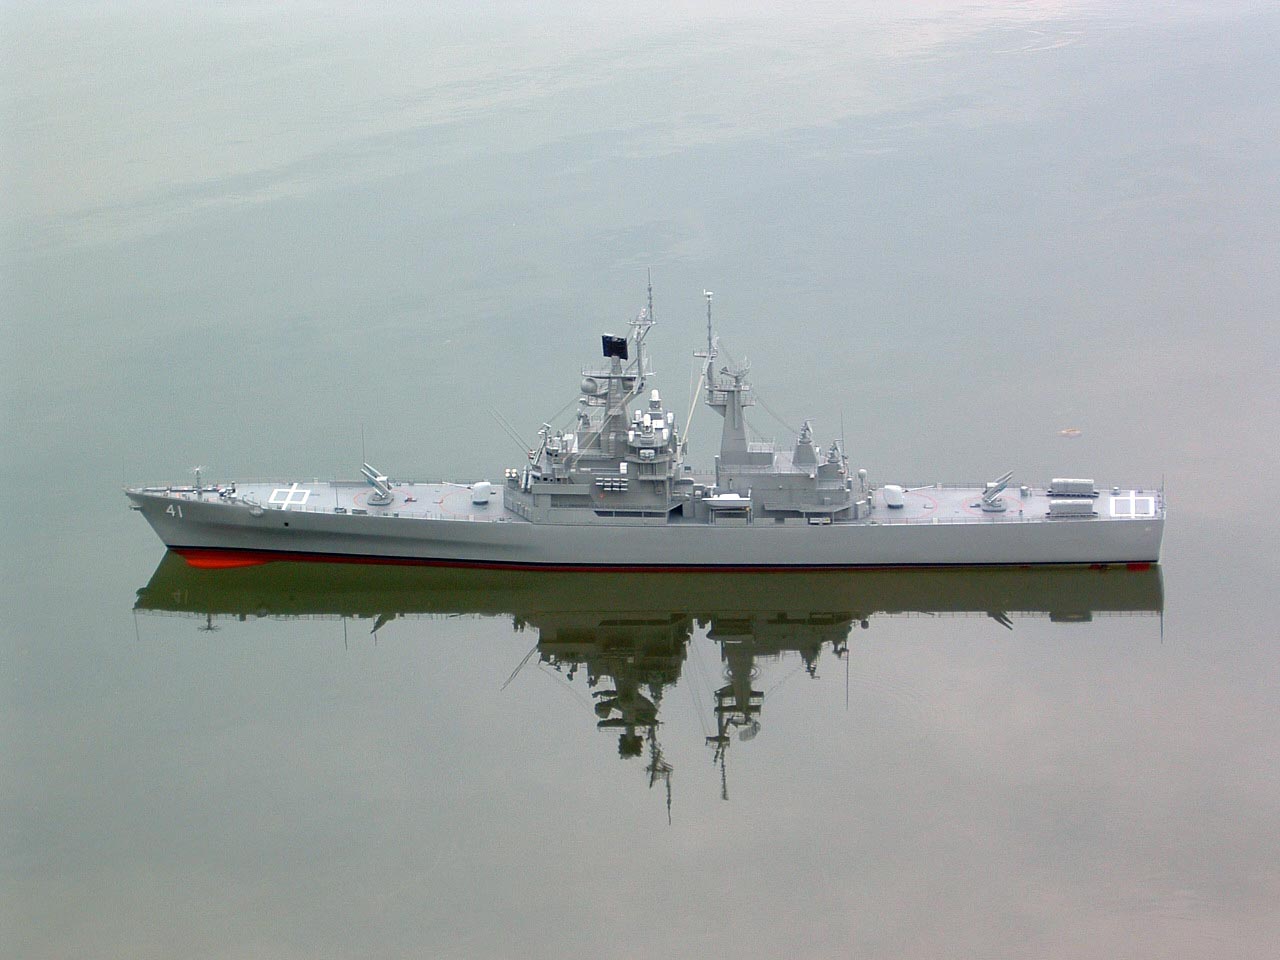
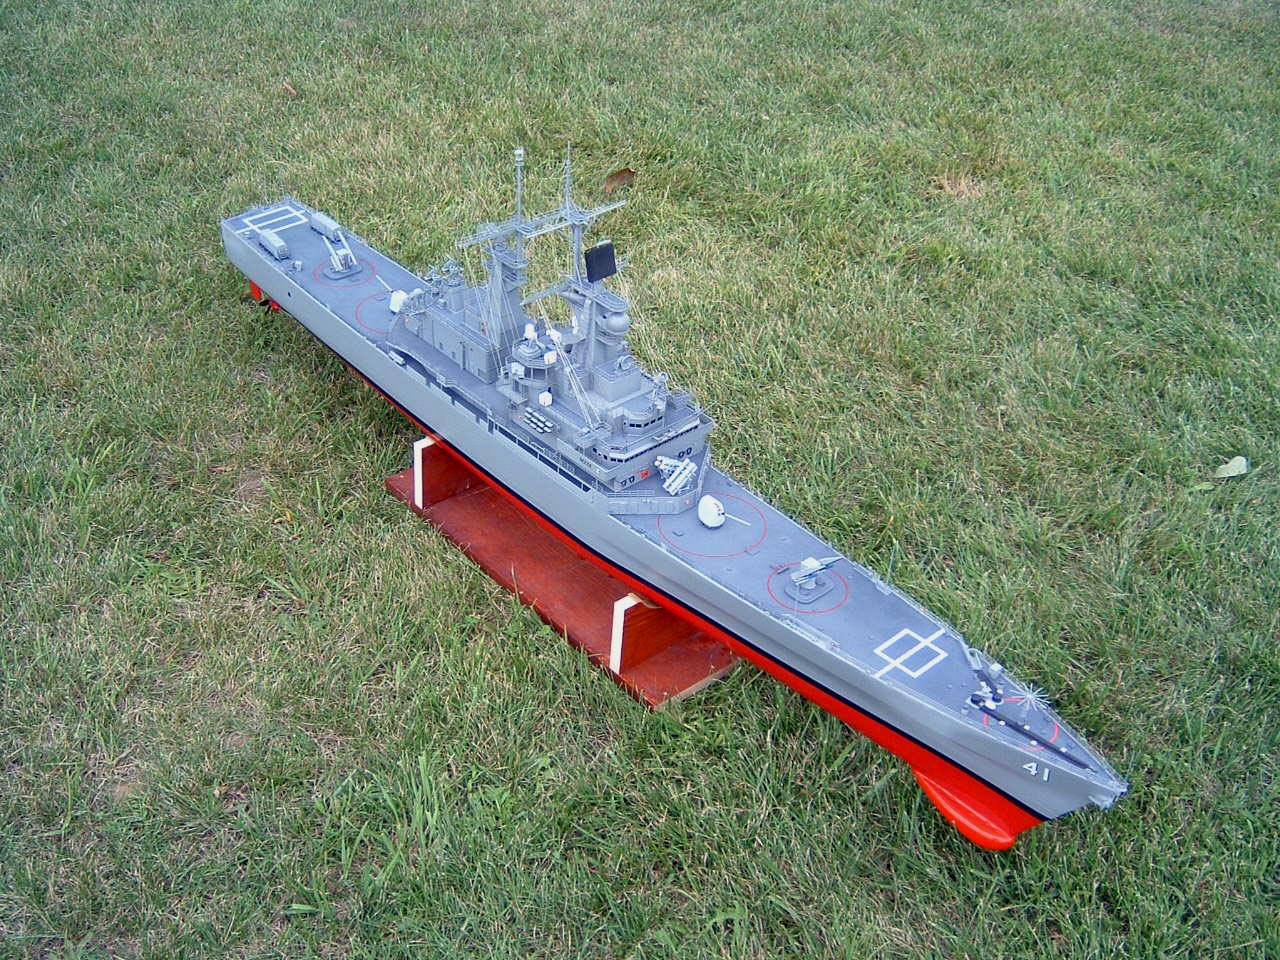
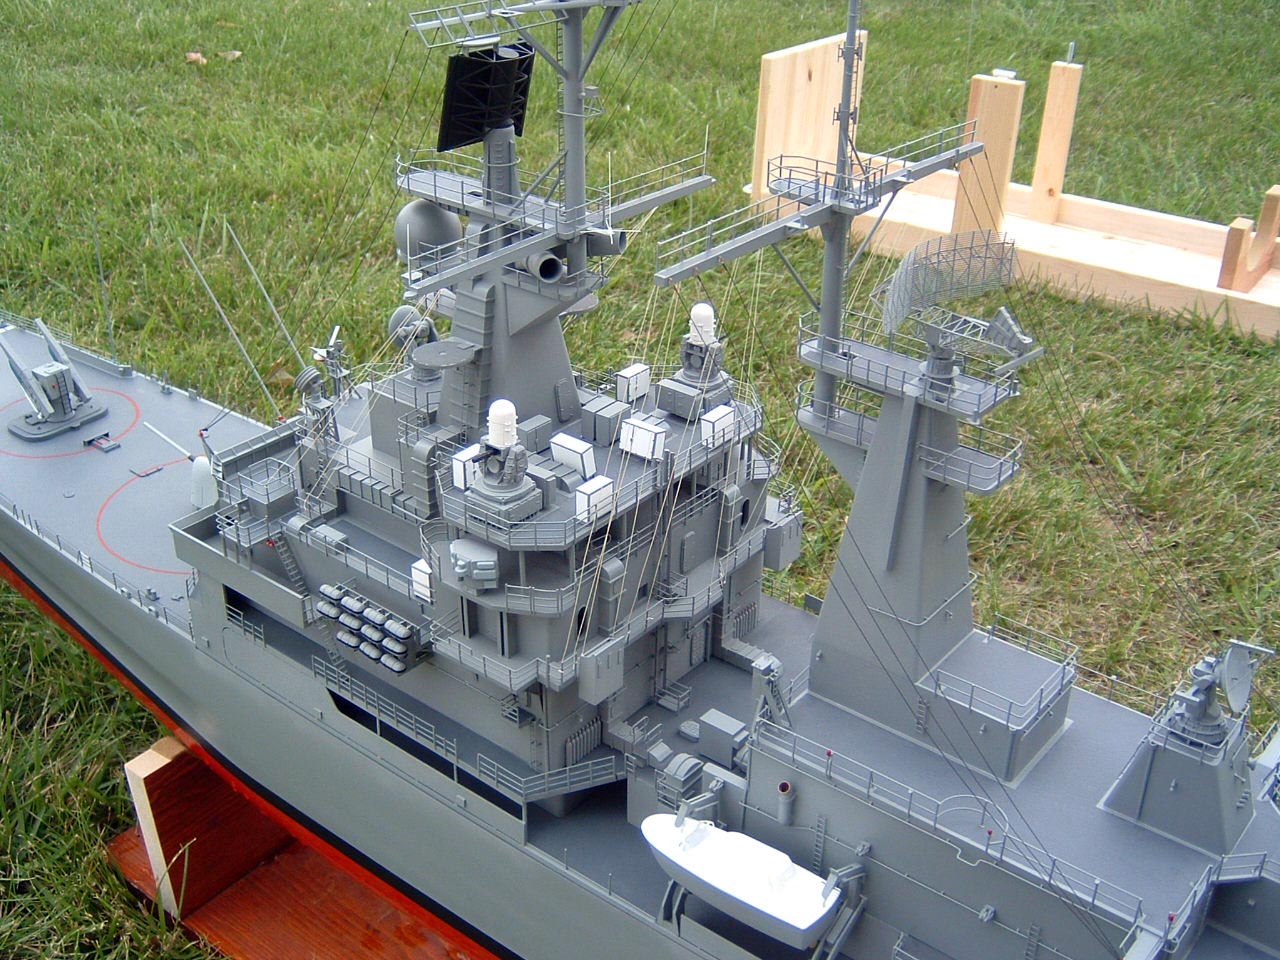
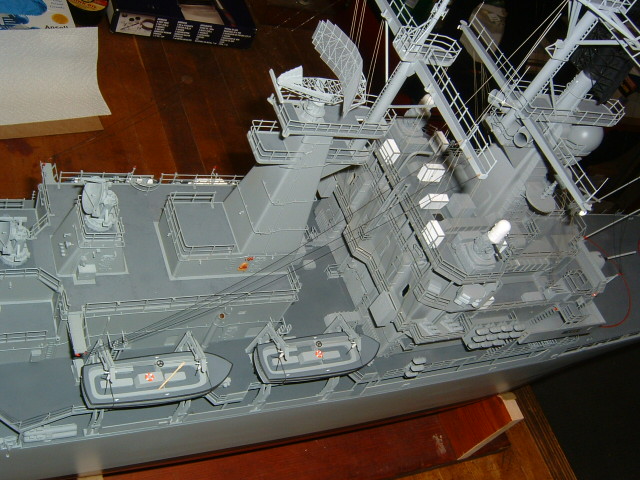
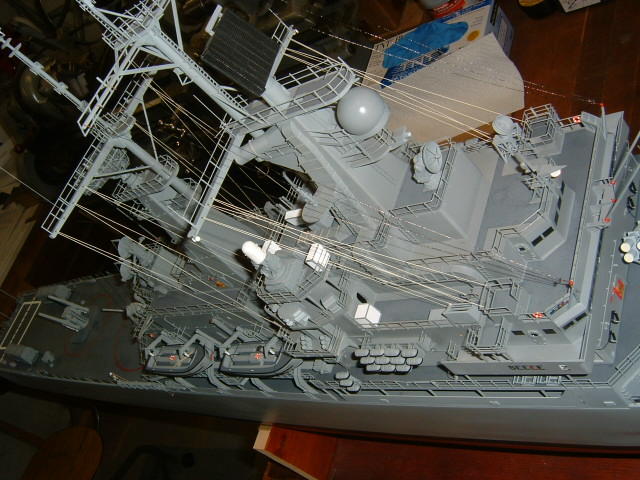
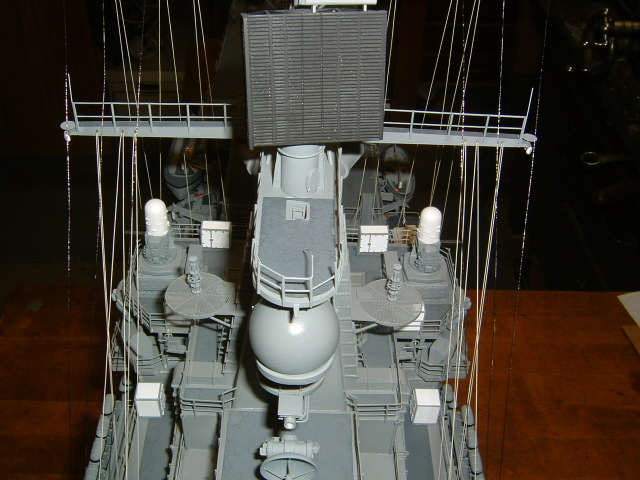
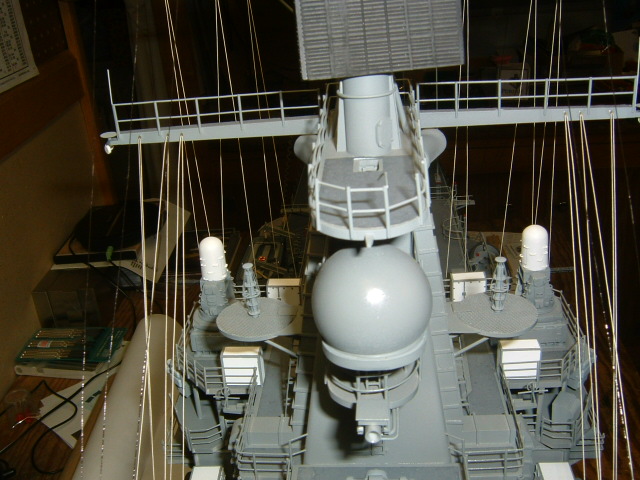
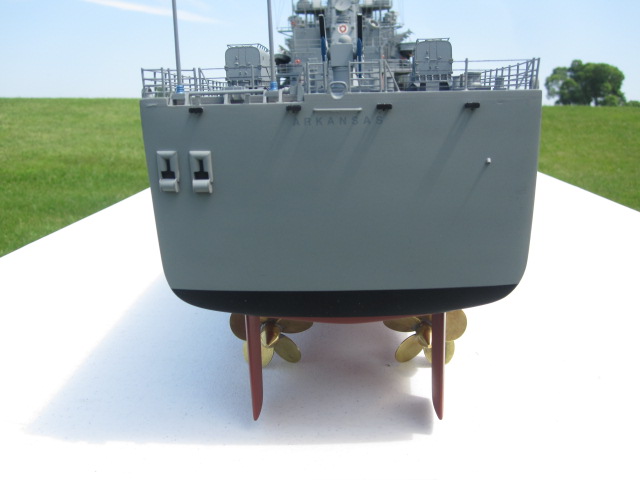
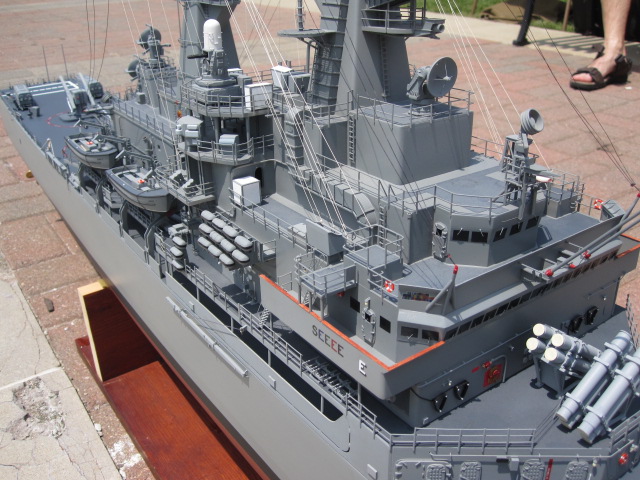
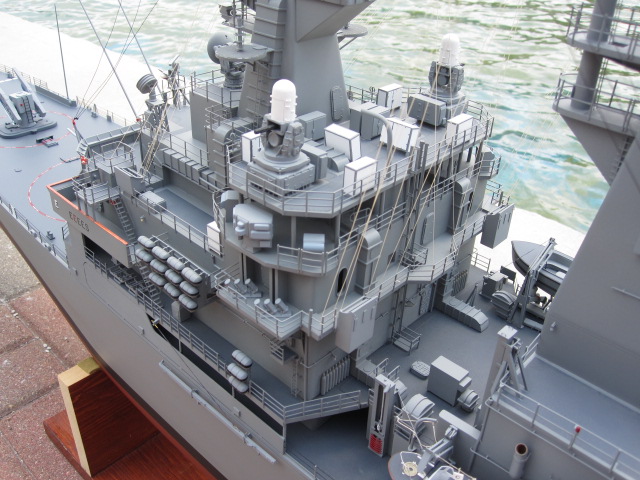
The superstructure section will be one removable piece to allow access to the internal workings. Fortunately, all of the rigging, etc. is confined to this section. I am building the superstructure entirely of styrene and I am just now becoming comfortable working with this media. I decided to keep track of the number of parts in the superstructure section and I am currently around 1700. This is my first large scale ship model and maybe my last if I don't start moving faster. I started in March 2001 and now believe it will take 10 years to finish! Just kidding - or maybe not! I chose to use 12 volt system. Like most others, it has twin motors driving counter-rotating screws. She has undergone sea trials and is pretty fast. I am pleased with her stability also. When it is finished, I plan on giving it to my son and grandson to enjoy.
I'll send in more pics in a few months that hopefully will show some progress.
February 21, 2003 Update
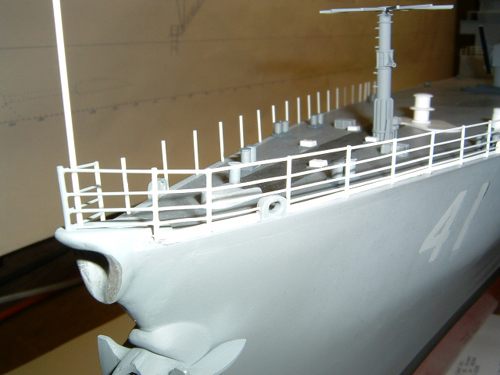
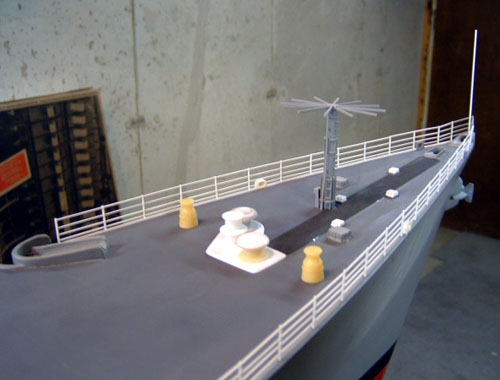
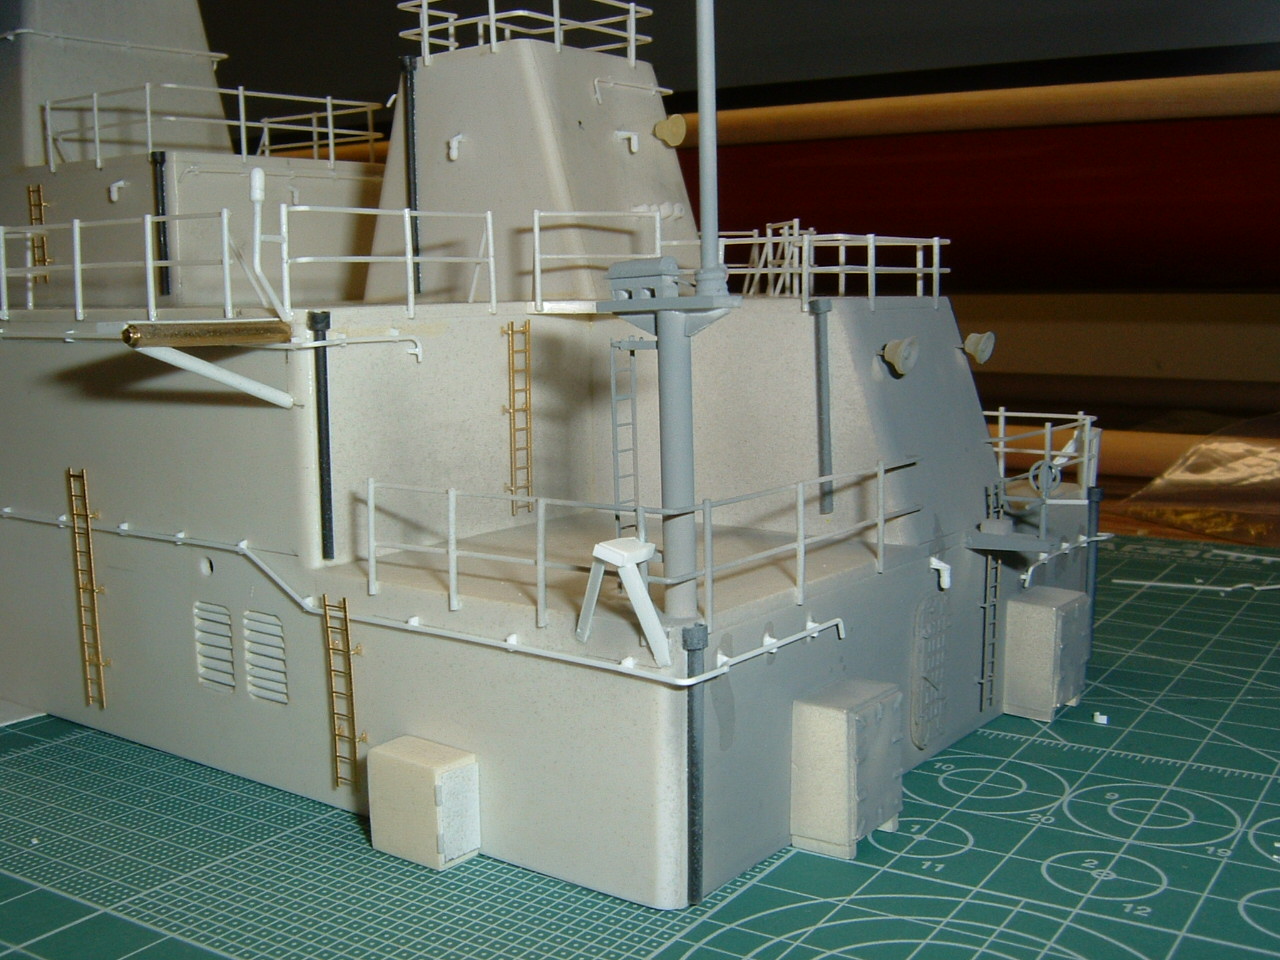
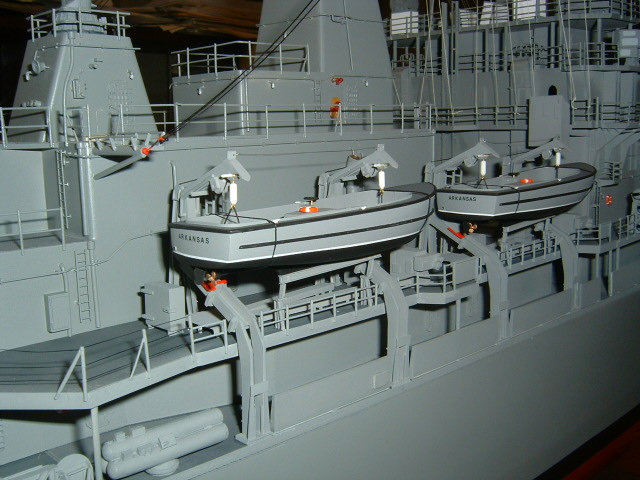
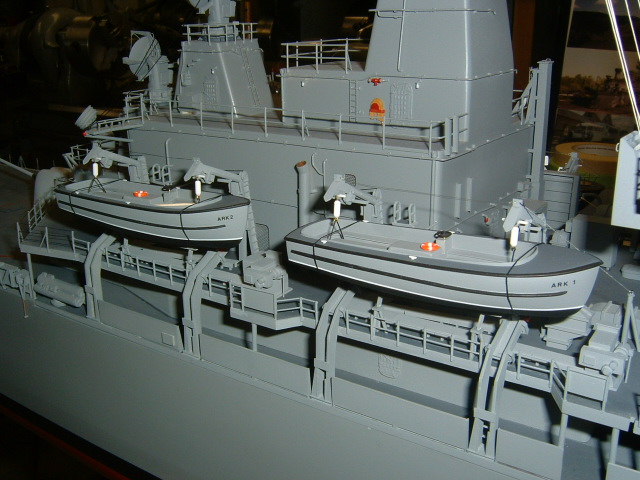
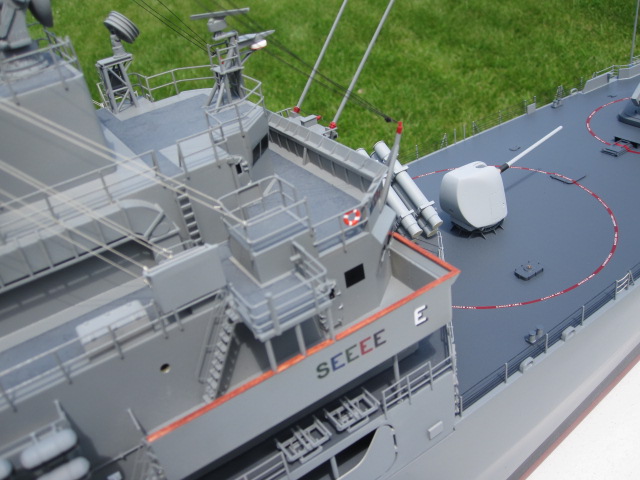
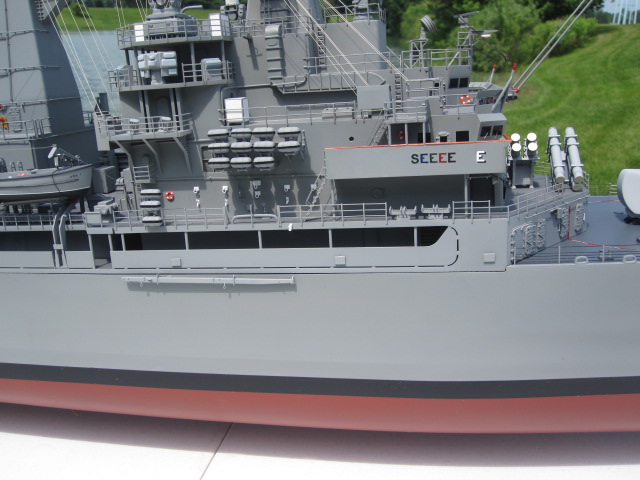
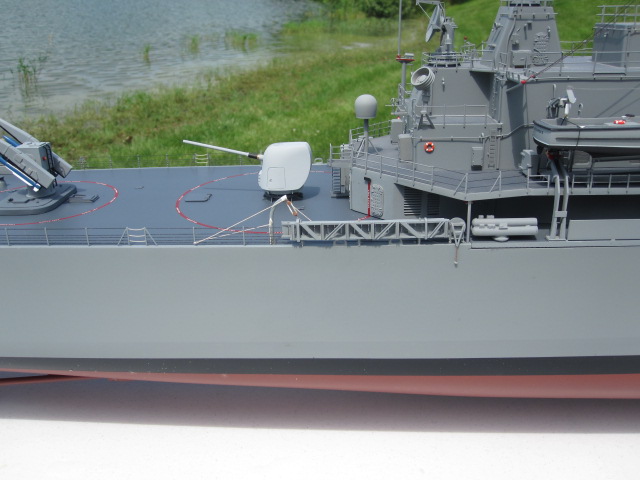
I am building my railings (1/96 scale) out of .030" and .020" styrene rod from Evergreen Scale Models. I use the .030" for the posts and the .020" for the railing. I've tried two methods. First, I installed the posts at their proper position and then cut the railings and glued them between the posts. That is slightly labor intensive to say the least but the result is good. For my superstructure railings I glued the posts on and then added lengths of the .020" railings by gluing them on the back (inside) of the posts. You can build a lot of railing quickly with this method and it looks good after painting. The styrene allows you to make curved railings with ease. The railings are pretty durable and can withstand some handling.


July 5, 2004 Update
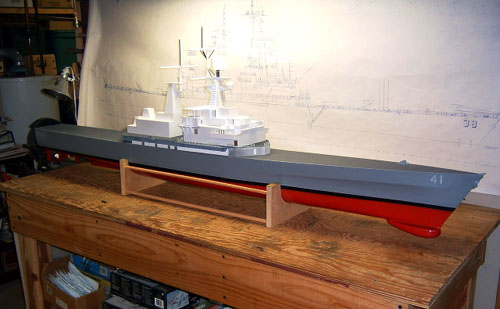
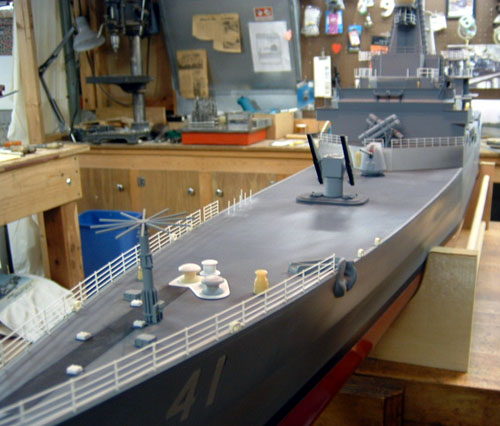
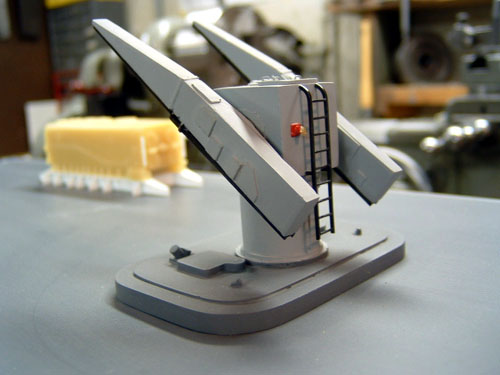
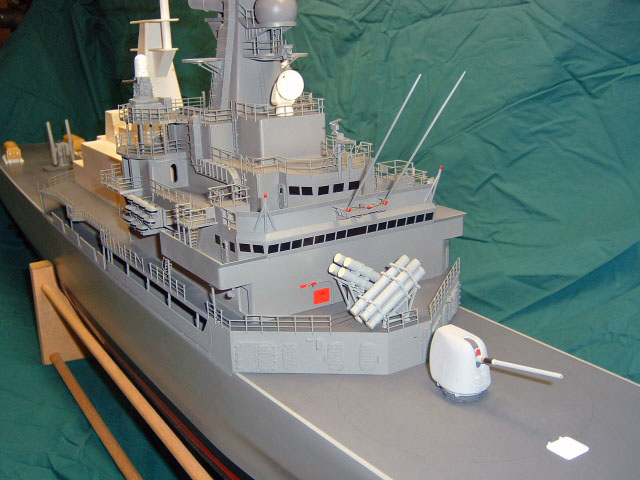
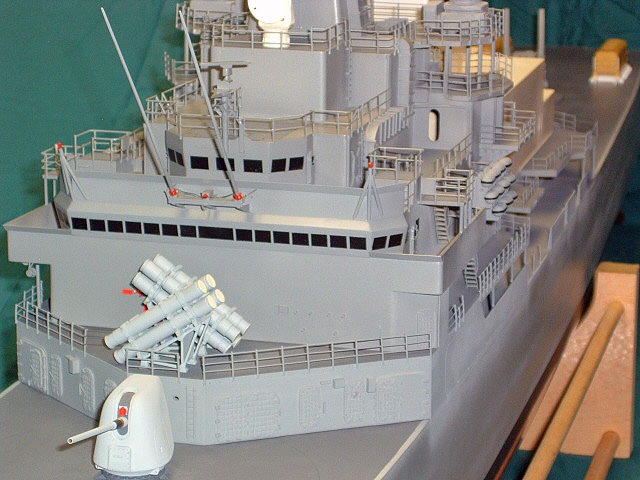
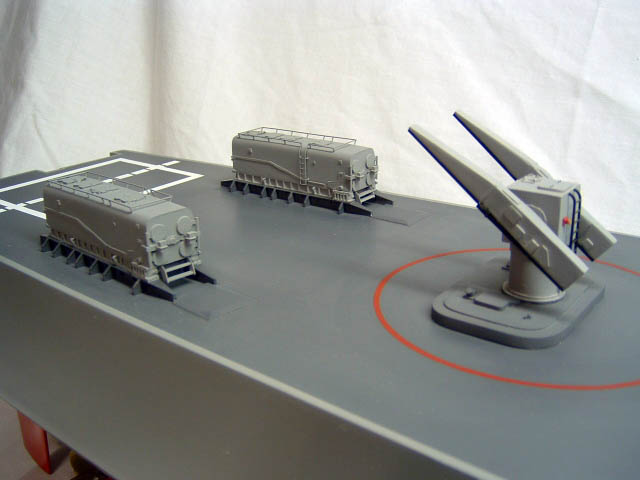
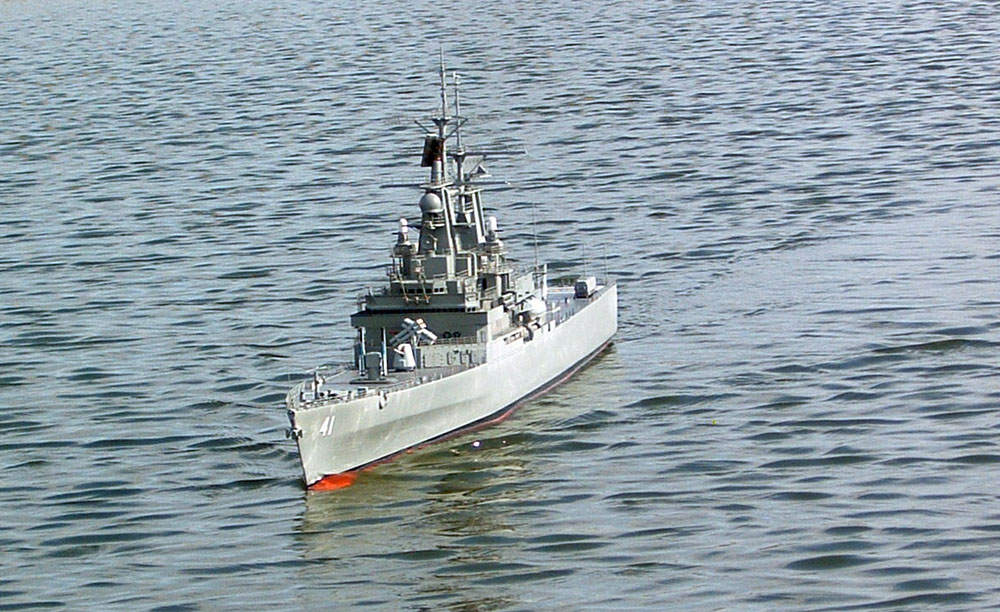
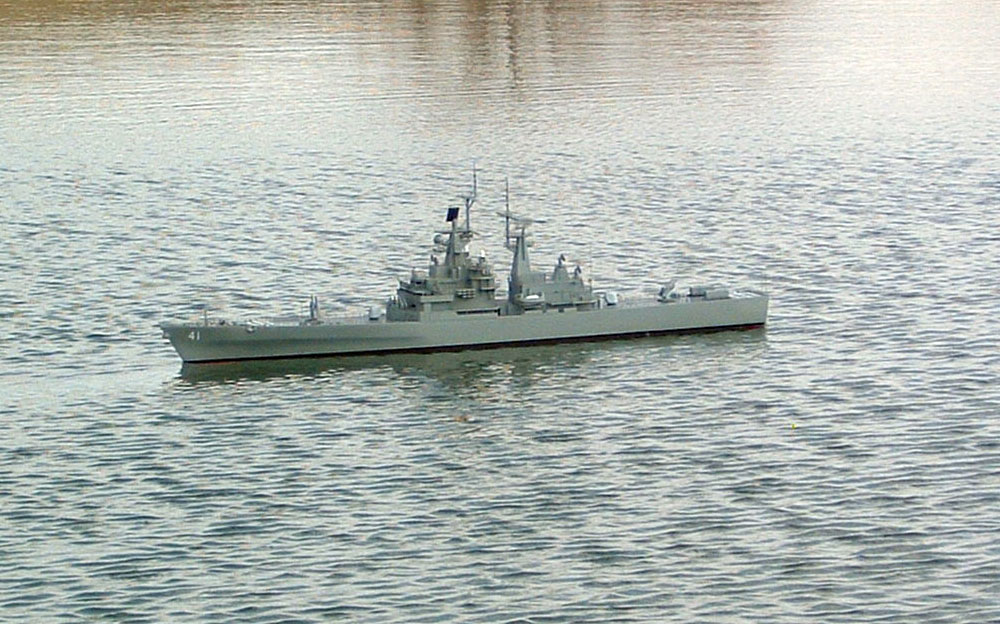
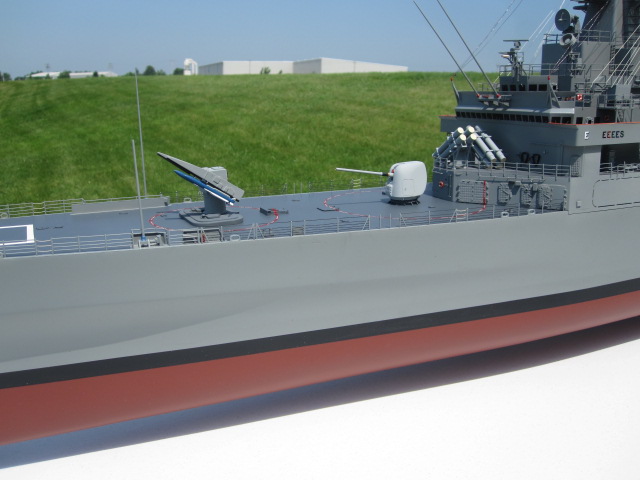
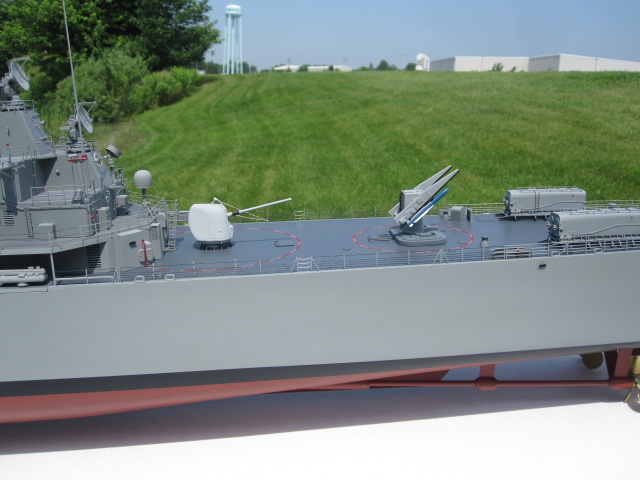
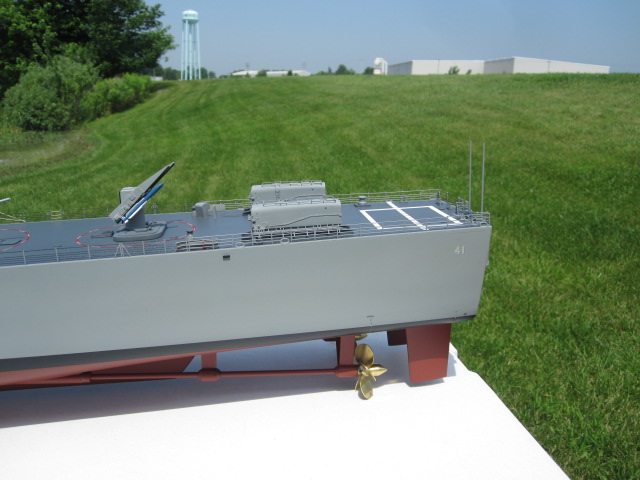
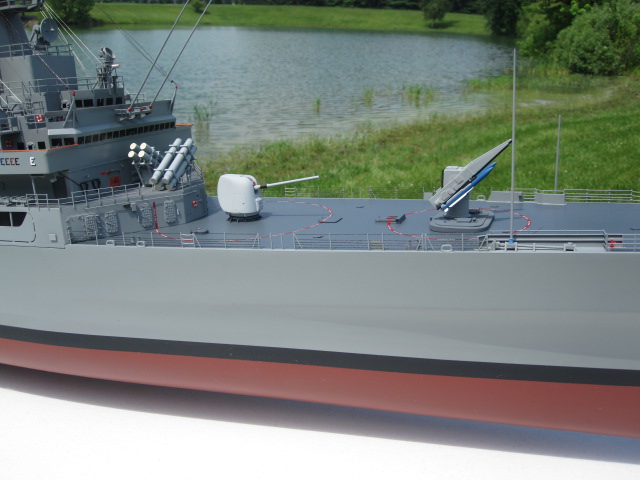
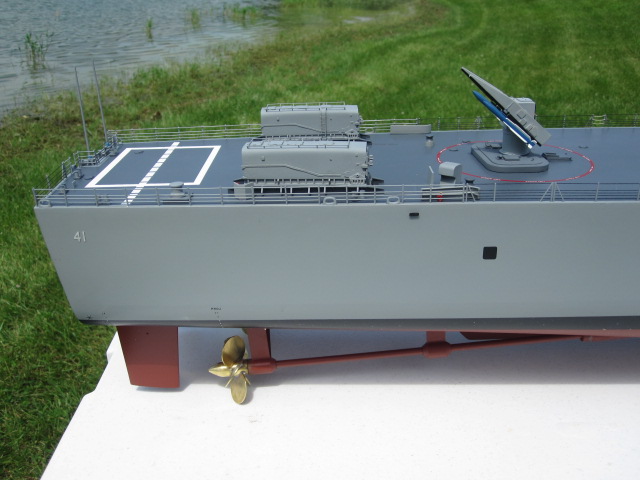
Here are a few updated photos showing a little progress. At least now when we run her we can defend ourselves since we have some weapons on board!

February 7, 2007 Update


January 5. 2009 Update


January 12, 2009 Update
March 1, 2009 Update
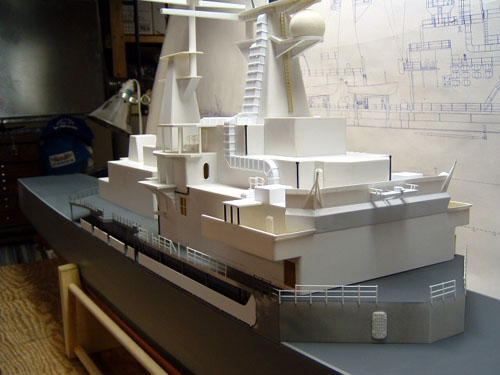
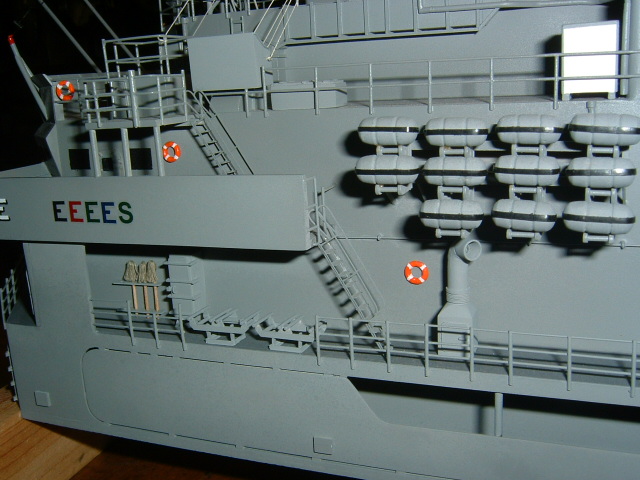
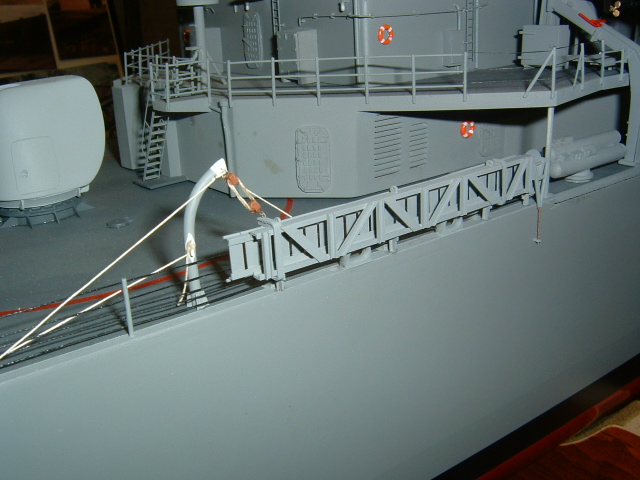
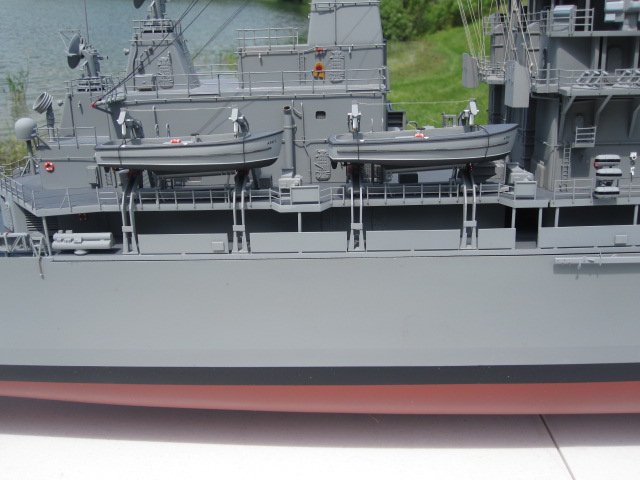
LIFELINES: After considering plastic and wire I ended up with .008" thread. Wrapping and holding the thread while trying to glue it to the stantions was rather time consuming, tedious and frustrating. Plus there is the issue of attaching it to the chocks...how am I going to get a "wet noodle" to stick to the chock where I want it? Then the light came on, as they say! I tied a loop on both ends of a 20" piece of thread (length doesn't matter, whatever suits you) and hung it from a nail. I put a weight on the other end and with a rubber glove on my hand, I put a few drops of thin super glue on my index finger and soaked the thread between my index finger and thumb as I slid them up and down the thread. As the thread soaked up the super glue, I would add a couple more drops. A few minutes later........waterproof, light weight, stiff lifelines! I cut the line to the approximate length and put a dab of thicker super glue on each stantion and then put the stiff thread up to the stantion. The glue I'm using gave me a few seconds to adjust it to the correct position. When it was dry, I trimmed the ends. This turned out to be pretty easy and I am pleased with the results. I did the same thing with some tan thread and after it dried, I formed it with a slight curve, cut it to the measured length of the space between stantions and that made the safety lines at the walk throughs. (There's probably a proper naval name for the walk through area but I don't know what it is) I hope this may help someone add lifelines to their ship. It really adds a great detail and is easy to do.


March 23,. 2009 Update

September 12, 2009 Update


February 25, 2011 Update
Stan writes:
Working hard to finish this ship by March this year 2011 which will be 10 years from the laying of the keel. Wow, I never intended it to take this long. Other things in life get in the way. For curiosity's sake, I have kept a running tally of the individual pieces in the removeable superstructure section and as of today the official count is 5,923. A few more details to add and I will call it quits.

August 8, 2011 Update
Stan writes:


![]()

Back to Warship Models Underway
This page maintained by Kurt Greiner. Email me here.
This page viewed 247
Version 1.55
Last update 2/11